

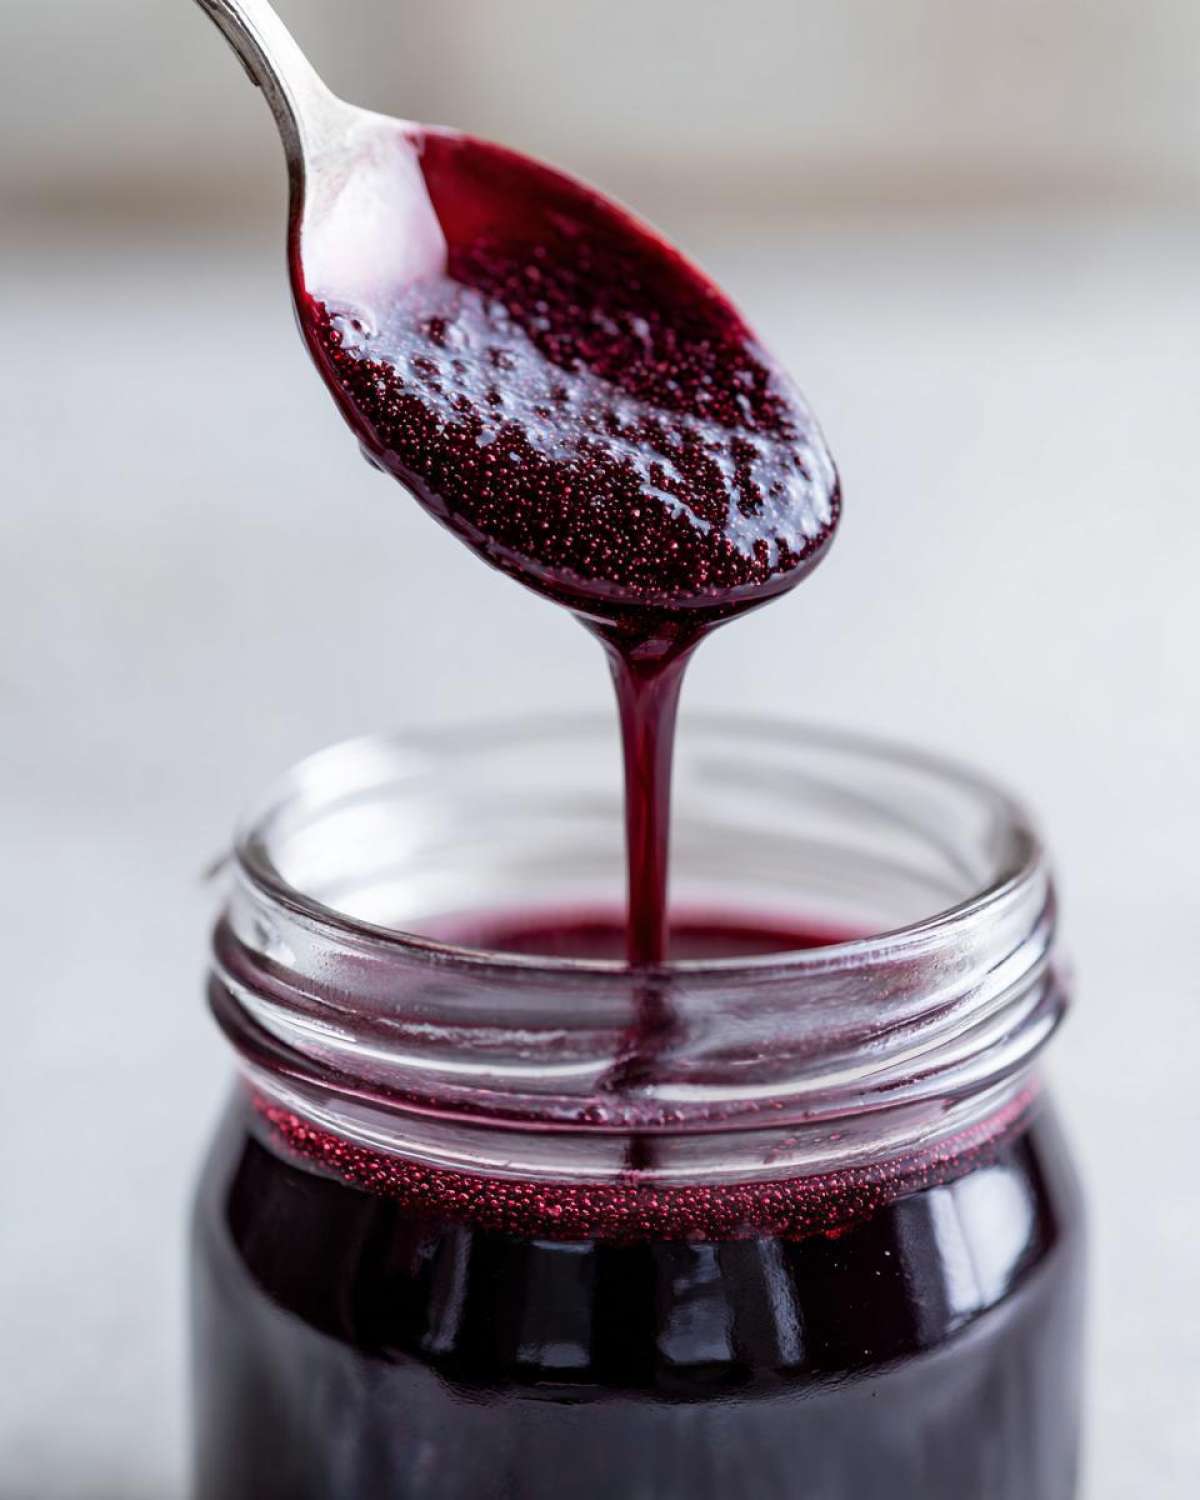
When the air turns crisp and sniffles start circulating, I immediately turn to my grandmother’s wisdom for keeping our family strong. For me, natural support is essential, and nothing beats the rich, deep flavor of homemade elderberry syrup. This recipe is perfection because we make it in a wonderful small batch—just the right amount to have on hand when you need it most. This isn’t just some recipe I found online; it’s my heritage! Watching my Nonna prepare these natural remedies taught me everything about respecting ingredients. Trust me, once you taste this delicious, honey-sweetened tonic, you’ll agree this is the absolute best elderberry syrup recipe you’ll ever try. It’s simple, effective, and made with so much love.
Why This elderberry syrup recipe is Your Go-To Homemade Immune Syrup
I’ve tried quick fixes, but nothing compares to this formula. What makes this truly the best elderberry syrup recipe is how adaptable it is! We keep it a lovely small batch elderberry size—perfect for a quick weeknight simmer. It’s naturally sweetened with rich, raw honey too, which makes it so much more pleasant than those overly sugary store-bought bottles. If you want to prep for the season, you absolutely can try canning elderberry syrup right from this batch! It’s so effective, and you’ll feel wonderful knowing you made this potent homemade immune syrup yourself. For another warming drink idea, you might check out my recipe for turmeric ginger tea when you need something herbal!
Quick Facts for Your elderberry syrup recipe
- Prep Time: 10 min
- Cook Time: 60 min
- Total Time: 70 min
- Yield: About 2 cups
Gathering Ingredients for Your elderberry syrup recipe
The beauty of this elderberry syrup recipe is that the ingredients list is short and mighty—just the essentials for a potent honey elderberry tonic. When you gather everything, precision matters, because we want the absolute best infusion! You’ll need 1 cup of dried elderberries, or if you only have fresh ones, make sure you grab 1.5 cups, as the dried ones are more concentrated. We balance that with 3 cups of filtered water.
Then come the spices that give it that wonderful warmth: 1 tablespoon of dried ginger root, 1 teaspoon of ground cinnamon, and just half a teaspoon of ground cloves. Of course, the sweetener has to be 1 cup of raw honey. You can find my favorite ways to use honey in baking when you check out my honey bran muffins recipe!
Ingredient Notes and Substitutions for the honey elderberry tonic
You noticed the ratio, right? Always aim for 1 cup of dried berries, but bump it up to 1.5 cups if you use fresh ones—it helps compensate for the extra water content in fresh fruit. When we add the honey, it absolutely must be raw. Boiling honey destroys those wonderful natural benefits we are trying to capture in this homemade immune syrup.
Now, if you are making this specifically for the little ones and need a flavor adjustment, here is one of my little tricks: After the syrup has simmered and cooled just before adding the honey, whisk in about 1/2 teaspoon of vanilla extract. It smooths out the tanginess perfectly, making a truly kid-friendly version!
Step-by-Step Instructions for the Stovetop elderberry syrup recipe
Okay, let’s get cooking! This is where the magic happens on the stovetop. First, grab your saucepan. We combine the elderberries, the water, the ginger, the cinnamon, and those cloves right in there. Don’t add the honey yet; we save that treasure for the end, I promise!
Bring that mixture up to a full boil. Once it’s bubbling happily, reduce the heat right away. You want it to simmer gently, partially covered. We are simmering for a good 45 minutes to an hour. Your goal is crucial: wait until the liquid has reduced by about half. This concentrates all those wonderful flavors!
Once it’s reduced enough, take the pan completely off the heat. Now, this part takes patience, but it’s important! Let it cool down for about 15 minutes. You need it to be merely lukewarm before we stir in that precious honey. If you want to see another recipe where simmering fruit is key, check out my easy homemade applesauce recipe!
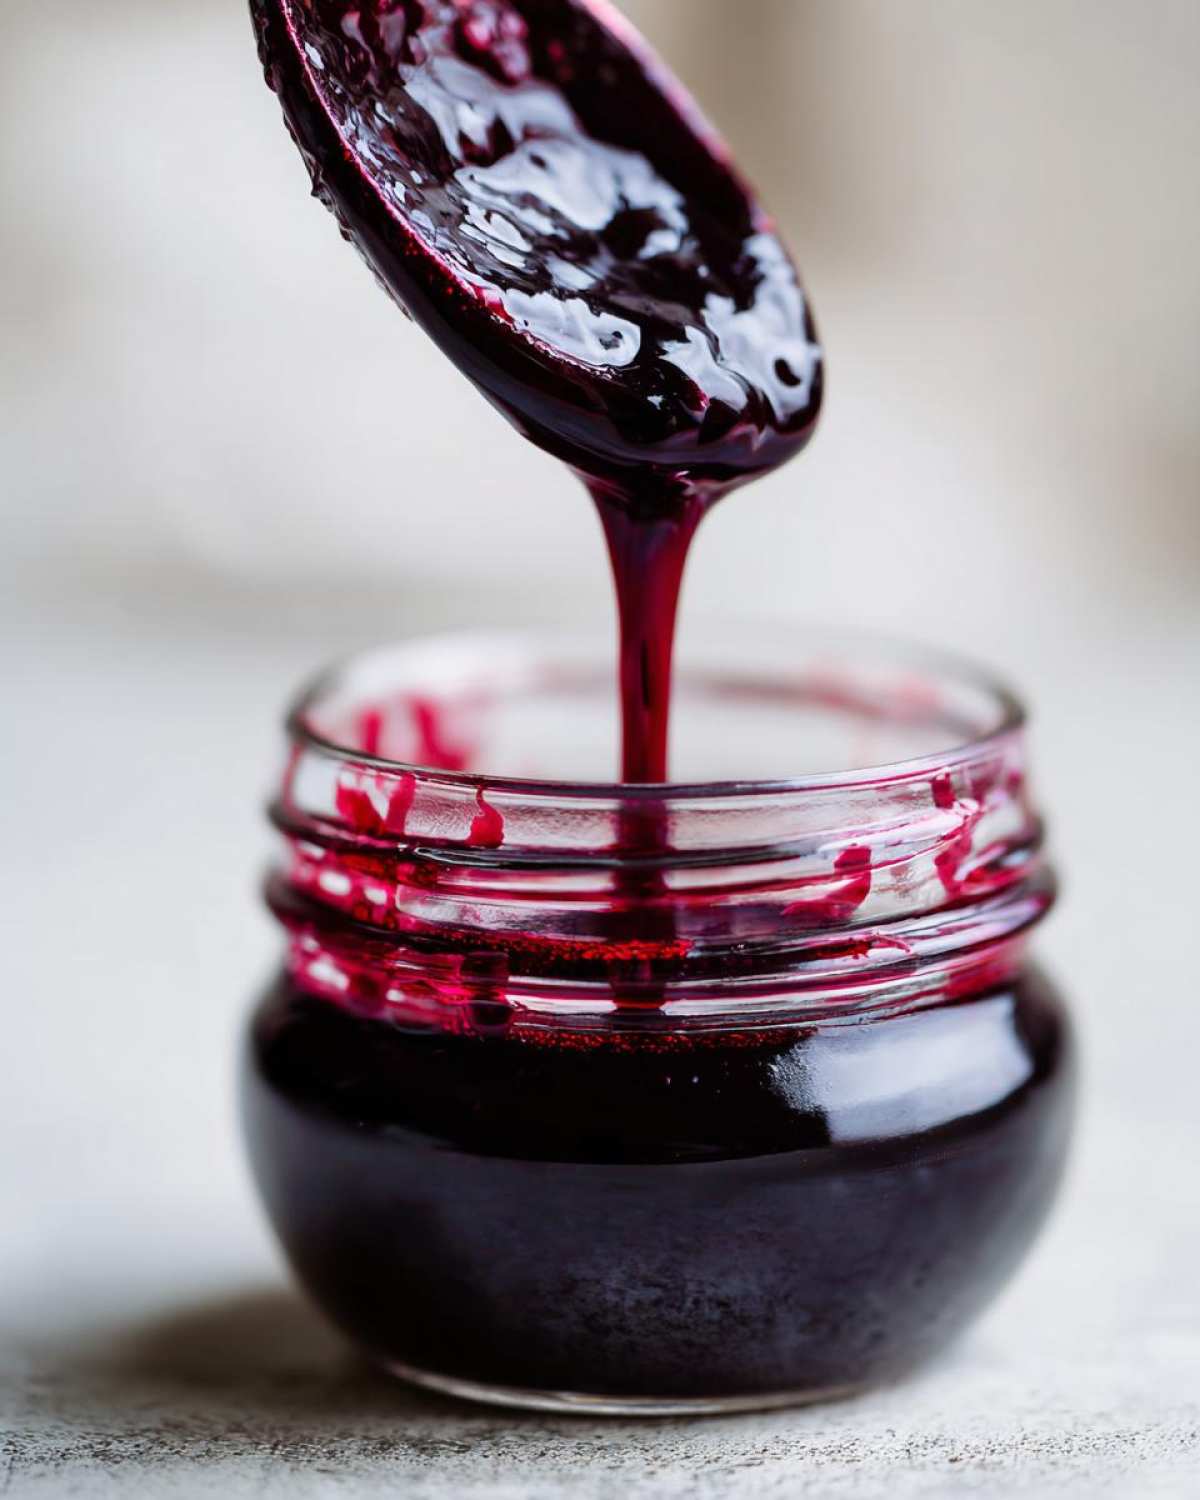
After it has cooled, you strain everything. I like to use a fine-mesh sieve lined with cheesecloth into a clean bowl. Squeeze gently on those solids to get every last drop of that concentrated liquid out. Goodbye, solids! Hello, beautiful honey elderberry tonic base!
Finishing the honey elderberry tonic
This is my nonna’s biggest rule: stir in the raw honey only when the liquid is lukewarm—definitely below 110°F (43°C). If it’s too hot, you cook away the good enzymes in the honey! Just stir slowly until that honey is completely dissolved into the elderberry liquid. Then, pour your finished syrup into sterilized jars. You’re almost done!
Storage Options: Refrigeration vs. canning elderberry syrup
Now you have this gorgeous, potent syrup, and you need to decide how to keep it safe! Since this is a small batch elderberry recipe, you have two fantastic options for storing your homemade immune syrup. Both methods are great, but one keeps it fresh longer on the shelf!
First up is simple refrigeration. If you are planning on using this batch up within a few weeks—say, for immediate school lunches or just over the holidays—just seal those sterilized jars tightly and pop them right into the fridge. I find this version is best for immediate immune boosting when you know you’ll sip it daily. You can keep it happily tucked away in the cold for about three weeks.
But, if you want to make a big batch now to stock up, we need to talk about canning elderberry syrup! This is how you make it shelf-stable. After you fill those jars and seal them up, you need to process them in a boiling water bath for exactly 10 minutes. Be careful, though—if you live somewhere high up, you might need to adjust that time based on your altitude, because that water boils at a lower temperature up there! If you’re looking for other great things to preserve, you should check out my easy homemade breadsticks recipe to see what else I love to seal up for later.

Once the canning process is done, just let those jars cool completely on the counter. You’ll hear that lovely little ‘pop’ sound as the lids seal tight. Always double-check those seals before you move them to your pantry shelf!
Tips for Success with Your small batch elderberry recipe
Making this small batch elderberry syrup requires just a few extra steps that really elevate the final product. Trust me, taking a little more care during straining and storage ensures you have the best cold-and-flu remedy ready to go! It’s all about quality control when you are making something to support your family’s health.
When you are straining, be thorough! Don’t be shy about pressing down on those cooked berries while they are in the cheesecloth or sieve. You want to extract every last bit of that concentrated goodness into your homemade immune syrup. If you feel you are only getting a few drops, give it one last firm squeeze. You’ll be surprised how much liquid is still hiding in there!

And if you chose to go the canning route, make sure you check those seals once the jars are cool. If a lid hasn’t popped down and sealed tightly, that jar isn’t shelf-stable. Pop that one into the fridge immediately and plan to use it within the next week or so. For more tips on making things perfectly, you can look at my easy chicken parmesan recipe; I use similar attention to detail there!
Dosage Guidance for Adults and Children
This is perhaps the most important part of keeping this honey elderberry tonic on hand: knowing how to use it! The dosage depends on whether you are using it daily for maintenance or ramping up when someone starts feeling under the weather.
For adults, we stick to 1 tablespoon daily when we are feeling fine for maintenance. But if someone in the house catches a bug, you can safely go up to 4 times a day. For the little ones—and this is crucial—only give this to children over one year old. For them, we start with 1 teaspoon daily for maintenance, increasing to 4 doses a day if needed when that sniffle hits.
Please, please remember this: never give any form of honey, including this syrup, to infants under one year old due to the risk of botulism. My Nonna was very clear on that rule, and it’s one I always follow strictly for safety!
Frequently Asked Questions about the elderberry syrup recipe
I know when you are committing to making a natural remedy, you have questions! It’s my job to make sure your first batch of this amazing elderberry syrup recipe comes out perfectly. These are the most common things people ask me about turning these berries into a fantastic canned elderberry syrup or a quick refrigerated tonic!
Can I use fresh elderberries in this elderberry syrup recipe?
Oh yes, you absolutely can! I often use fresh when the season is right. Just remember that dried berries are concentrated, so you need more volume when using fresh ones to get that same rich flavor. If the recipe calls for 1 cup of dried berries, always bump that up to 1.5 cups if you are picking them straight from the bush or buying them fresh. It’s an easy swap for your homemade immune syrup!
What is the best way to sweeten this homemade immune syrup?
The very best way, hands down, is by using raw honey added *after* the mixture has cooled down—this is the secret to keeping it a true honey elderberry tonic! If you boil the honey with the berries, you lose so many of the beneficial enzymes that raw honey brings to the table. We simmer the berries first to extract everything, then let it cool until it’s just barely warm before stirring in the honey. It makes a world of difference in potency, I promise!
Is there an alternative method to stovetop simmering, like using an instant pot elderberry preparation?
That’s a great question! While I have always stuck to the gentle stovetop simmer—that method really lets those spices bloom perfectly—I know many of you love your electric pressure cookers! You can certainly adapt this into an instant pot elderberry preparation by cooking under high pressure for a shorter time. However, the crucial rule remains the same: You must transfer the liquid to a separate container and let it cool before you ever, ever stir in that raw honey. Heat destroys the goodness, no matter what appliance you use!
If you’re looking for more ways to use your pantry staples, you should definitely peek at my date nut bread recipe—it’s perfect for using up those dried fruits!
Nutritional Estimates for Your Homemade Immune Syrup
When we talk about making a homemade immune syrup like this, I always want you to remember that these numbers are always educated guesses! We are using natural ingredients, and since everyone’s raw honey is a little different, the final count can shift slightly. But this gives you a good idea of what you are taking in when you enjoy your daily dose of this honey elderberry tonic.
We calculate these estimates based on a standard single tablespoon serving size from the total batch yield. It’s a small price to pay for such excellent natural support! For another comforting kitchen staple with estimated nutrition, you can look at my creamy old-fashioned stovetop rice pudding.
Here is the nutritional breakdown for one tablespoon serving taken from the final product made with the honey:
- Serving Size: 1 Tbsp
- Calories: 60
- Total Fat: 0g
- Sodium: 1mg
- Total Carbohydrates: 15g
- Total Sugars: 15g (Mostly from honey)
- Protein: 0g
See? Nothing scary here! It’s mostly complex carbs and natural sugars from the honey doing their job to make this elderberry syrup recipe taste so wonderfully sweet and palatable, even for the kids!
Share Your Experience Making This elderberry syrup recipe
Now that you have this beautiful, potent cold-and-flu remedy sitting on your counter—whether refrigerated or beautifully canned—I truly want to hear about it! Did the simmering time work perfectly for you? Did you have success with that water-bath canning elderberry syrup process? Please leave a rating below and tell me how your family is loving this homemade immune syrup! We love seeing your results.
And if you want even more inspiration, tips, and a little peek behind the scenes here at Gourmet Gusto, come join me, Lina Kohn, over on Pinterest! We share all sorts of wonderful culinary adventures there. Let’s keep sharing our passion for delicious, natural food!
Print
Homemade Elderberry Syrup Recipe for Immune Support
- Total Time: 70 min
- Yield: About 2 cups
- Diet: Vegetarian
Description
Make your own small batch elderberry syrup sweetened with honey. This recipe is perfect for water-bath canning or refrigeration for easy access when you need immune support.
Ingredients
- 1 cup dried elderberries (or 1.5 cups fresh elderberries)
- 3 cups filtered water
- 1 cup raw honey
- 1 tablespoon dried ginger root
- 1 teaspoon ground cinnamon
- 1/2 teaspoon ground cloves
Instructions
- Combine the elderberries, water, ginger, cinnamon, and cloves in a saucepan.
- Bring the mixture to a boil, then reduce heat and simmer, partially covered, for 45 minutes to 1 hour, until the liquid has reduced by about half.
- Remove the pan from the heat and allow the mixture to cool slightly, about 15 minutes.
- Strain the liquid through a fine-mesh sieve or cheesecloth into a clean bowl, pressing gently on the solids to extract all the liquid. Discard the solids.
- Once the elderberry liquid is lukewarm (below 110°F/43°C to preserve honey benefits), stir in the raw honey until fully dissolved. Do not boil the honey.
- Pour the finished honey elderberry tonic into sterilized jars.
- For refrigeration: Seal jars and store in the refrigerator for up to 3 weeks.
- For canning elderberry syrup: Process the sealed jars in a boiling water bath for 10 minutes (adjust time for altitude) to ensure a shelf-stable product. Let jars cool completely and check seals.
Notes
- Dosage guidance: Adults take 1 tablespoon daily for maintenance, or up to 4 times daily when feeling unwell. For children over one year old, give 1 teaspoon daily for maintenance, or up to 4 times daily when needed. Do not give honey to infants under one year old.
- Flavor tweak for kids: Add 1/2 teaspoon of vanilla extract after straining for a milder taste.
- If using fresh berries, increase the amount slightly as dried berries are more concentrated.
- This recipe makes a wonderful cold-and-flu remedy.
- Prep Time: 10 min
- Cook Time: 60 min
- Category: Health Tonic
- Method: Stovetop Simmering and Canning
- Cuisine: General
Nutrition
- Serving Size: 1 Tbsp
- Calories: 60
- Sugar: 15
- Sodium: 1
- Fat: 0
- Saturated Fat: 0
- Unsaturated Fat: 0
- Trans Fat: 0
- Carbohydrates: 15
- Fiber: 1
- Protein: 0
- Cholesterol: 0


Comments are closed.