

Oh, those gorgeous summer berries! When my kitchen smells like sun-warmed raspberries, I feel like I’ve captured pure magic, and I always want to lock that flavor away before the season ends. Forget those complicated jars filled with stuff you can’t pronounce; I want simple, vibrant fruit! That’s why I have to share my absolute favorite way to make raspberry jam—it’s shockingly easy. We are talking about a recipe using just three ingredients, and guess what? You do not need any added pectin whatsoever! Trust me, this small batch comes together so fast, you’ll have jars ready for the fridge or freezer before your coffee gets cold. It’s the vibrant taste of summer preserves, Lina-style!
Why This Easy Jam Recipe Makes the Best Raspberry Jam
Why fuss around when you can have perfection with almost no effort? When people ask me for the best raspberry jam, I always point them to this method. It really shines because it respects the fruit. We’re keeping the ingredient list tight, which means the fresh flavor of the raspberries just sings!
- You need barely anything! No weird thickeners, just pure fruit, sugar, and acid.
- It’s incredibly fast—perfect for that small batch you want to try out today.
- This truly is the easy jam recipe that beginners adore.
For those who want to see how others are making delicious, pectin-free fruit spreads, I always suggest looking at great sources like the tips on making homemade raspberry jam.
Quick Raspberry Jam: Ready in Under 30 Minutes
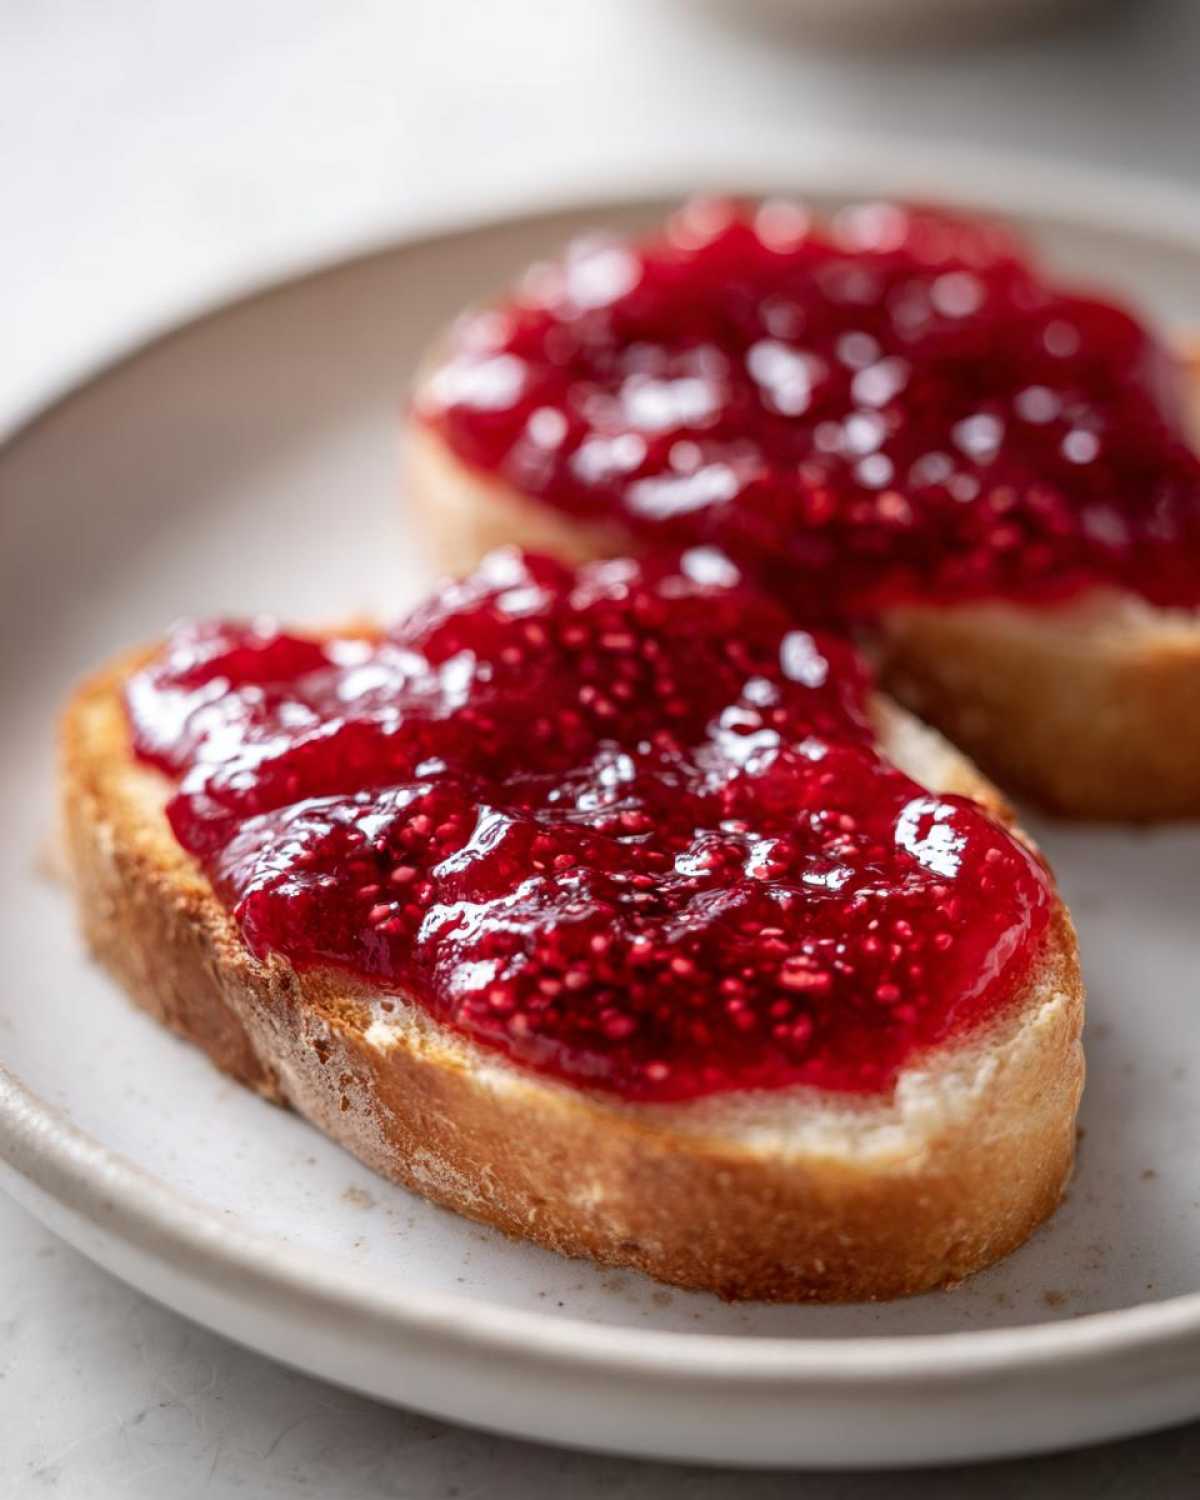
I mean it when I say quick! The entire hands-on time, from the moment the berries hit the pan to when you’re cooling the finished jars, is usually under 30 minutes total. It’s the fastest way to get that rich, summery taste onto your morning toast. No waiting around for pectin to bloom or complex methods, just simple, fast cooking.
The Secret to Perfect Raspberry Jam Without Pectin
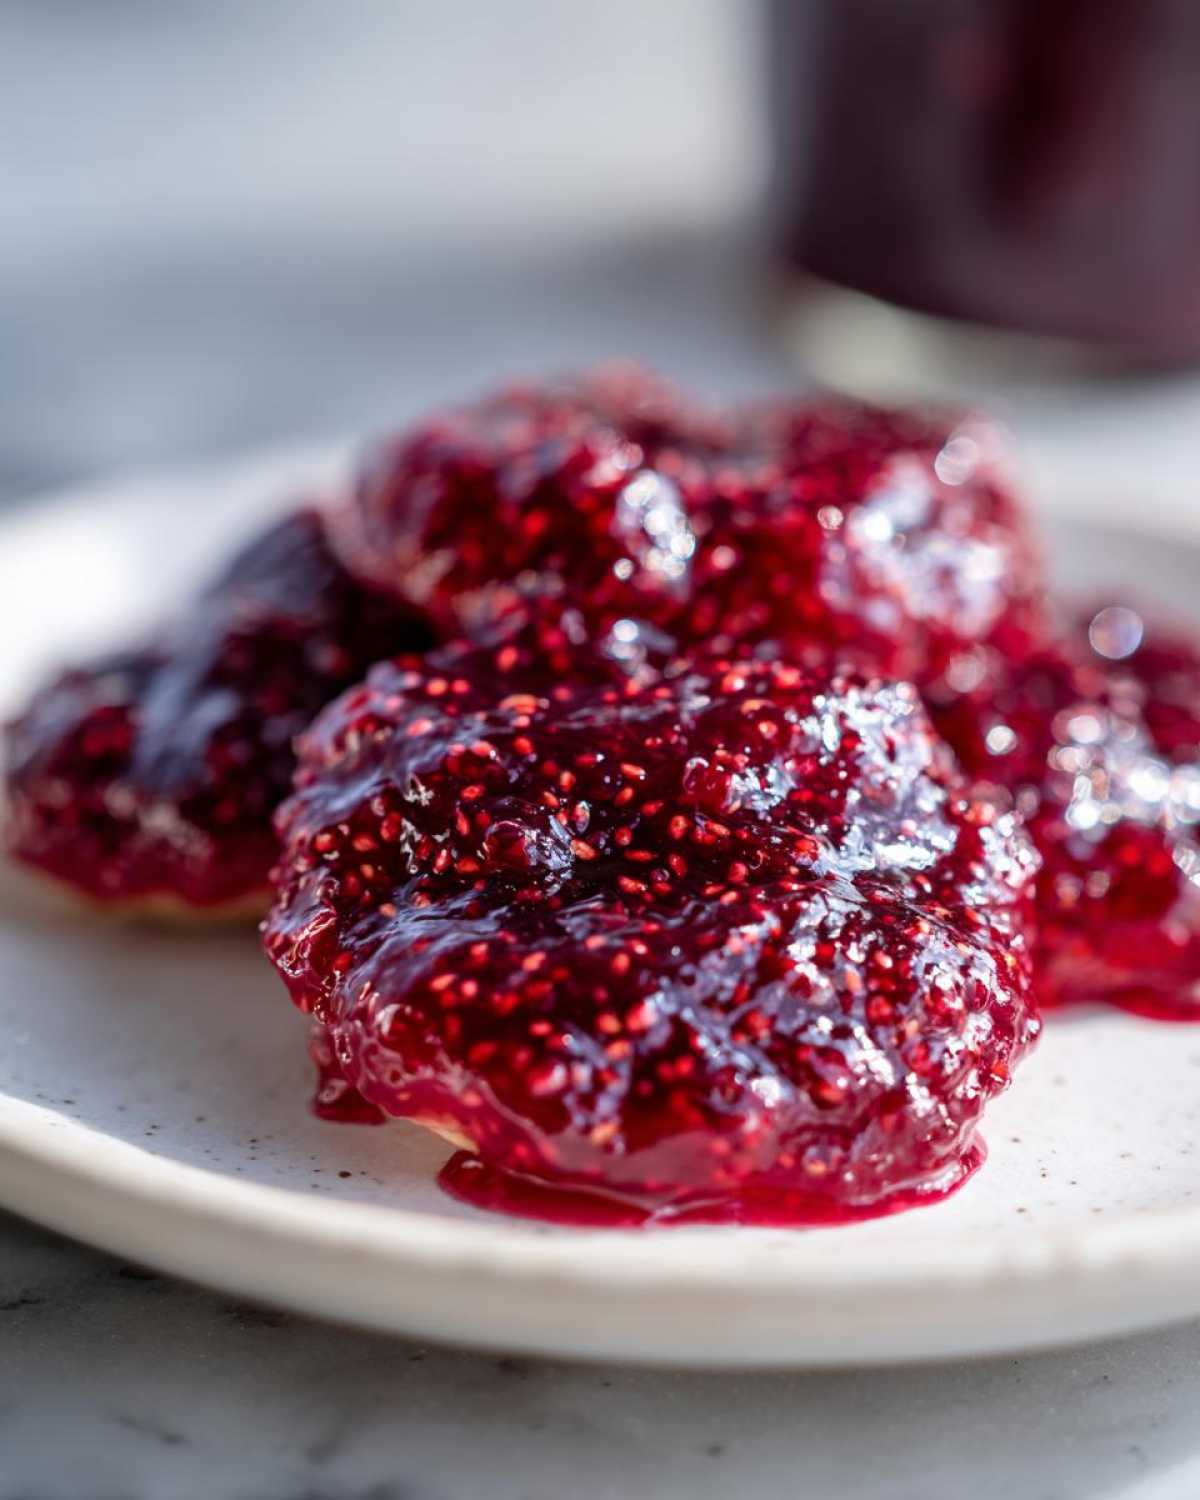
People always worry about thickening, but raspberries are fantastic natural helpers! We rely on the fruit’s natural pectin content, which is activated by the sugar and the acid from the lemon juice. It’s a beautiful, natural chemistry trick! This is why this raspberry jam without pectin sets up so nicely, giving you that perfect texture without anything artificial. It’s tradition working in your favor!
Ingredients for Your 3 Ingredient Raspberry Jam
Okay, now for the best part: the shopping list! Or, perhaps, the ‘check your pantry’ list! You truly won’t believe how few things we need for this perfect batch of homemade raspberry jam. When I share this simple list, people are often skeptical, but I tell them, “Just trust the process!” Remember, quality matters here since there are so few elements.
To make about 1 ¼ cups of this spreadable delight, you will need:
- 2 cups fresh or frozen raspberries (Yes, frozen works beautifully!)
- 1 cup granulated sugar (Just plain white sugar is perfect here.)
- 1 tablespoon fresh lemon juice (This is our natural pectin booster!)
If you’re looking for a recipe that keeps things super straightforward, this is it! You can check out other simple methods for making jam, like those shared on easy 3 ingredient jam guides, but I promise this one is tried and true.
Ingredient Notes and Seedless Raspberry Jam Option
Let’s talk specifics because those little details make the difference between good jam and great jam. You can absolutely use raspberries straight from the freezer; there’s no need to thaw them first, as they’ll break down quickly in the pot!
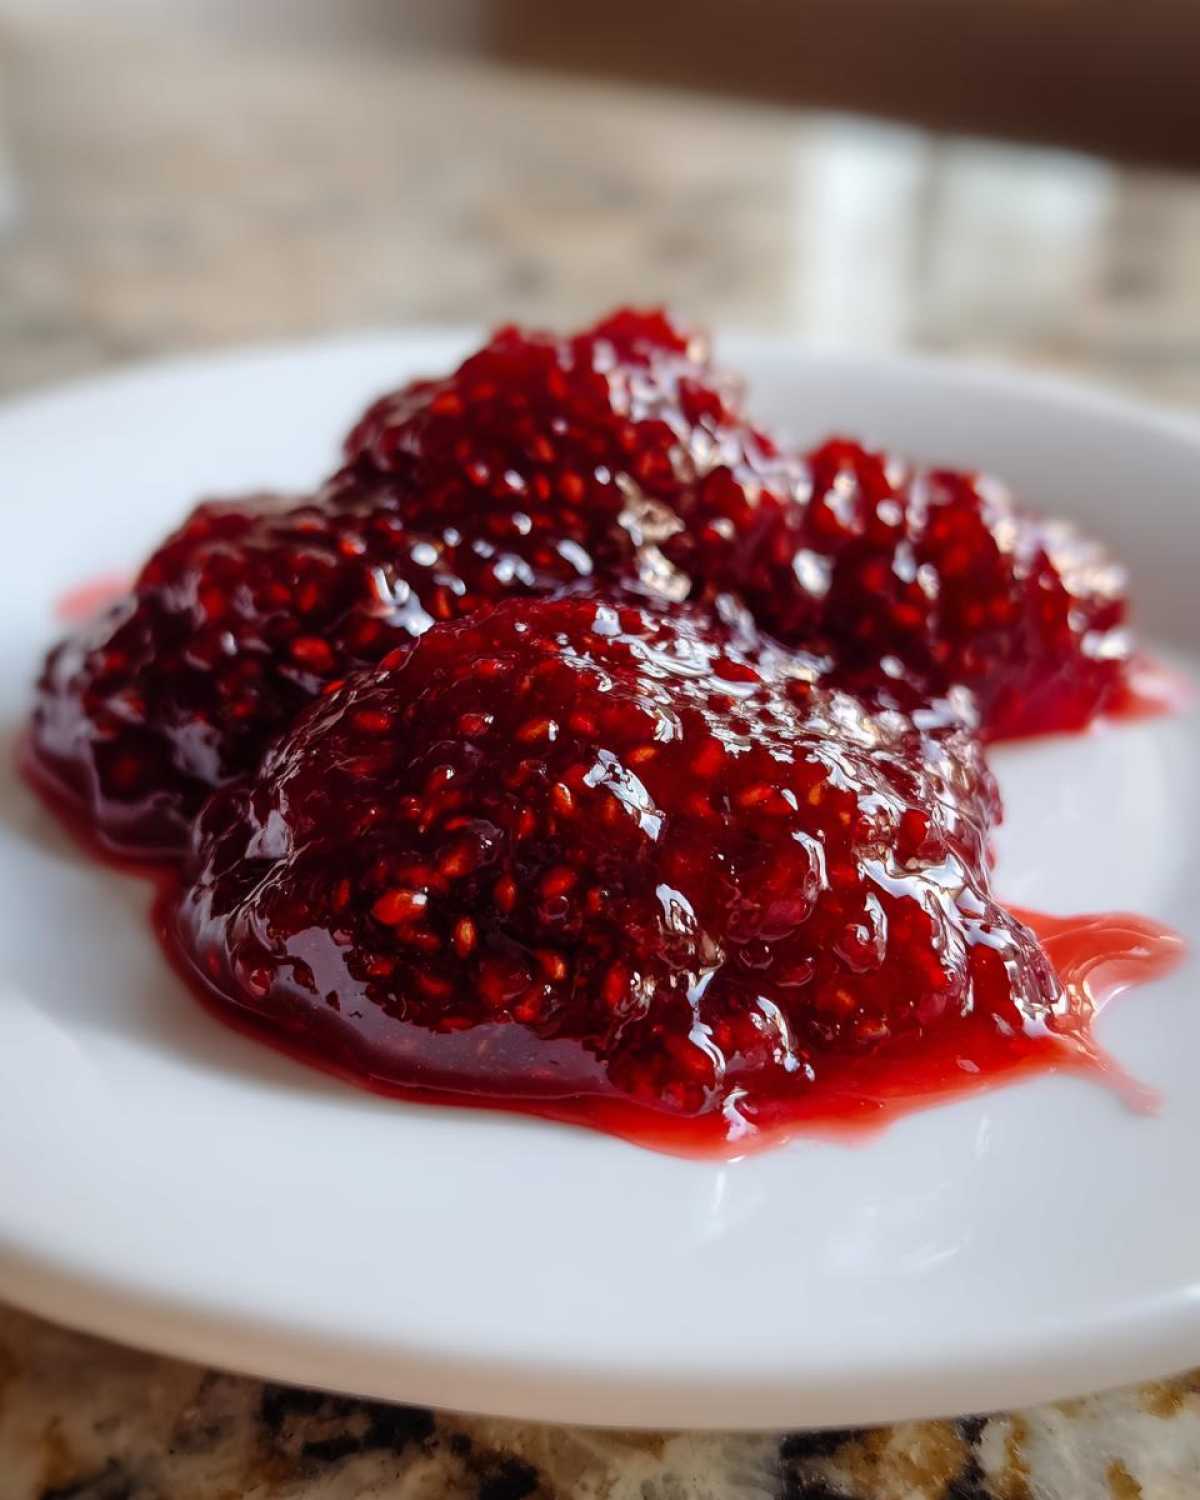
Now, if little seeds drive you crazy—and I totally get it, sometimes you want that silky texture—we can address the seedless raspberry jam question right here! If you prefer that smooth experience, you’ll want to cook down your fruit first, as instructed in Step 1. THEN, before you add the sugar, gently press that warm berry mush through a fine-mesh sieve using the back of a spoon. You’ll drain away most of those pesky seeds and be left with gorgeous, clear juice to continue your cooking. Just be patient with that pushing step!

How to Make Homemade Raspberry Jam: Step-by-Step Instructions
Alright, let’s get cooking! Making this homemade raspberry jam is where the fun really happens. I just love this part because the aroma that starts filling my kitchen—that mix of sweet berries hitting the heat—it’s intoxicating! It smells exactly like late summer, doesn’t it? I always work on medium heat to start, just to make sure everything melts together nicely before things get exciting.
Here is exactly what you need to do:
- You’ll start by popping those raspberries—fresh or frozen, remember—into a nice, medium, heavy-bottomed saucepan. We need that heavy bottom so we don’t scorch the bottom, trust me on this one! Cook them over medium heat, stirring gently now and then, until they actually break down and release all their lovely juices. This usually takes about five to seven minutes. If you want less texture, now is the time to gently mash them with a potato masher; I find it gives the final product a lovely, smooth base.
- Next, stir in your sugar until you can’t feel any more grainy bits—it needs to be totally dissolved! Once it dissolves, you bring the whole thing up to a full, roaring, rolling boil. This is important! It must be a boil that absolutely will not stir down.
- Now, toss in your lemon juice. Then, you keep boiling hard! You have to stir frequently now, maybe every minute or so, because the sugar loves to stick and burn if you walk away. This rapid boiling stage is what activates that natural thickening power. Keep going for about 8 to 12 minutes, watching it get thicker and glossier.
- Once it looks like it’s getting quite syrupy, it’s time for the secret check. You *must* test for the set!
If you’re looking for more guidance on getting that perfect structure, checking out posts on quick methods, like those found on the best way to preserve raspberries, can be super helpful for beginners!
Achieving the Perfect Set for Your Raspberry Jam
This is the moment of truth, my friends! You cannot rely on time alone; cooking fruit is tricky. Before you even start cooking, take a small plate and put it in the back of your freezer. When you think your jam is maybe done, you remove the pan from the heat—don’t skip that!—and spoon a tiny bit of the hot jam onto that chilled plate, returning it to the freezer for just one minute. When you pull it back out, gently push the jam with your fingertip. If it wrinkles slightly, like when your skin gets wrinkly after being in the bath, you’re golden! It’s set! If it just slides away, it’s still too runny, and you need to put it back on the heat for a few more minutes before checking again. This test is what separates great jam from just-okay jam.
Once you confirm that set, take the pan off the heat immediately. If you see any foamy bubbles floating on top—and you often will—just skim them off with a spoon. They don’t taste bad, but they can make the top of your jam look cloudy, and we want clarity!
Finally, pour that beautiful, hot jam right into your clean jars, making sure you stop filling at about 1/4 inch down from the rim (that’s your headspace). Let them sit on the counter for a little while to cool down before sealing them up. My favorite way to enjoy a jar fresh is spread thick on a warm fresh-baked breadstick!
Small Batch Raspberry Jam Storage and Freezer Jam Instructions
Because this is such a fantastic small batch jam recipe, we usually eat it before we even think about long-term storage! It’s just too delicious! Since we aren’t using canning stabilizers in this simple version, we rely on the fridge or the freezer to keep things perfectly fresh. This is where you get your reward for making such a quick batch!
I love that I can have some ready right away, maybe even stirring a spoonful into my morning nut muffins, and tuck the rest away for later.
Refrigerator Jam vs. Freezer Jam Instructions
Choosing your storage method is the very last decision you’ll make. If you plan to finish your batch within about three weeks, the refrigerator is your best friend. Just seal those jars tightly once they’ve cooled a bit, and keep them chilling. They’ll be readily spreadable all the time!
Now, if summer’s bounty has you making jam for a rainy day—or for next Christmas—the freezer is the way to go! This freezer jam instructions method keeps the jam tasting super vibrant for months. You can lock in that freshness for up to six months, sometimes even longer, sealed tight in the jar. Super easy for preserving those summer flavors!
If you want more inspiration on preserving berries without the fuss of water baths, looking up fresh and easy raspberry freezer jam guides can give you lots of quick ideas!
Tips for Making the Best Raspberry Jam Every Time
Even though this is such a simple recipe for raspberry jam, I’ve learned a few tricks over the years to make sure it’s absolutely perfect and tastes just like it came from my nonna’s sunny Italian kitchen. The biggest enemy here is scorching, but don’t worry, it’s easy to avoid once you know the secret!
First off, please use a heavy-bottomed saucepan. I know it sounds fussy, but when sugar boils, it likes to stick to thin metal and burn fast. A heavier pot distributes that heat evenly, keeping your jam smooth, not gritty. When you get to the high boil, stir it often—don’t let it sit unattended for more than a minute!
Remember that skimming foam I mentioned earlier? Do it right before you jar the jam. That foam can trap air and make your beautiful preserves look cloudy later on. It’s a small step, but it assures that glossy, professional finish. If you want more expert pointers on achieving that ideal texture, I often refer to the helpful hints on easy homemade raspberry jam recipes when I’m teaching friends.
I try to keep everything moving smoothly, just like when I’m making my super easy chicken parmesan; good results come from paying attention during the cooking phases!
Using Your Simple Fruit Preserves: Raspberry Jam Topping Ideas
Now that you have this gorgeous, bright, fresh raspberry jam cooling down, you might be wondering what to do with one of the most delicious small batches you’ve ever made! Honestly, as soon as it’s safe to dip a spoon in—and I always sneak a taste when it’s just slightly warm—I find myself putting it everywhere. Forget saving it just for toast; this jam is like liquid summer!
Because we have focused on keeping the flavor bright and natural, these raspberry topping ideas are endless. It’s so much better than anything store-bought, and it elevates even the simplest meal. If you’re struggling to use a whole jar quickly (though I doubt you will!), check out fun places people use their homemade spreads, like those inspiring ideas on easy raspberry jam recipes.
Pairing Fresh Berry Preserves with Breakfast Staples
Of course, it’s fantastic on toast, but let’s think bigger! Our family loves using this on top of warm, fluffy pancakes—especially when I make my sourdough pancakes on a Sunday morning. It’s also amazing layered between scones instead of clotted cream, or even dolloped generously over Greek yogurt with a sprinkle of granola.
My absolute favorite way to enjoy this jam, though? I take a spoonful, warm it up just slightly so it’s perfectly runny, and spoon it over a slice of toasted brioche cheese bread—it sounds strange, I know, but the sweet-tart fruit cutting through the richness of the egg bread is just heavenly. Don’t limit yourself; this jam belongs everywhere!
Frequently Asked Questions About Making Raspberry Jam
It’s natural to have questions when you venture into making preserves, especially when you are deliberately trying to avoid commercial thickeners! I totally understand that. We want our raspberry jam to be safe, delicious, and perfectly textured. Asking questions is the best way to ensure success. Remember, the beauty of this recipe is its simplicity, but that simplicity requires careful handling of the set!
Can I water bath can this raspberry jam without pectin?
This is a very important question regarding safety! For this specific easy jam recipe—the one with only three ingredients—the answer is truly no, I do not recommend water bath canning it for long-term shelf stability. This recipe is formulated specifically for the sugar/acid ratio to create a lovely, thick, soft set suitable for the refrigerator or freezer only. If you want to safely can jam for your pantry, you must always follow tested guidelines that specifically call for added pectin or a guaranteed high acid/sugar ratio, which might change the texture we love here.
Can I use frozen raspberries for this easy jam recipe?
Oh, yes, absolutely! I mentioned it earlier, but I want to emphasize it here because it’s so useful. Using frozen berries is a wonderful trick, especially if you get a great deal on them or have leftovers from summer! The main thing you’ll notice is that the berries will take a little longer in that very first step, Step 1, to really break down and release their juices. Be patient, keep the heat medium, and stir until they soften up nicely before adding the sugar.
How do I make seedless raspberry jam from this recipe?
If you are after that perfectly smooth texture, this recipe handles it easily! If you look back at the notes under the ingredients, I mentioned the technique for creating seedless raspberry jam. Basically, once the berries have cooked down and released their juice (Step 1), you need to push that warm mixture through a fine-mesh sieve before you add the sugar and boil everything again. You’ll lose some volume, but you’ll get that luxurious, smooth consistency. It takes a little elbow grease, but it’s worth it if you dislike the seeds!
When you are ready for your next batch or just want some ideas on how to use up that delicious jam, don’t forget to check out my recipe for moist date nut bread—it’s lovely with a layer of this fresh spread! And for more general preserving tips, you can always browse great advice on how to make jam at home.
Estimated Nutritional Data for Homemade Raspberry Jam
Now, you know I’m an old-school cook, not a scientist, and my focus is always on the flavor and heart of the dish! But because so many of you ask about tracking what goes into your food, especially something sweet like this wonderful summer fruit jam, I’ve put together the estimated nutritional breakdown for you. Please remember, this information is calculated based *only* on the core ingredients listed in the recipe (two cups of raspberries, one cup of white sugar, and the lemon juice) and divided into standard serving sizes.
The data below is based on a serving size of just 2 tablespoons. Since this jam relies heavily on fruit and added sugar, you will see that reflected in the carbohydrates, but the flavor is pure summer bliss!
- Serving Size: 2 tablespoons
- Calories: 100
- Sugar: 25g (Yes, sugar is essential for the set!)
- Fat: 0g
- Saturated Fat: 0g
- Protein: 0g
- Sodium: 1mg
- Cholesterol: 0mg
- Carbohydrates: 26g
- Fiber: 1g
If you are looking for ways to incorporate delicious homemade flavors into your desserts or breakfast spreads in a less sugary way, sometimes what you need is a creamy base to cut through the sweetness! You might enjoy trying my recipe for creamy old-fashioned stovetop rice pudding sometime—it pairs surprisingly well with a dollop of this fresh jam!
Share Your Best Raspberry Jam Creations!
Oh, now that we have successfully bottled up a little bit of sunshine, I truly want to see what you do with your beautiful raspberry jam! This feeling of making something with such simple homemade raspberry jam ingredients is just the best, and I love seeing it come to life in your kitchens.
Please, when you make this recipe, come back here and leave me a star rating! Tell me how it turned out for you—did it set perfectly on the first try? Which storage method did you choose, the fridge or the freezer?
And please, share photos on social media and tag me! I adore seeing your jars lined up; they bring me so much joy, reminding me of my own childhood in Italy making preserves with my grandmother. For more vibrant ideas on fruit preserves and beautiful food inspiration, you should definitely come join our community over on Pinterest! We share everything from quick tips to full weekend cooking projects there, like ideas found on simple fruit preserves.
If you’re looking for another delicious recipe to try out next, maybe something savory just to balance all that sweet jam, you absolutely must try my recipe for sweet and savory pork steak. Happy cooking, my friends! I can’t wait to hear all about your sweet success!
Print
Easy 3-Ingredient Homemade Raspberry Jam (No Pectin Needed)
- Total Time: 25 min
- Yield: About 1 1/4 cups
- Diet: Vegetarian
Description
You will love this simple homemade raspberry jam recipe. Made with just three natural ingredients, this jam thickens beautifully without added pectin. It is perfect for spreading on toast, topping yogurt, or using in your favorite baking projects. This recipe is great for small batches you can keep in the fridge or freezer.
Ingredients
- 2 cups fresh or frozen raspberries
- 1 cup granulated sugar
- 1 tablespoon fresh lemon juice
Instructions
- Place the raspberries in a medium, heavy-bottomed saucepan. Cook over medium heat, stirring occasionally, until the berries break down and release their juices, about 5 to 7 minutes. You can gently mash them with a potato masher if you prefer a smoother texture.
- Stir in the sugar until it dissolves completely. Bring the mixture to a full, rolling boil that cannot be stirred down.
- Add the lemon juice. Continue to boil rapidly, stirring frequently to prevent scorching, for about 8 to 12 minutes. The jam will begin to thicken.
- Test for set: To check if the jam is ready, remove the pan from the heat. Spoon a small amount onto a chilled plate (keep a plate in the freezer for this). Return the plate to the freezer for 1 minute. If the jam wrinkles slightly when you push it with your finger, it is set. If it is still very runny, return the pan to the heat and boil for a few more minutes, testing again.
- Remove the jam from the heat. Skim off any foam that has formed on the surface using a spoon.
- Pour the hot jam into clean jars, leaving 1/4 inch headspace. Let the jam cool slightly on the counter before sealing. This jam is best stored in the refrigerator for up to 3 weeks or in the freezer for up to 6 months.
Notes
- For seedless raspberry jam, press the cooked berry mixture through a fine-mesh sieve before adding the sugar and continuing the cooking process.
- If you plan to water bath can this jam for shelf stability, you must follow tested canning guidelines, which often require precise measurements of pectin or a specific ratio of sugar to fruit. This simple recipe is primarily intended for refrigerator or freezer storage.
- This recipe makes a small batch, perfect for beginners or when you have a small harvest of summer fruit.
- Prep Time: 5 min
- Cook Time: 20 min
- Category: Preserves
- Method: Stovetop Cooking
- Cuisine: American
Nutrition
- Serving Size: 2 tablespoons
- Calories: 100
- Sugar: 25g
- Sodium: 1mg
- Fat: 0g
- Saturated Fat: 0g
- Unsaturated Fat: 0g
- Trans Fat: 0g
- Carbohydrates: 26g
- Fiber: 1g
- Protein: 0g
- Cholesterol: 0mg


Comments are closed.