
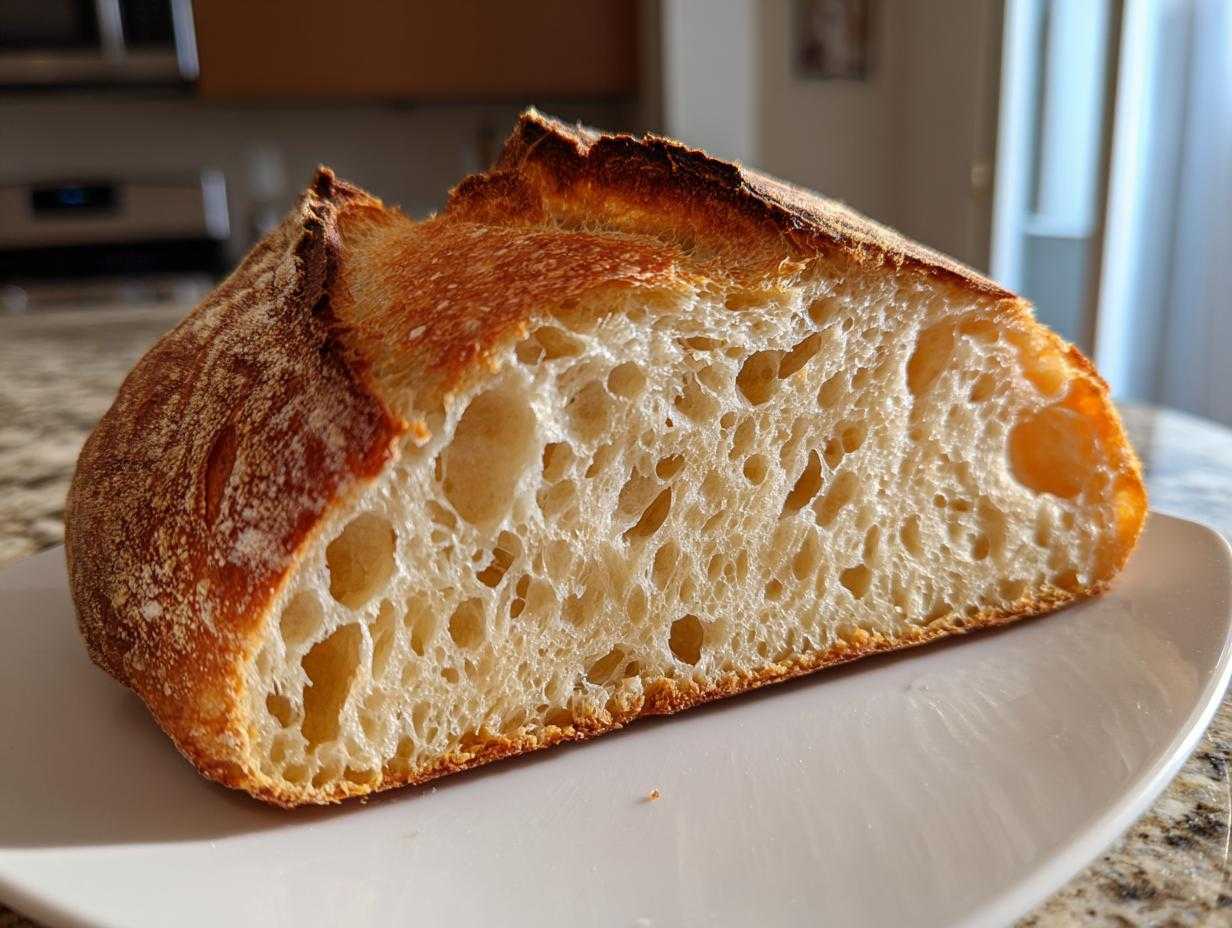
Oh my goodness, there is just nothing in the world that smells quite like a freshly baked sourdough loaf pulled right out of the oven. That crackle when it cools? Perfection! I’ve been churning out naturally leavened breads for years now—I think I’ve killed more starters than I care to admit, but that’s how we learn, right?
If you’re past the baby starter stage and ready to stop scrolling through endless options, I’ve done the hard work for you. We’re diving deep into the absolute must-bake, highest-success-rate sourdough recipes that you simply need to try. Forget the basic stuff; these are the recipes that give you that gorgeous, open crumb and that amazing tangy flavor. Trust me, these specific Sourdough Recipes Need Try will become your new favorites.
Why These Are the Sourdough Recipes Need Try Now
So, why are *these* on my must-bake list? It’s simple: they work, every single time, provided your starter is happy. I focused only on recipes that deliver consistent results and introduce one or two solid, critically acclaimed sourdough markers, like that perfect oven spring.
These aren’t just random finds; they represent the next level sourdough baking experience we’ve all been chasing. If you master these, you’ve truly unlocked the magic of natural leavening in your own kitchen.
Recipe 1: The Ultimate Artisan Sourdough Loaf (Top Rated Sourdough Breads)
Okay, let’s get down to business. If there is one loaf you have to nail, it’s this classic artisan sourdough. This is the recipe that put me on the map with our local bread club, and it consistently produces those beautiful, airy interiors—that perfect sourdough crumb everyone dreams about!
Don’t be intimidated by the long timeline; most of that is just waiting around for the magic to happen, which is my favorite part! The real work is done in the mixing and shaping. I’ve simplified the instructions below to make sure your bake is a runaway success. Focus on your starter’s activity, and you’ll have one of the top rated sourdough breads on your cooling rack.
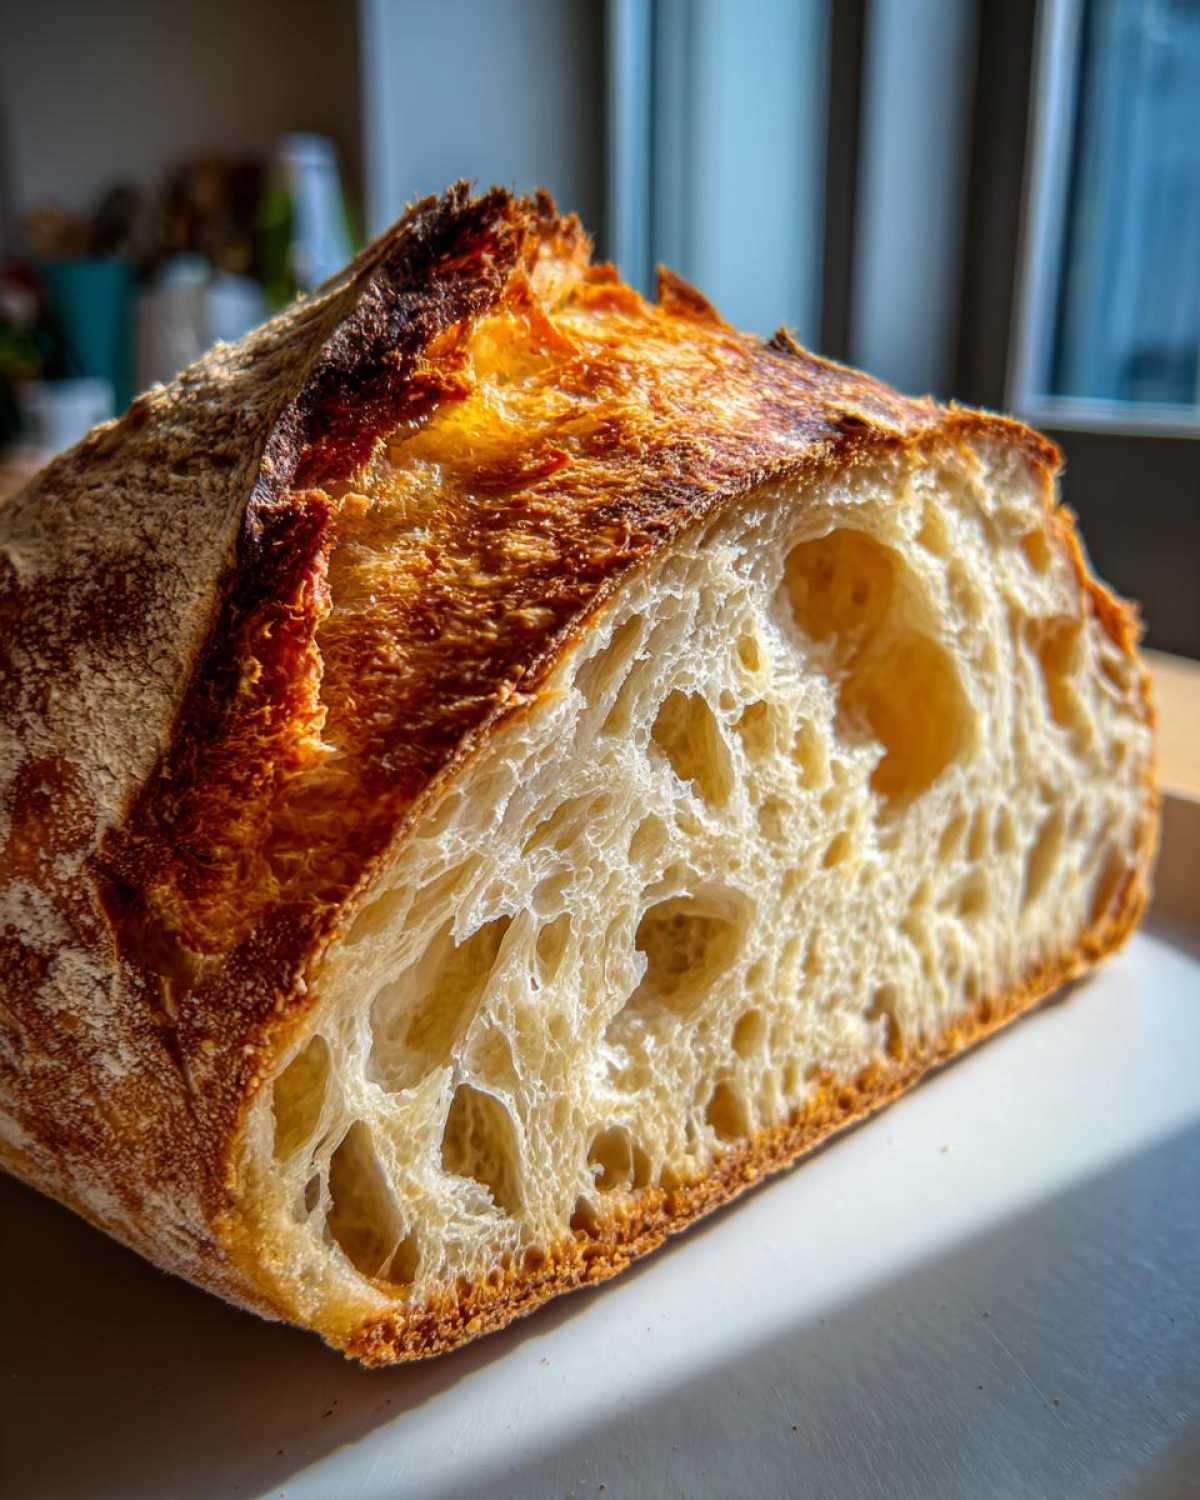
Ingredients for Your Classic Artisan Sourdough Loaf
Here is the lineup! Get your scale ready, because for sourdough, grams are your best friend here. It just removes all the guesswork.
- 350g strong bread flour (Trust me, don’t skimp on the protein!)
- 150g whole wheat flour (This adds that lovely depth of flavor we want.)
- 350g water, warmed slightly to about 85°F (Warm water helps kickstart the fermentation.)
- 100g active sourdough starter—it should be bubbly and doubled since its last feed, about 4-6 hours old.
- 10g fine sea salt
Step-by-Step Instructions for Successful Sourdough Baking for Home Kitchens
This is where we put in the effort to get that amazing result later. Follow these timings close—they matter!
- First, mix the flour and water together in about two minutes until none of the flour is dry. It will look shaggy! Cover it up and leave it alone for 30 minutes. This rest, the autolyse, hydrates your flour beautifully.
- Now, add your active starter and salt right on top. Get your hands in there and squish and squeeze everything together until it feels like one sticky mass.
- Set a timer for two hours. During those two hours, you’ll perform four sets of stretch and folds. That means lifting one side of the dough up and folding it over itself, rotating the bowl, and repeating until you’ve gone all the way around. Space these sets 30 minutes apart.
- After the folds, let the dough chill out on the counter for its bulk fermentation. You are looking for it to increase in volume by about 30% to 50%. If your kitchen is cold, this could take five hours; if it’s warm, maybe only three!
- Carefully turn the dough out onto a *lightly* floured surface. Gently pull the edges up to create surface tension and fold it into a tight round or oval shape.
- Flour your banneton basket generously—I use a mix of rice flour and bread flour, ha! Place the dough seam-side up inside the basket. Then, immediately tuck it into the fridge for a loooong, cold proof, anywhere from 12 to 18 hours. This develops the sour flavor!
- When you pull it out, preheat your oven to 500°F (260°C) with your Dutch oven sitting inside for a full hour. Maximum heat is key!
- Carefully flip that cold dough onto a piece of parchment paper. Take your razor blade—or lame—and score a single, decisive slash across the top. Be bold!
- Use the parchment paper sling to carefully lower the dough into that screaming hot Dutch oven. Cover it right away.
- Bake it covered for 20 minutes. Then, take the lid off, drop the temperature down to 450°F (230°C), and let it ride for another 25 to 30 minutes until it’s a deep, gorgeous mahogany brown.
- Patience time! Let it cool completely on a rack before slicing. Resist the urge—I know it’s hard!
Expert Tip: For the best oven spring (that beautiful lift!), make sure your starter is not just doubled, but that it passes the float test! Drop a tiny piece in water; if it floats happily, it’s ready to go. Using water that’s slightly warmer than room temperature also helps wake up the yeast faster during that initial mix.
Expert Tips for Achieving the Perfect Sourdough Crumb
That open, airy texture isn’t luck; it comes down to a few crucial physical steps. If you want that holy grail open honeycomb crumb, pay extra attention here.
- Shaping Tension is Everything: When you do that final shape in step 5, think tight skin! You need to pull the outer layer of the dough taut without tearing it. A tight surface holds the gas better during the final proof and baking.
- Don’t Be Shy with the Score: Scoring tells the dough where to expand. If your slash isn’t deep enough—about a half-inch deep—the loaf will burst out somewhere else unpredictable. Make one confident, deep cut right before it goes into the pot.
- Steam Management: That initial covered bake in the Dutch oven is crucial because it traps the steam released by the dough. Steam keeps the crust soft for the first 20 minutes, allowing the loaf to expand to its maximum size before the crust sets hard. If you use a stone instead of a Dutch oven, you absolutely must create steam underneath it!
Beyond the Loaf: Other Essential Sourdough Recipes Need Try
Now, I know we all love that standard, beautiful artisan loaf—it’s the king, absolutely! But what are you going to do with the discard when your starter is booming every day? We simply cannot waste those amazing bubbles!
That’s why my list of Sourdough Recipes Need Try has to include things that eat up that excess starter. You’ve proven you can make the big bread; now it’s time to show off your versatility. If you’re looking to make something fast and incredibly tasty without fussing over bulk fermentation again, these are for you.
Variation Idea: Sourdough Discard Pancakes
I swear by my morning sourdough discard pancakes recipe. You just mix in some milk, eggs, a little baking soda, and maybe a touch of sugar, and boom—pancakes with a beautiful light tang. They puff up unbelievably well, too, thanks to the acidity already present in the discard.
This is the key to successful sourdough baking for home kitchens—honestly, it’s about making sure nothing goes to waste. Plus, they come together faster than I can brew my coffee!
Troubleshooting Common Issues When Making Sourdough Recipes Need Try
Even when following the best guides, sometimes our loaves just don’t cooperate, right? Don’t toss that flat frisbee in despair! Nine times out of ten, it boils down to one of two things: the starter or the temperature.
If your loaf is always flat and dense, check your starter activity first. If it wasn’t bubbly enough before you mixed it in, you simply won’t have enough gas production to lift all that great flour and water. That’s the core of successful sourdough baking for home kitchens—you have to respect the starter!
My second tip addresses loaves that look good but have a gummy center. This usually means you cut it too soon! That internal steam needs time to settle and redistribute once it’s out of that 500°F oven. Seriously, wait two hours, even if you’re starving. That cooling time sets the entire structure.
Ingredient Spotlight: Understanding Your Flour and Starter Hydration
I want to talk for a second about ingredients because even when you’re following the absolute best Sourdough Recipes Need Try, if the flour isn’t right, you’ll struggle for that perfect rise.
For artisan loaves like this, you simply must use strong bread flour, and here’s why: gluten! Bread flour has a higher protein content. When you mix it and work the dough through those folds, that protein develops into a strong gluten network. That network is what traps all the carbon dioxide gas our starter makes. Weak flour just collapses under the pressure, which is why you end up with a dense hockey puck instead of airy bread.
Also, quick note on hydration—the main recipe uses 100% hydration. That just means for every 100 grams of flour, you added 100 grams of water. So, if you used 500g of flour total, you’d use 500g of water. This is standard for happy starters and makes the dough sticky and manageable for those stretch-and-folds we did earlier. It seems like a lot of water, but trust the process!
Storage & Reheating Instructions for Your Artisan Sourdough Loaf
You finally baked that gorgeous loaf, and now you’re staring at it, wondering how to keep it tasting like it just came out of the Dutch oven tomorrow. Listen up, this part is important for savoring the fruits of your labor!
First thing’s first: once it is completely cool—and I mean *completely* cool, like room temperature plus an extra hour—you need to decide on storage. Never, ever put a fresh, warm sourdough loaf in plastic! It traps humidity and makes that beautiful crust go soft and soggy instantly. That’s a tragedy. I always store my leftover loaf cut-side down on a wooden cutting board, covered loosely with a linen tea towel.
If you need it to last longer than two days, slicing it and freezing it is the way to go. It keeps wonderfully! When you’re ready for a slice, just pull it straight from the freezer and pop it right into the toaster or under the broiler. Toasting bread straight from frozen is the best hack!
But if you have half a loaf sitting around and it’s looking a little sad and dry the next day, here is my expert revival trick. Wrap the whole loaf (or the remaining half) loosely in aluminum foil, dampening the foil slightly with water first—not soaking, just damp. Pop it in a 350°F oven for about 8 to 10 minutes. The foil traps the revived steam, and when you take it out, that crust is almost as crackly as day one. It’s pure magic, I promise you!
Frequently Asked Questions About These Sourdough Recipes Need Try
I always get the same questions when folks try bread recipes for the first time, especially when we are leveling up with naturally leavened goods. Here are the answers to the things I know you’re wondering about!
Can I use all-purpose flour instead of bread flour in these Sourdough Recipes Need Try?
You *can*, but don’t expect the same results! Remember what I said earlier about gluten? Bread flour has that high protein content that locks in all the gas. All-purpose flour is softer. If you use it, your dough will likely be much stickier, feel really slack after the stretch and folds, and you will end up with a far denser crumb structure—more like a tight sandwich loaf than an open artisan bake. If you must substitute, use about 80% bread flour and 20% all-purpose flour for the best result.
What is the ideal temperature for bulk fermentation for Best Sourdough Recipes?
Consistency is your secret weapon here, more than the exact number, but a happy spot is usually between 74°F and 78°F (23°C to 26°C). If your kitchen is colder, say down near 68°F, your bulk fermentation might take 8 or 9 hours instead of 4, because the yeast activity slows way down. If it’s hotter than 80°F, you risk over-proofing quickly and losing that sourdough tang. I keep a little probe thermometer near my dough during winter months to keep an eye on things!
How long does it take to build an active starter for these Must Bake Sourdough Guides?
This depends entirely on how old your starter is and your room temperature! If you have a vibrant, healthy starter that you fed regularly, you might just need one strong feeding to get it peaking for the recipe. If you’re reviving an old jar from the fridge, give yourself 3 to 5 days of consistent twice-daily feedings before you attempt these must bake sourdough guides. You are looking for it to double reliably within 6-8 hours after feeding, and it should smell yeasty and pleasantly tangy, not like nail polish remover!
Serving Suggestions for Your Artisan Sourdough
You’ve done the hard work, endured the long proofing times, and now you have this magnificent, crackly, tangy loaf sitting on your counter. It deserves better than just ordinary toast, right? I always feel like the serving suggestions should match the effort we put into the bake!
When that bread is fresh, the crust is singing, and the crumb is perfectly airy, you only need simple accompaniments to really let that sourdough flavor shine. Forget fancy spreads; let the bread be the star of the show for the first few slices!
Here are my absolute top three ways to enjoy this bread—they’re designed to celebrate the wonderful texture and flavor profile we just baked up:
- The Butter Test: Seriously, just get some really high-quality European-style butter, let it soften for thirty minutes, and spread it on a thick slice. The slight tang of the sourdough plays off the richness of the cultured butter so beautifully. It’s the purest way to taste your success.
- Dipping into Soup: This bread is built for dipping. It has the structure to hold up to liquid without instantly crumbling into mush. My favorite pairing lately is a big, rustic bowl of easy Tuscan white bean soup. Skewering the bread on the spoon and scooping up beans and broth? Unbeatable.
- Elevated Avocado Toast: If you’re going for avocado toast, don’t just mash it on tired bread. Toast a decent slice until it’s crispy on the outside but still slightly soft inside. Smash an avocado with a heavy dose of flaky salt, maybe a squeeze of lemon, and a sprinkle of red pepper flakes. Because the sourdough is so sturdy, it handles the toppings without giving way.
Every time I serve this loaf, I get compliments, and it’s all down to those simple accompaniments letting the artisan flavors speak for themselves!
Share Your Sourdough Success
Well, my friends, we’ve come to the end of the line! We’ve talked technique, we’ve discussed the magic of autolyse, and we’ve armed you with the essential blueprint for that incredible artisan loaf.
Now it’s your turn! Baking sourdough is a journey, and seeing your successes—or even your slight mishaps that teach you something new—is the best part of running this kitchen. I sincerely hope you’ve found that this recipe gives you everything you need for that deeply satisfying, crackly crust.
So, go grab your Dutch oven and get mixing! I want to see what you create. Be sure to share photos of your result when you try one of these Sourdough Recipes Need Try! Drop a comment below and let me know which one you tackled first, and don’t forget to rate the recipe so I know what to focus on next time!
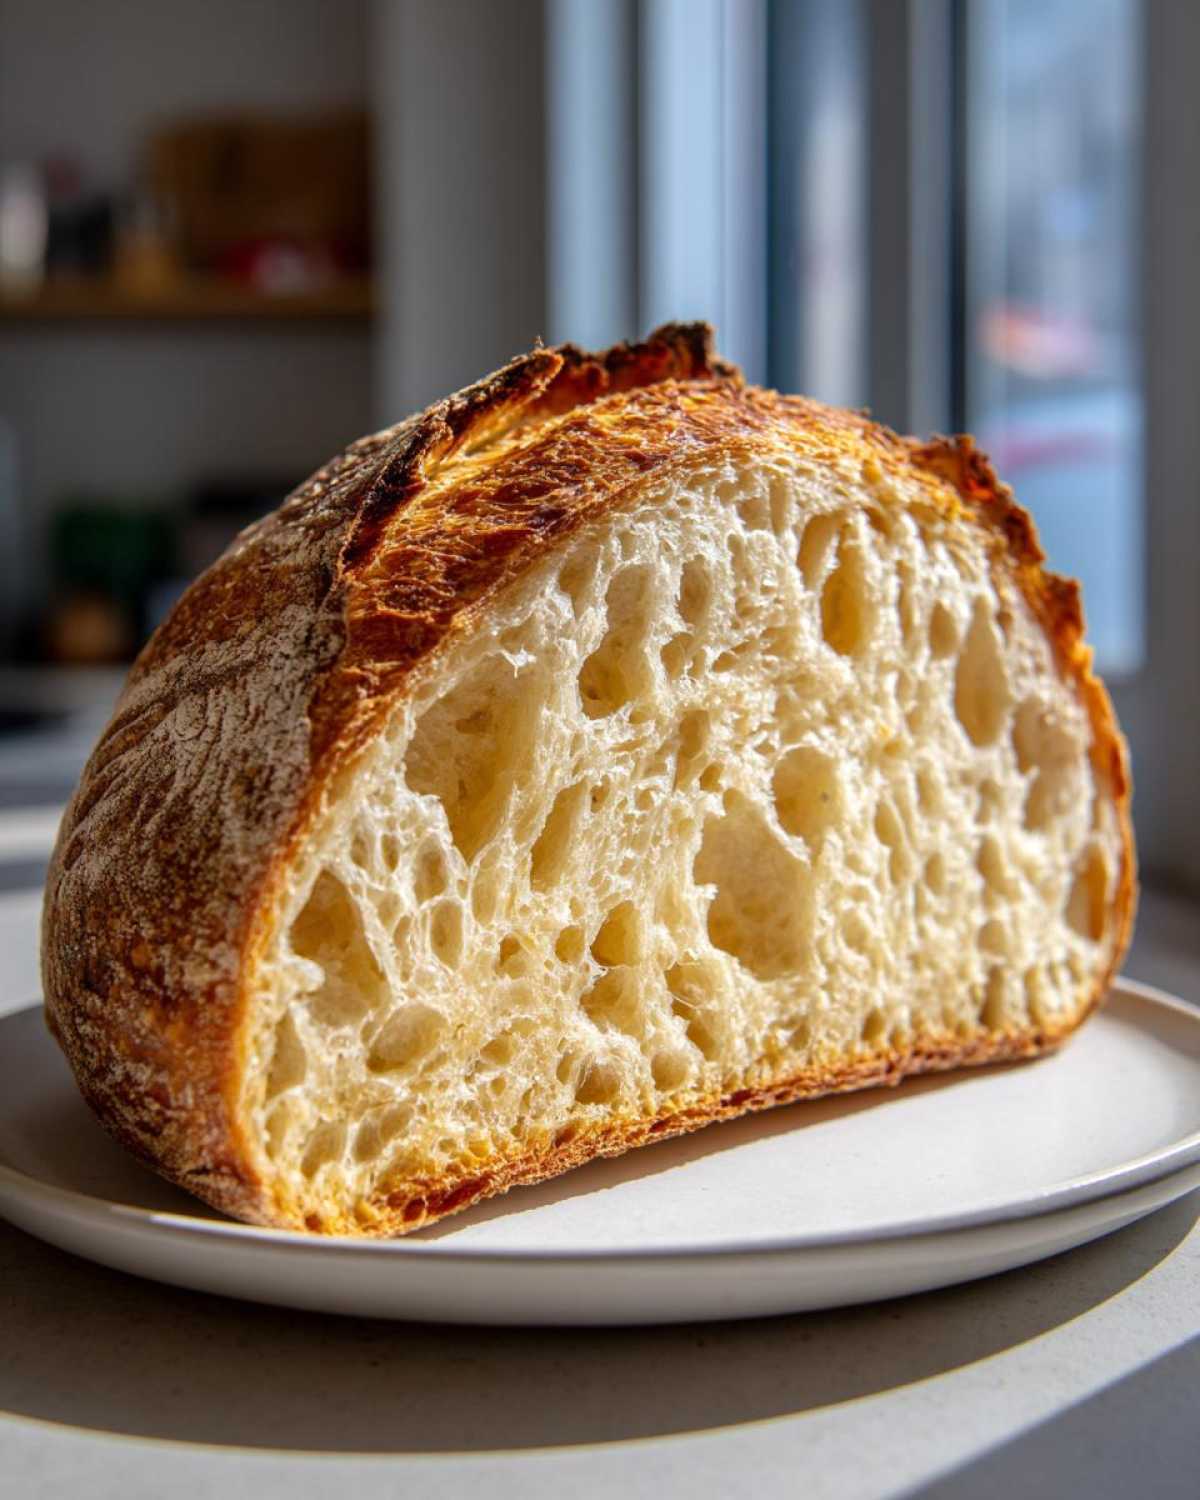

Classic Artisan Sourdough Loaf
- Total Time: 14 hours 55 min
- Yield: 1 loaf
- Diet: Vegetarian
Description
This recipe guides you through making a standard, high-quality artisan sourdough loaf with a good crust and open crumb.
Ingredients
- 350g strong bread flour
- 150g whole wheat flour
- 350g water (around 85°F)
- 100g active sourdough starter (100% hydration)
- 10g fine sea salt
Instructions
- Mix flour and water in a bowl until just combined. Cover and let rest for 30 minutes (autolyse).
- Add the starter and salt to the dough. Mix thoroughly by hand until fully incorporated.
- Perform four sets of stretch and folds, spaced 30 minutes apart, over the next two hours.
- Let the dough bulk ferment at room temperature until it has increased in volume by about 30-50% (this depends on room temperature, usually 3-5 hours).
- Gently shape the dough into a tight round or oval.
- Place the dough seam-side up in a floured banneton basket. Cold proof in the refrigerator for 12-18 hours.
- Preheat your oven to 500°F (260°C) with a Dutch oven inside for one hour.
- Carefully turn the cold dough out onto parchment paper. Score the top surface deeply with a razor blade.
- Carefully lower the dough (using the parchment paper) into the hot Dutch oven. Cover.
- Bake for 20 minutes covered. Remove the lid, reduce the temperature to 450°F (230°C), and bake for an additional 25-30 minutes until deep golden brown.
- Cool completely on a wire rack before slicing.
Notes
- Use filtered water if your tap water is heavily chlorinated.
- For a better oven spring, make sure your starter is very active and recently fed before mixing.
- If you do not have a Dutch oven, bake on a preheated baking stone and use a steam pan in the bottom of the oven.
- Prep Time: 30 min
- Cook Time: 55 min
- Category: Bread
- Method: Baking
- Cuisine: American
Nutrition
- Serving Size: 1 slice
- Calories: 250
- Sugar: 0.5
- Sodium: 450
- Fat: 1.2
- Saturated Fat: 0.2
- Unsaturated Fat: 1.0
- Trans Fat: 0.0
- Carbohydrates: 52
- Fiber: 3
- Protein: 10
- Cholesterol: 0



Comments are closed.