

Okay, listen up, because sometimes you just can’t handle the heat—literally. When summer hits, or when my week turns completely upside down and I need snacks *yesterday*, the oven is the last place I want to be. That’s why I’m completely obsessed with these! We’re talking about the ultimate easy chewy no bake granola bars that come together faster than it takes to preheat your oven. Trust me, when you master this simple, sticky binder, you’ll be making these no bake snacks every single Monday in preparation for the week ahead. They are my secret weapon for healthy grab and go snacks!
Why These Are the Best No Bake Granola Bars You Will Ever Make
Forget those rock-hard, crumbly bars you sometimes find in the checkout aisle. These are different. The secret to this recipe is locking in that perfect texture. If you’ve struggled before with bars that just shatter when you cut them, it was probably your liquid binder ratio. Here, we gently melt the peanut butter and honey just enough to make them flow beautifully.
When you follow the measurements exactly, you get the most satisfying, chewy granola bars recipe imaginable. They hold together beautifully without being gummy. It’s honestly one of the best no bake treats I’ve ever developed.
Perfectly Chewy Texture Every Time
The chew comes directly from that sweet, sticky melted magic we create on the stovetop. It coats every single oat particle. If your bars are too hard, you probably cooked the honey too long, making it almost like candy cement rather than a glue. If they are too soft, you didn’t press them down hard enough in the pan!
We want that lovely bend when you pull a bar in half. This texture is what makes them so satisfying as energy bars no bake options.
Making No Bake Granola Bars for Healthy Grab and Go Snacks
The best part about these quick meal prep bars is that you control everything that goes into them. We’re skipping all those weird stabilizers and preservatives. You know exactly how much sugar and fat is in there, making them perfect for packing in lunch boxes.
I keep a batch ready for spur-of-the-moment needs—a hike, a quick afternoon slump, or just something for the kids when they run in the door starving. They truly shine as amazing healthy grab and go snacks. No fuss, no counting calories trying to figure out weird labels, just wholesome goodness!
Gathering Ingredients for Your Ultimate No Bake Granola Bars
Okay, let’s talk supplies! When you’re making something reliant on things sticking together without the oven’s help, precision is your best friend. These aren’t the time to eyeball the measurements, especially for the sticky stuff. A small imbalance here and suddenly your gorgeous batch turns into loose cereal!
That said, the ingredient list is short, which is why I love them so much. I highly recommend checking out my guide on kitchen staples if you need to stock up on any of these basics first. Getting your binders right is the key to these no bake granola bars success!
Dry Components: Oats and Mix-ins
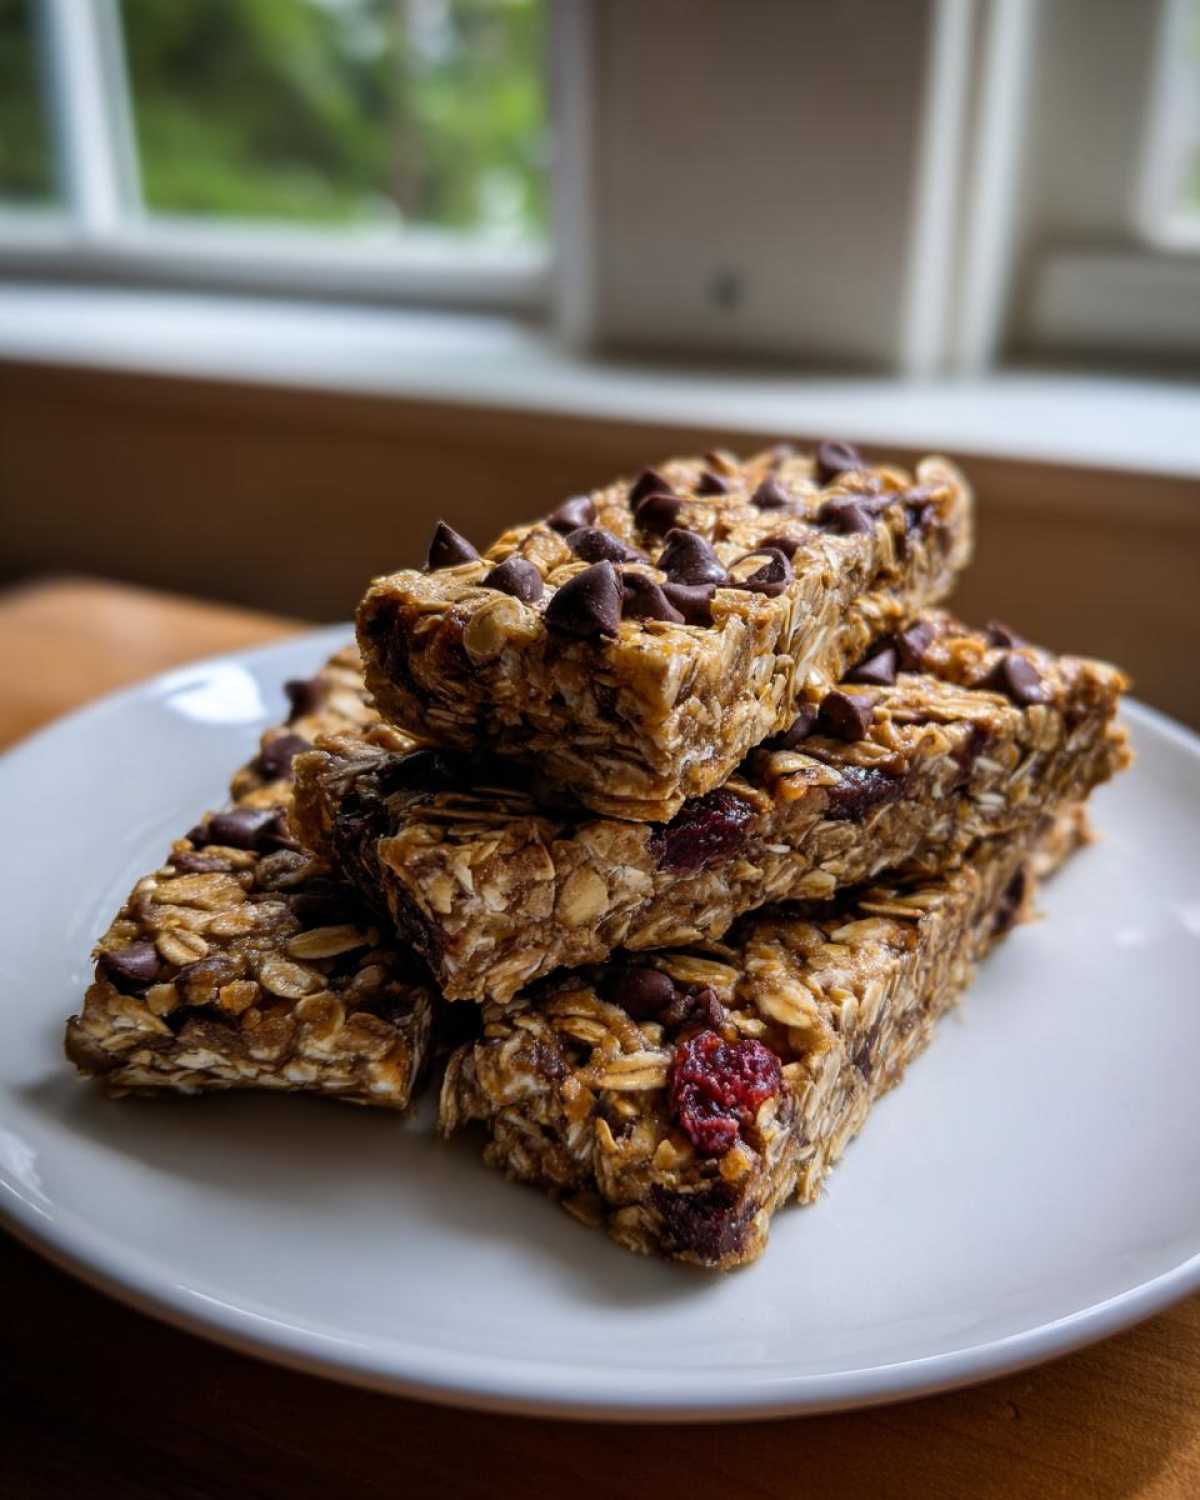
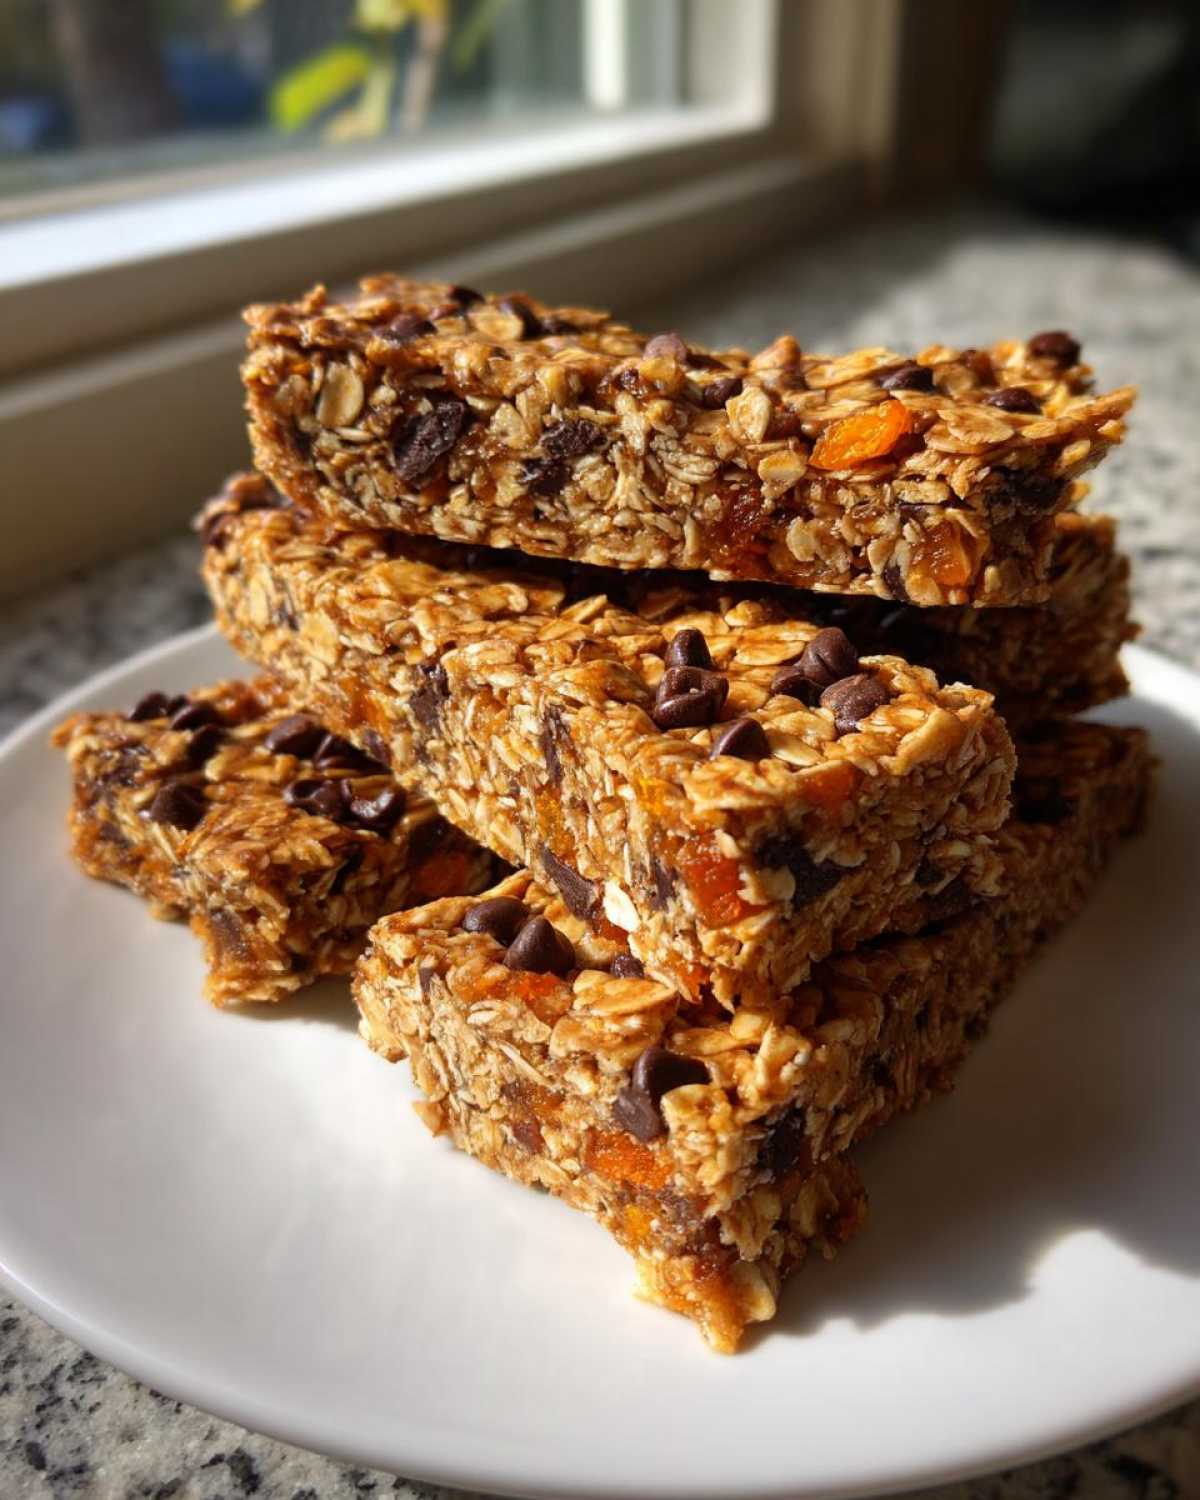
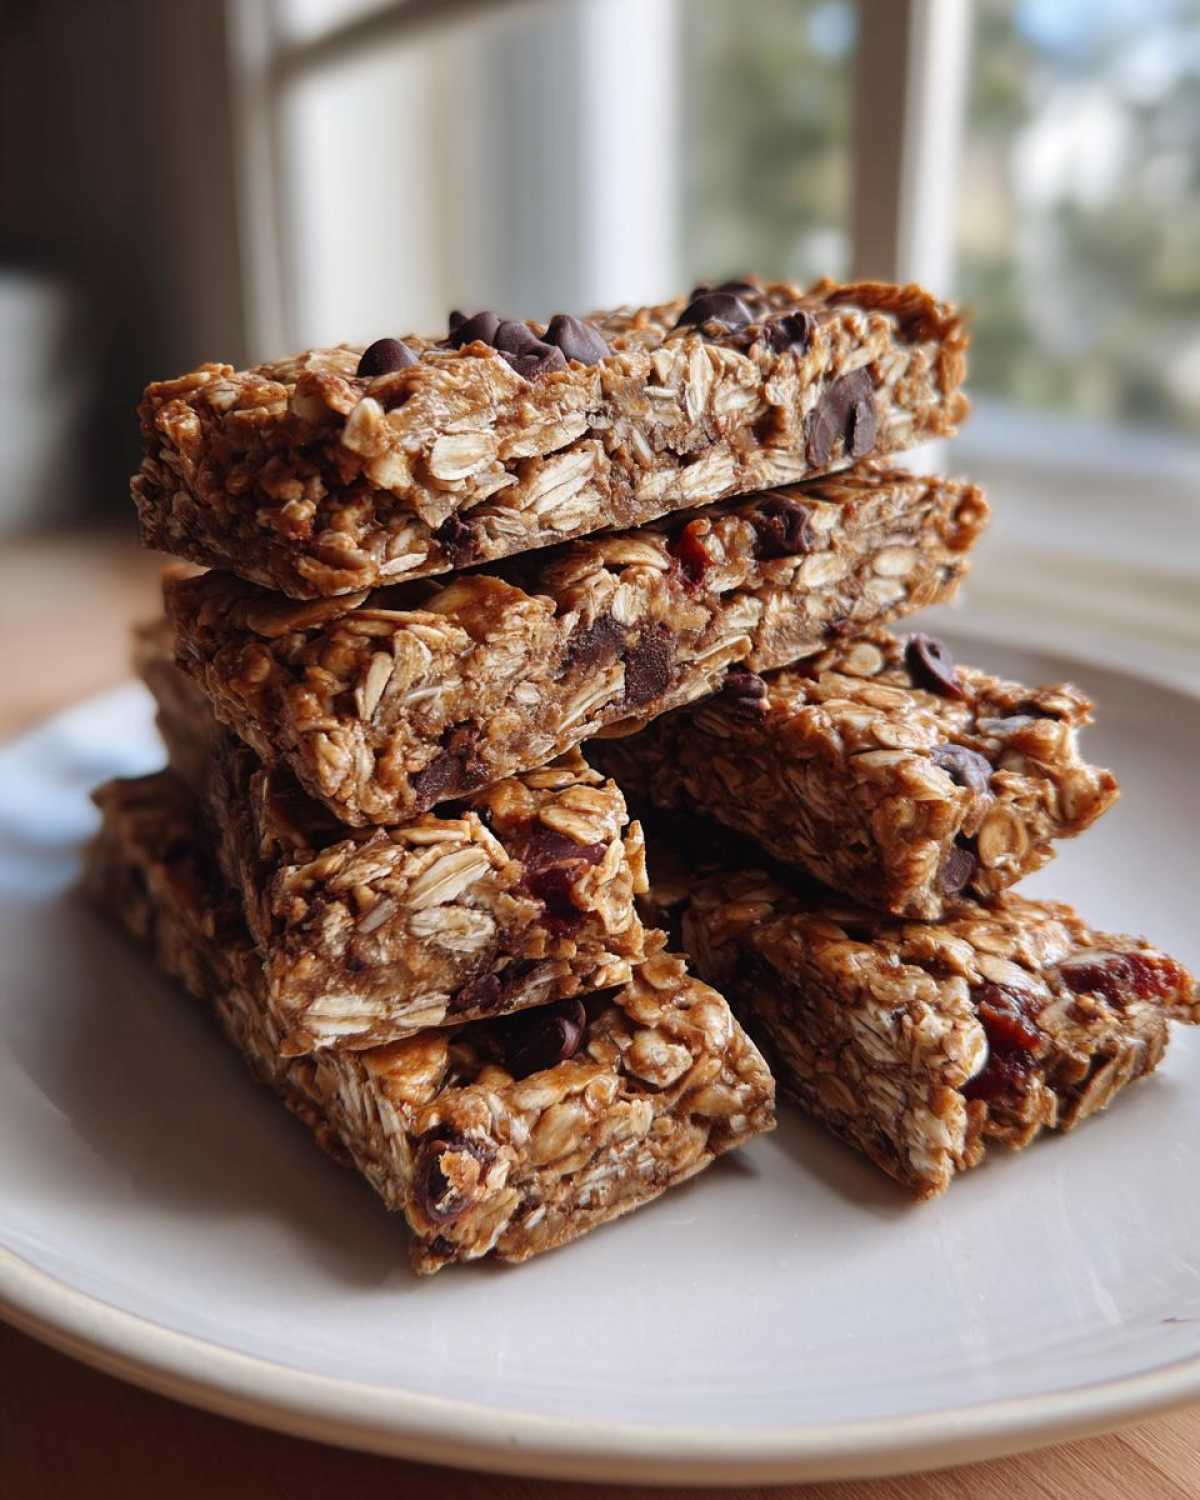
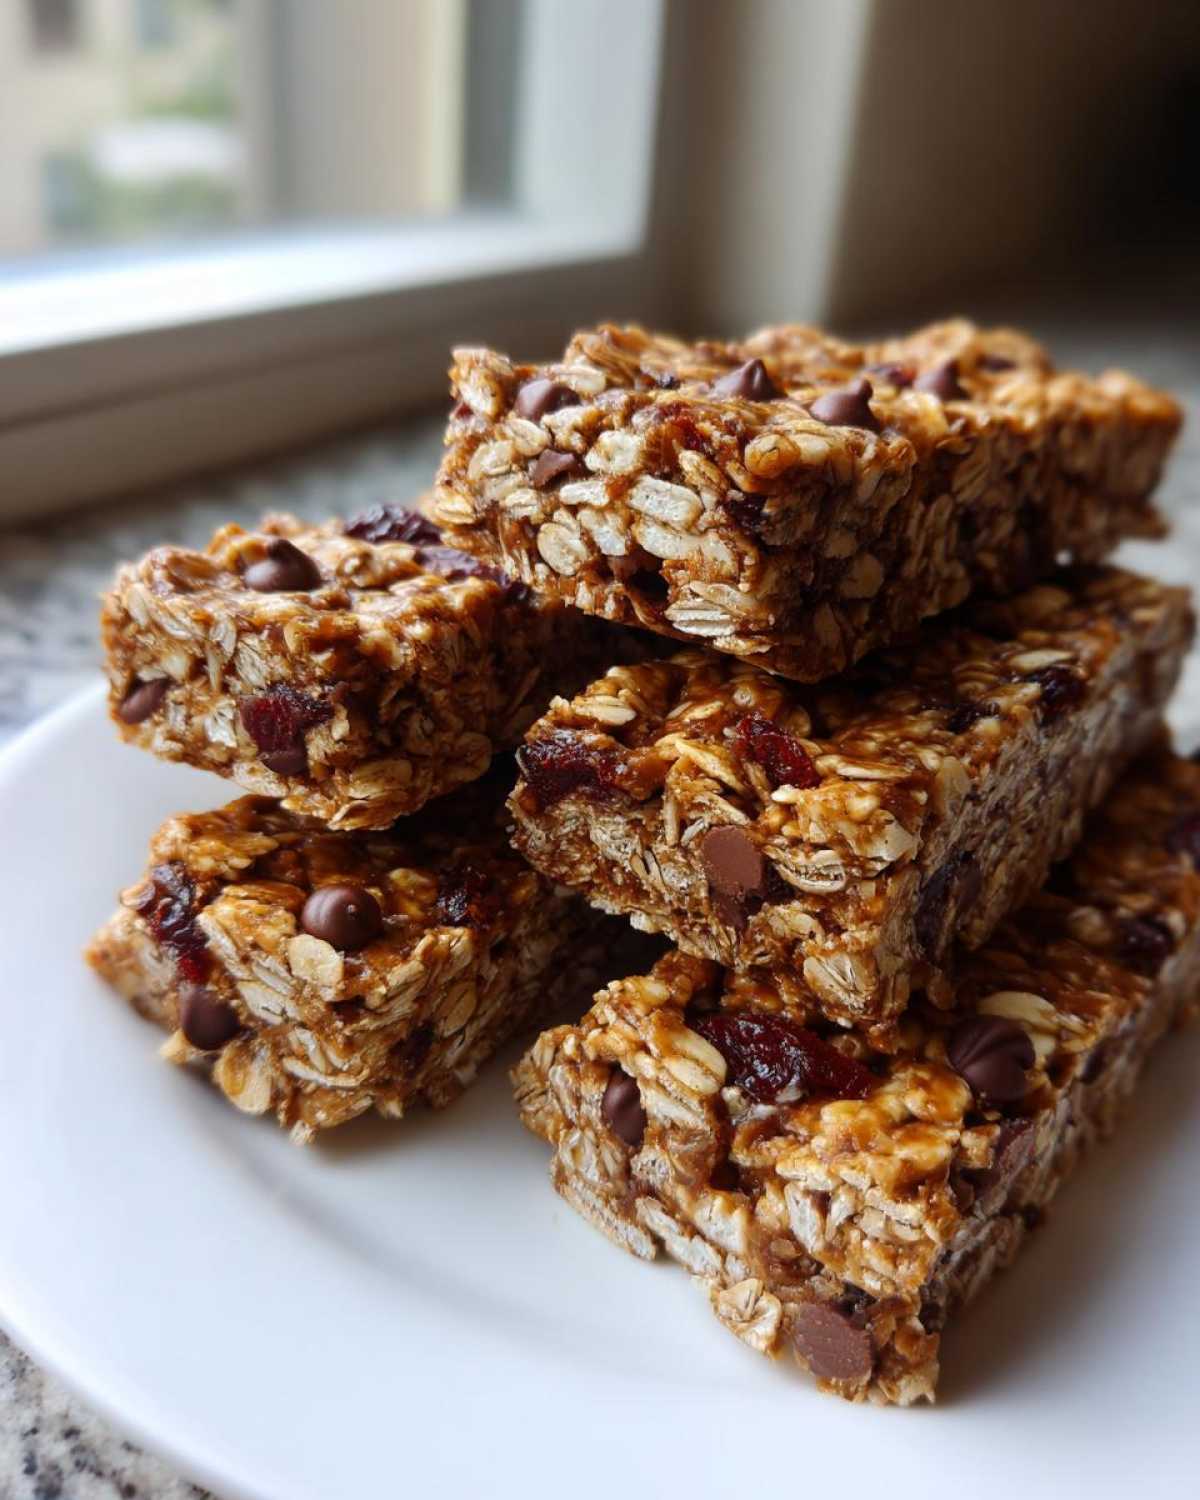
You absolutely must start with 2 cups of regular rolled oats. Don’t grab the instant ones; we need the structure they offer in these oat based snacks. Then comes the fun part: 1 full cup of mix-ins. I usually go half chocolate chips and half slightly chopped dried cranberries. If you use raisins, give them a quick soak first!
The Binding Agents: Sweetness and Creaminess
This is where the magic—and the structure—happens. You need 1 cup of creamy peanut butter—and I mean *creamy*, not the natural runny kind for this binder! Pair that with 1/2 cup of honey or maple syrup for the sweet element. This precise ratio is what guarantees that chewy texture we’re after. If you have nut allergies, sunflower seed butter works, but note that the mixture might get a tad stiffer, so warm the binder a tiny bit longer!
Step-by-Step Guide to Perfect No Bake Granola Bars
We’ve got the ingredients, now for the assembly! This is where we turn the components into those fantastic, no-fuss treats. Since these are no bake granola bars, most of our work involves melting and mixing, not actual cooking. Pay attention here, because the order matters!
Preparing the Pan and Dry Ingredients
First things first: grab an 8×8 inch pan. You absolutely must line it with parchment paper first, and make sure you leave a big flap hanging over the sides. That overhang is your handle later! Once you’ve secured that down, toss your 2 cups of oats and all those lovely mix-ins into your biggest mixing bowl. Give them a quick stir just to get acquainted.
Creating the Smooth Binder for Chewy Granola Bars Recipe
Now for the stovetop work—but keep it gentle! In a small saucepan over super low heat, combine your peanut butter and honey. I mean *low* heat, okay? You just want them to become one smooth, pourable liquid. Do not let this boil! If it boils, the sugars crystallize too fast, and you lose that signature chew we are aiming for in this chewy granola bars recipe.
Once it’s fully melted and gorgeous, pull it right off the burner. Stir in your vanilla and salt really fast. That’s it for the heat! This gentle melting process is what makes these some of the best no bake treats around.
Mixing, Pressing, and Setting Your No Bake Treats
Pour that warm, sticky binder right over your dry oats. Now, stir like crazy! You need to make sure every single oat is coated. Seriously, scrape the sides and the bottom of the bowl until you don’t see any dry pockets of oats left. This thorough mixing ensures they stick together later.
Dump the whole sticky mass into your lined pan. This is the most important physical step: press it down! Use the back of a spatula or a piece of wax paper to really compact the mixture. Press hard—this is what prevents those annoying crumbs later. Toss it into the fridge for at least two hours until it’s rock solid. See? It’s such a simple no oven recipe!
Customizing Your No Bake Granola Bars (Add-Ins and Variations)
Honestly, the base recipe for these no bake granola bars is just a starting point! I love being able to switch things up depending on what I have in the pantry or what kind of mood I’m in. Customization is key, especially when trying to make things appealing for the kids—they get bored so easily!
The flexibility here is why these are such fantastic kid friendly granola bars. You can turn a basic oat bar into practically any flavor profile you dream up!
Sweet Swaps: Berries, Chips, and More
This is where you get creative with that 1 cup of mix-ins. If you want something super decadent, go heavy on the miniature sweet chips. Hello, chocolate chip granola bars no bake perfection! I also adore adding shredded coconut for texture, or maybe even some chia or flax seeds for an extra little nutritional boost if I’m feeling extra virtuous.
Try swapping half the peanut butter for almond butter or cashew butter next time. It changes the whole flavor profile while still keeping that awesome binding power!
Making Vegan No Bake Granola Bars
When folks ask me about making these fully plant-based, it’s super easy, thank goodness! If you need this recipe to strictly be vegan no bake granola bars, you just swap out the honey. Maple syrup is the perfect substitute.
It melts almost identically and keeps things wonderfully sweet and sticky. Since we aren’t baking, we don’t need eggs or dairy, so just ensure your chocolate chips are dairy-free if you are going that route!
Storage and Making Ahead with These Quick Meal Prep Bars
One of the greatest things about these no bake granola bars, besides the fact that you don’t have to turn on the oven, is how fantastic they are for planning ahead. If you make a whole pan tonight, you’re basically set for snacks for days, if not weeks! This is perfect for those mornings where you’re already running late but still want something wholesome for breakfast or an afternoon boost.
Because we are using a peanut butter base, these bars stay soft and wonderfully pliable. They are definitely one of my favorite go-to quick meal prep bars because they don’t rely on any tricky baking science. Just mix, press, chill, and go!
Refrigeration and Freezer Tips for No Bake Granola Bars
Once you cut your bars, the storage is simple. Keep them in an airtight container in the fridge, and they should stay perfect—nice and chewy—for about a week. Don’t worry, they rarely last that long in our house! If you need them to last longer, that’s where the freezer comes in handy.
You can absolutely pop these into a freezer-safe container or bag, arranged with parchment paper between layers so they don’t stick together. They freeze like a dream! Freezing actually helps maintain that firm, chewy texture beautifully, making them great additions to your freezer snack recipes collection. They thaw out perfectly on the counter in about ten minutes.
Troubleshooting Common No Bake Granola Bars Issues
Don’t panic if your first batch of no bake granola bars doesn’t come out looking exactly like the pictures! It happens to the best of us. Usually, when these simple no oven recipes go a little sideways, it’s almost always because of that glorious peanut butter and honey binder. It’s the backbone of the entire structure, so we need to respect its ratios!
Since you’ve made it this far, you deserve perfect bars. Let’s troubleshoot those common sticky or crumbly moments right now so you can rescue your batch!
My Bars Are Too Crumbly
Ugh, the dreaded crumble! If you’ve chilled them and they just fall apart when you try to slice them, that means you were a little too heavy on the dry oats or maybe your peanut butter wasn’t creamy enough.
Here’s the rescue mission: Take the crumbs, put them back in your mixing bowl, and microwave just a teaspoon of honey—maybe add a tiny splash of water if you’re worried. Drizzle that gently over the crumbs and mix it up again by hand. Press it down hard into a fresh, lined pan and chill again. That little bit of extra liquid should bring them back to life!
My Mixture Won’t Stick Together
This one usually happens if you’re using a very dry, natural peanut butter or if your honey felt unexpectedly thick that day. The oats just drank up all your moisture and now everything is dusty.
Don’t throw it out! If you are in a real bind, you can melt in an extra tablespoon of coconut oil, or just melt another teaspoon of honey and stir it in until it feels slightly tacky again. The overall secret to all energy bars no bake wonders is that sticky pull, so a little extra binder cures most issues.
Frequently Asked Questions About These No Oven Recipes
I get so many questions about variations because everyone wants these super quick no bake granola bars to fit their pantry and their life perfectly! I love seeing your swaps in the comments, but here are the main things I hear people ask about when they try these no oven recipes for the first time. If you’re looking for even more ways to use oats and binders, check out my recipe for protein bars no bake variants!
Can I use almond butter instead of peanut butter in these no bake granola bars?
Oh yes, totally! Almond butter is delicious here. Just a little heads up: almond butter tends to have a slightly higher natural oil content than commercial peanut butter, especially if you use the natural kind that separates. If yours feels unusually runny when you heat it, you might need to chill the bars for an extra 30 minutes just to firm everything up, because you might need just a touch less honey to balance it out.
How long do I need to chill the no bake snacks before cutting?
Patience, my friend—this is the *only* hard part! You must chill them until they are completely firm, and I always recommend a minimum of two full hours in the refrigerator. If you are in a real hurry because you need these energy bars no bake for the next day, pop the pan into the freezer for 30 minutes right after you press them down. That blast of cold air sets the binder fast!
Can I make these into 5 ingredient granola bars no bake by omitting the salt and vanilla?
You technically *could*, and it would still stick together if you have the ratio right! But honestly, please don’t skip both the salt and the vanilla. Those two ingredients are flavor amplifiers! If you are desperate to keep it down to just five ingredients, skip the vanilla, as the peanut butter flavor is strong anyway, but definitely keep that tiny pinch of salt. It cuts through the intense sweetness of the honey and makes the oats taste richer. It’s the difference between a good bar and a truly great one!
Estimated Nutritional Data for Your Wholesome Snack Bars
I always like to give a little peek at what we’re putting into our bodies when we rely on these wholesome snack bars. Now, I have to be totally honest here: because we are dealing with mix-ins that change every time—one batch has chocolate chips, the next has walnuts—this data is just an estimate based on the core recipe using standard peanut butter and honey. It’s designed to give you a ballpark idea!
This breakdown is based on making 12 good-sized bars, similar to the ones I pack for quick trips, and it’s totally different from those highly processed kinds you find in the store. These no bake granola bars give us great energy without all the mysterious junk. If you want to compare this to my baked ideas, you can check out the profile for my banana protein muffins, but these are much faster!
Here is the general estimate per serving (one bar):
- Calories: Around 220
- Total Fat: About 12 grams (mostly healthy fats from the peanut butter, which is why they fill you up!)
- Carbohydrates: Roughly 26 grams
- Protein: A solid 7 grams to keep you going until dinner time!
See? These are fantastic energy bars no bake fuel. Keep in mind if you load yours up with extra dried fruit or use a higher-fat nut butter, those numbers will shift, but the core function of these simple chewy bars remains the same: delicious, easy energy!
Share Your Ultimate Easy Chewy No Bake Granola Bars Creations
Well, that’s everything you need to know to whip up the best batch of no bake granola bars you’ve ever tasted! Seriously, I hope you love how fast these come together. Now, the best part of sharing a great recipe is hearing how you tweaked it!
Did you go wild with the mix-ins? Did you try making these into vegan no bake granola bars using maple syrup, and how did the texture turn out for you? I need to know!
If you loved these super simple, quick meal prep bars, please do me a huge favor and leave a star rating right below this section. It helps other busy folks find these super easy and delicious no bake snacks when they need them most. And don’t be shy—drop your favorite weird or wonderful combination in the comments! I’m always taking notes for my next batch!
Print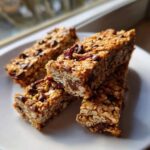
Ultimate Easy Chewy No Bake Granola Bars
- Total Time: 20 min
- Yield: 12 servings
- Diet: Vegetarian
Description
Make these simple, chewy no bake granola bars quickly. This recipe requires no oven time and is perfect for healthy, grab-and-go snacking or kid-friendly meal prep.
Ingredients
- 2 cups rolled oats
- 1 cup mix-ins (e.g., chocolate chips, dried fruit, nuts, seeds)
- 1 cup creamy peanut butter
- 1/2 cup honey or maple syrup
- 1 teaspoon vanilla extract
- 1/4 teaspoon salt
Instructions
- Line an 8×8 inch baking pan with parchment paper, leaving an overhang on the sides for easy removal.
- In a large bowl, combine the rolled oats and your chosen mix-ins.
- In a small saucepan over low heat, combine the peanut butter and honey (or maple syrup). Stir constantly until the mixture is smooth and fully melted together. Do not let it boil.
- Remove the peanut butter mixture from the heat and stir in the vanilla extract and salt.
- Pour the wet mixture over the dry ingredients in the large bowl. Stir well until everything is evenly coated.
- Transfer the mixture to the prepared pan. Press the mixture down firmly and evenly into the pan using the back of a spatula or a piece of wax paper. Pressing firmly helps the bars hold their shape.
- Refrigerate the bars for at least 2 hours, or until completely firm.
- Use the parchment paper overhang to lift the block of bars out of the pan. Cut into 12 to 16 bars.
- Store the cut bars in an airtight container in the refrigerator for up to one week, or freeze for longer storage.
Notes
- For a vegan version, use maple syrup instead of honey.
- If you need the bars to set faster, place them in the freezer for 30 minutes after pressing them into the pan.
- You can substitute peanut butter with almond butter or sunflower seed butter for different flavors.
- If the mixture seems too dry, add one extra tablespoon of honey.
- Prep Time: 15 min
- Cook Time: 5 min (melting only)
- Category: Snack
- Method: No Bake
- Cuisine: American
Nutrition
- Serving Size: 1 bar
- Calories: 220
- Sugar: 12
- Sodium: 110
- Fat: 12
- Saturated Fat: 2
- Unsaturated Fat: 10
- Trans Fat: 0
- Carbohydrates: 26
- Fiber: 3
- Protein: 7
- Cholesterol: 0


Comments are closed.