
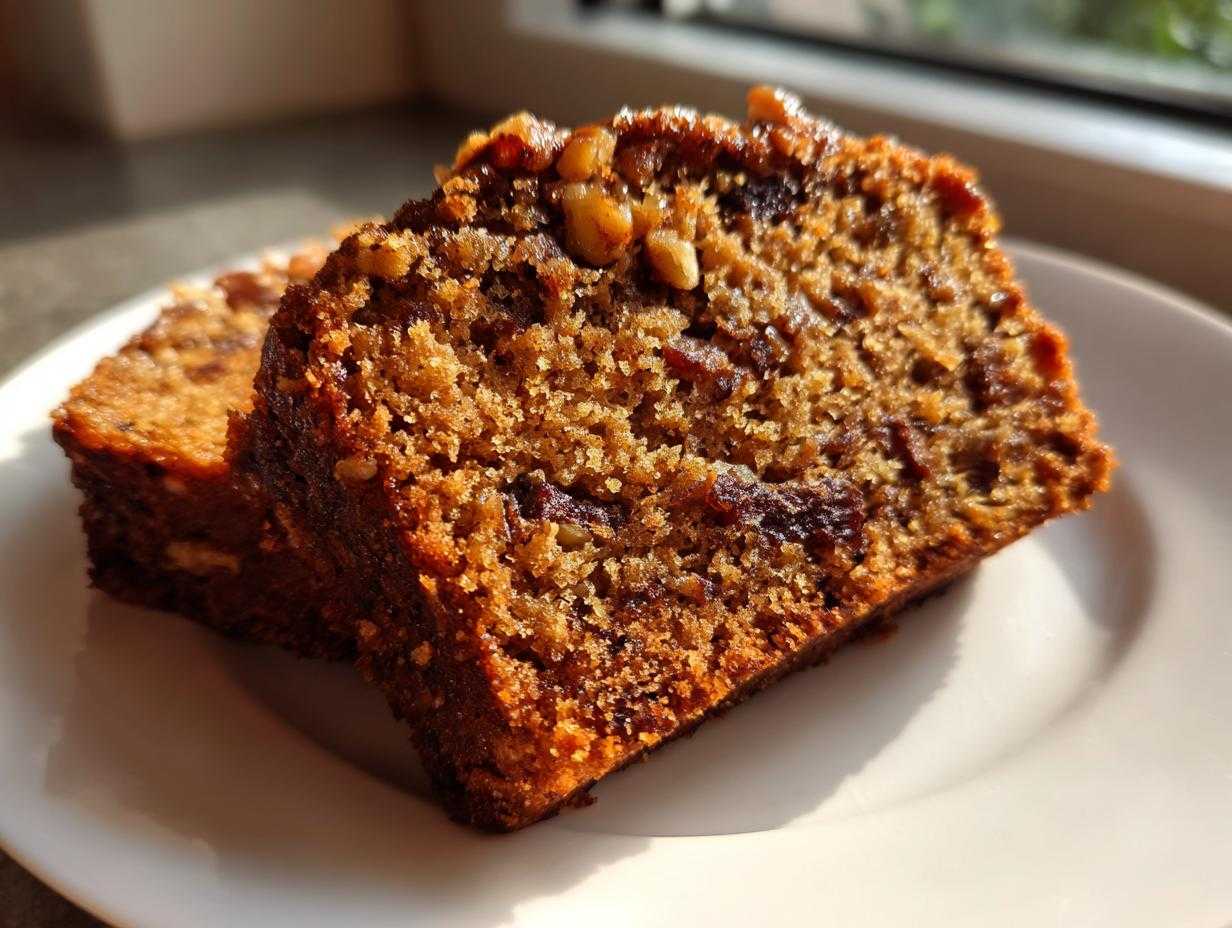
Oh, my friends, is there anything that smells cozier than a loaf of freshly baked quick bread coming out of the oven? Honestly, the aroma alone brings me right back to my grandmother’s kitchen in Italy! We all chase that perfect slice—moist, rich, and never crumbly. Well, stop the search! I’m sharing my absolute favorite Old-Fashioned, Ultra-Moist Date Nut Bread Recipe. This is the one that never fails and has been passed down through generations of home bakers in my family. Trust me, baking this classic date nut bread is simple, and the results are so deeply comforting. You are going to love how reliable this recipe is for your next brunch or simply because you deserve a wonderfully sweet loaf. If you want to get started right away, you can find the full ingredient list for this easy quick bread baking soon on this page, but for now, let me tell you why it’s the best date nut bread recipe you’ll ever try!
Why This Old-Fashioned date nut bread Recipe Stays Ultra-Moist
When you are looking for a truly moist loaf, you can’t just rely on the ingredients; you have to trust the process! I learned early on that a dry quick bread is a sad quick bread, and for this date nut bread, we avoid dryness with two non-negotiable steps. These methods ensure that every slice of this classic loaf cake is rich and tender, just like my grandmother used to make.
The Boiling Water and Baking Soda Trick for date nut bread
This is my secret weapon, really! Before we mix anything else, we soak the dates in boiling water with baking soda. That heat wakes up the dates, plumping them up beautifully. But the baking soda? It reacts with the moisture and starts tenderizing those sticky dates right away. It sets the stage for supreme moisture retention!
Mixing Technique for a Tender date nut bread Loaf
Once the dates have done their magic, you must remember this: gentle folding only! The moment you add the flour, stop overworking the batter. Overmixing develops gluten, and gluten means toughness and dry bread. We want a tender crumb, which means mixing only until those streaks of flour just disappear. Seriously, stop stirring when you think you should keep going!
Ingredients for the Best date nut bread
Gathering your ingredients is always the best part before the actual baking begins, right? It sets the tone! For this date nut bread to achieve that perfect old-fashioned taste and that incredible softness, every component needs to be just right. I’ve listed exactly what you need below to make this classic loaf cake, but please pay attention to how I specify things like the butter and sugar. Those small details make such a difference, I promise!
- 1 cup boiling water
- 1 cup pitted, chopped dates (we prep these right before we use them!)
- 1 teaspoon baking soda
- 1/2 cup (1 stick) unsalted butter, softened to room temperature
- 1 cup packed light brown sugar (packed tightly into the cup!)
- 2 large eggs, at room temperature if possible
- 1 teaspoon pure vanilla extract
- 1 3/4 cups all-purpose flour
- 1 teaspoon baking powder
- 1/2 teaspoon salt
- 1 cup chopped walnuts (or whatever nut you prefer!)
Ingredient Notes and Substitutions for date nut bread
Now, let’s talk quality, because great ingredients make a great loaf. When you buy your dates, try to find soft ones—Medjool are wonderful if you want to splurge, but any good pitted variety works if you are soaking them properly, as we discussed! If you happen to be out of walnuts, please don’t stress; pecans offer a richer, slightly sweeter crunch that complements this perfectly. You can absolutely swap them one-for-one in this homemade date bread.
Also, regarding the butter—it absolutely must be softened. Not melted! Softened means you can press your finger into it easily, but it holds its shape slightly. This controls how well it creams with the brown sugar, which, as we know from a previous step, is vital for that moist date nut bread recipe texture we are aiming for!
Step-by-Step Instructions for Easy Quick Bread Baking
Okay, now that we have all our beautiful ingredients ready, let’s get this show on the road! This process is incredibly straightforward—it’s why this recipe falls under the best easy quick bread baking category. Remember, preheat your oven to 350°F (175°C) right now and get that 9×5 inch loaf pan greased and floured. We don’t want any surprises later! If you are new to quick breads and nervous about technique, don’t worry; I even have a full guide on easy homemade breadsticks recipe soft chewy that teaches the fundamentals.
We are going to tackle this in three sensible parts: prepping the dates, mixing the wet stuff, and gently bringing the dry stuff together. If you follow the sequence, you’ll have the best date nut loaf in the oven in under 20 minutes, I promise.
Preparing the Dates: The Key to a Moist date nut bread
This is where the magic starts! Take your chopped dates and put them into a sturdy, heatproof bowl. Now, carefully pour that cup of boiling water right over them. Stir in that teaspoon of baking soda, give it a quick mix, and just walk away! Seriously, let those babies sit there and soften for a full 15 minutes. This is non-negotiable because it hydrates the dates so they don’t steal moisture while baking, which is the absolute main reason folks get dry bread. Don’t drain the liquid; we want all that sticky goodness!
Combining Wet and Dry Mixtures for this Classic Loaf Cake
While the dates are resting, grab your large bowl and cream that softened butter and brown sugar until you get that lovely, pale, fluffy texture—it should look almost light yellow. Beat in your eggs one at a time, mixing well after each one, followed by the vanilla. In a separate bowl, quickly whisk your flour, baking powder, and salt.
Now, alternate adding the dry mix to the wet mix in about three turns, mixing only until barely combined after each addition. The second we gently fold in that date mixture (liquid and all!) and the walnuts, we stop. Overmixing means tears, and we don’t want tears on our magnificent classic loaf cake!
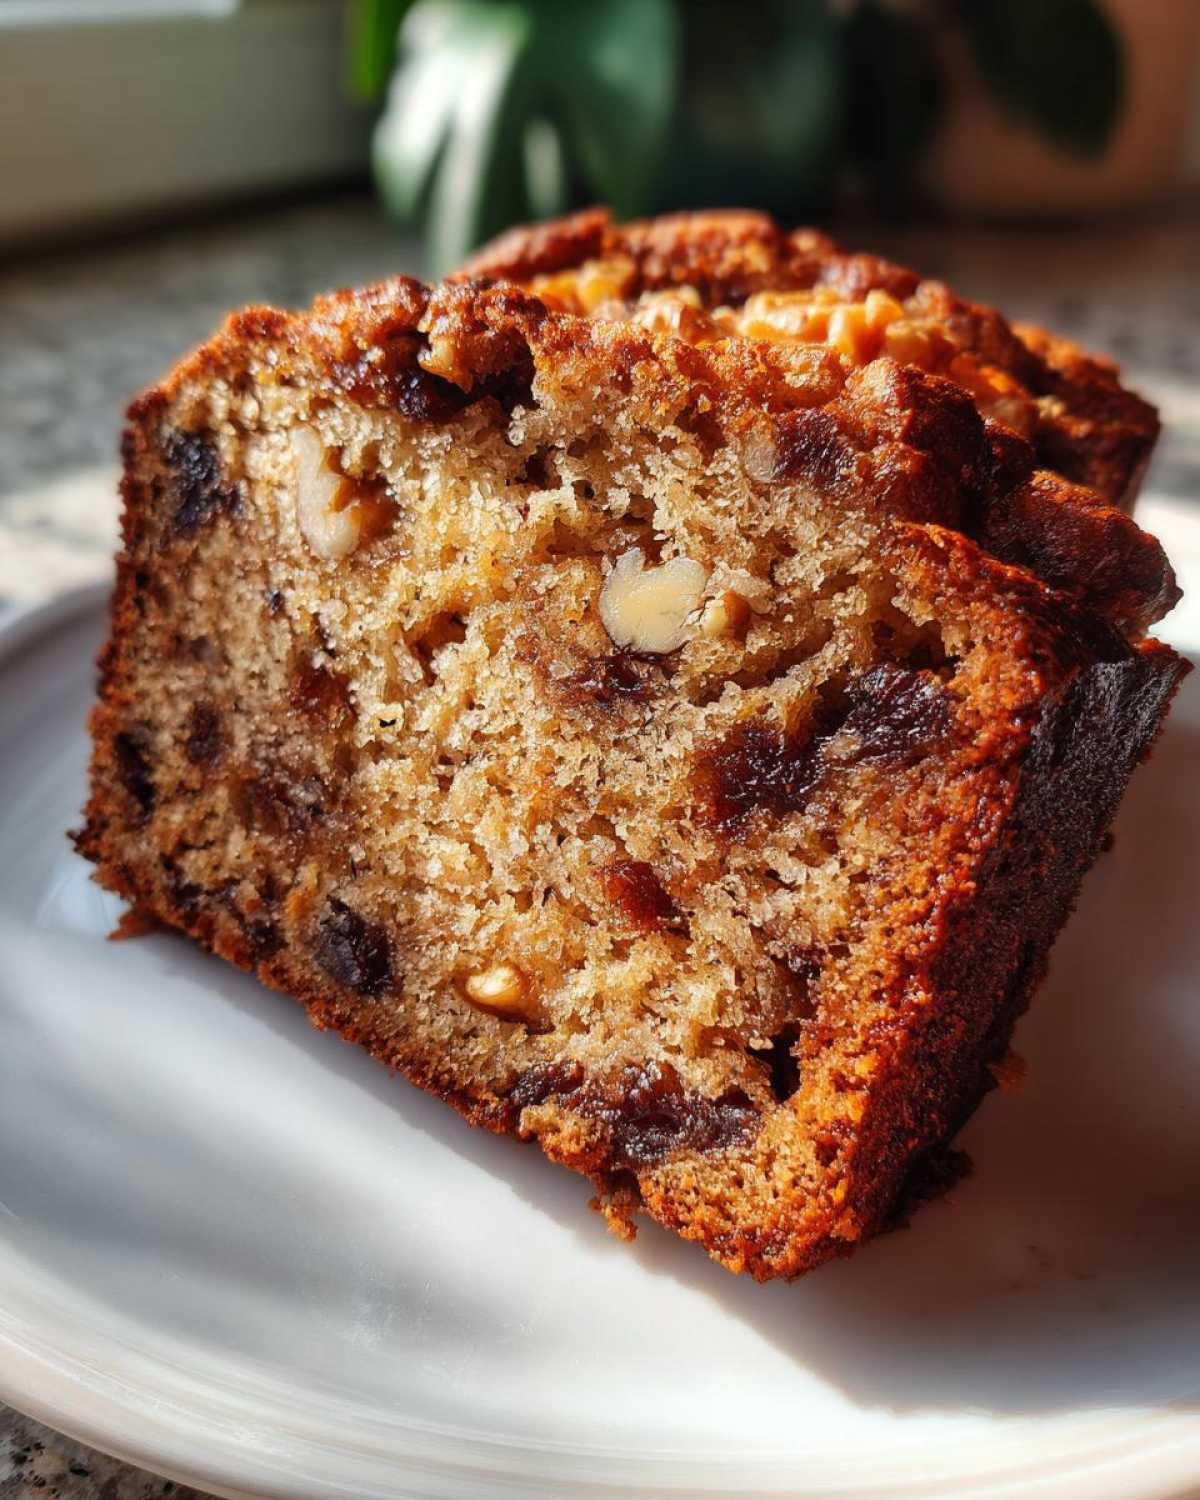
Baking and Cooling Your Homemade date nut bread
We’ve mixed, we’ve folded, and now it’s time for the best part: watching it bake! It’s tempting to open the oven door every five minutes to check on your beautiful loaf, but please, resist the urge! We preheated to 350°F (175°C), and now we slide that pan in for about 55 to 65 minutes. Keep an eye on the top, though; if it starts getting too dark before the inside is done, you can always gently tent it with a piece of aluminum foil. That foil is my savior when I’m baking a thick, sweet loaf recipe like this one.
How do you know when it’s perfect? You can’t just trust the clock, because every oven is a little different, right? The best indicator for this homemade date bread is the classic skewer test. Stick a wooden skewer or even a nice, clean toothpick right into the center of the loaf. If it comes out clean, or maybe with just a few moist, sticky crumbs clinging to it—but *no* wet batter—then it’s ready! That orange sweetness from the dates shouldn’t make it look wet, just beautifully cooked.
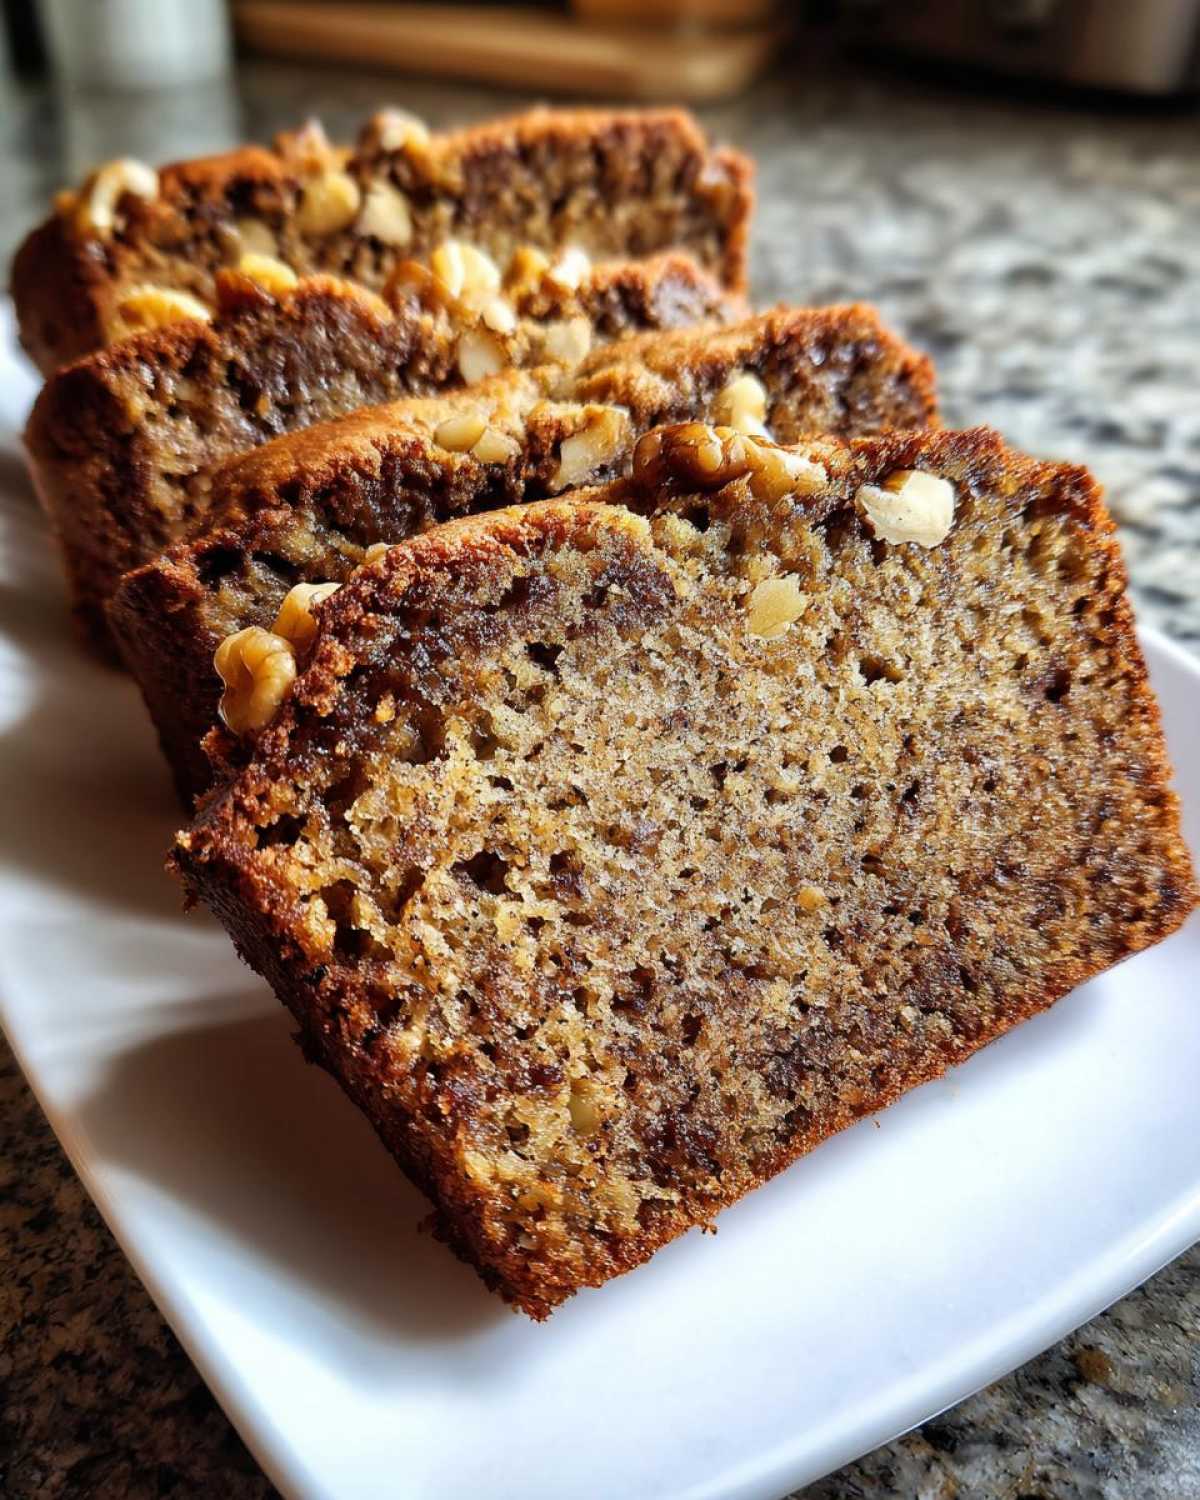
The cooling process is almost as important as the mixing! Once that skewer comes out clean, pull the pan out of the oven. Don’t panic if the loaf seems a little fragile; that’s normal right now. Let the date nut bread cool right there in the pan for a solid 10 minutes. If you try to pull it out sooner, I guarantee it will sag or break. After those ten minutes of resting, which feels like forever, carefully flip the pan upside down onto a wire cooling rack. It should slide right out! Let it cool completely on the rack before you even think about slicing it. Trust me, that final cooling step lets all that amazing moisture settle back into the crumb!
Serving Suggestions for this Wholesome Snack Bread
Oh, the moment of truth! Slicing into that gorgeous, dark brown loaf of date nut bread is always a rewarding experience. This bread is so versatile, which is why it’s a staple in my kitchen year-round. While it’s fantastic eaten cold straight from the bread box for a quick afternoon pick-me-up, I truly believe this wholesome snack bread shines brightest when it’s warm.
When I pull a fresh loaf out, I always slice it thick and spread a generous amount of softened, cold butter right across the surface. The butter melts instantly into the warm, nutty crumb—it’s heaven! Honestly, the richness of the butter balances the intense sweetness of the dates perfectly. If you need something similar to pair with sweet flavors, a dollop of my homemade easy homemade applesauce recipe adds a lovely tartness, too!
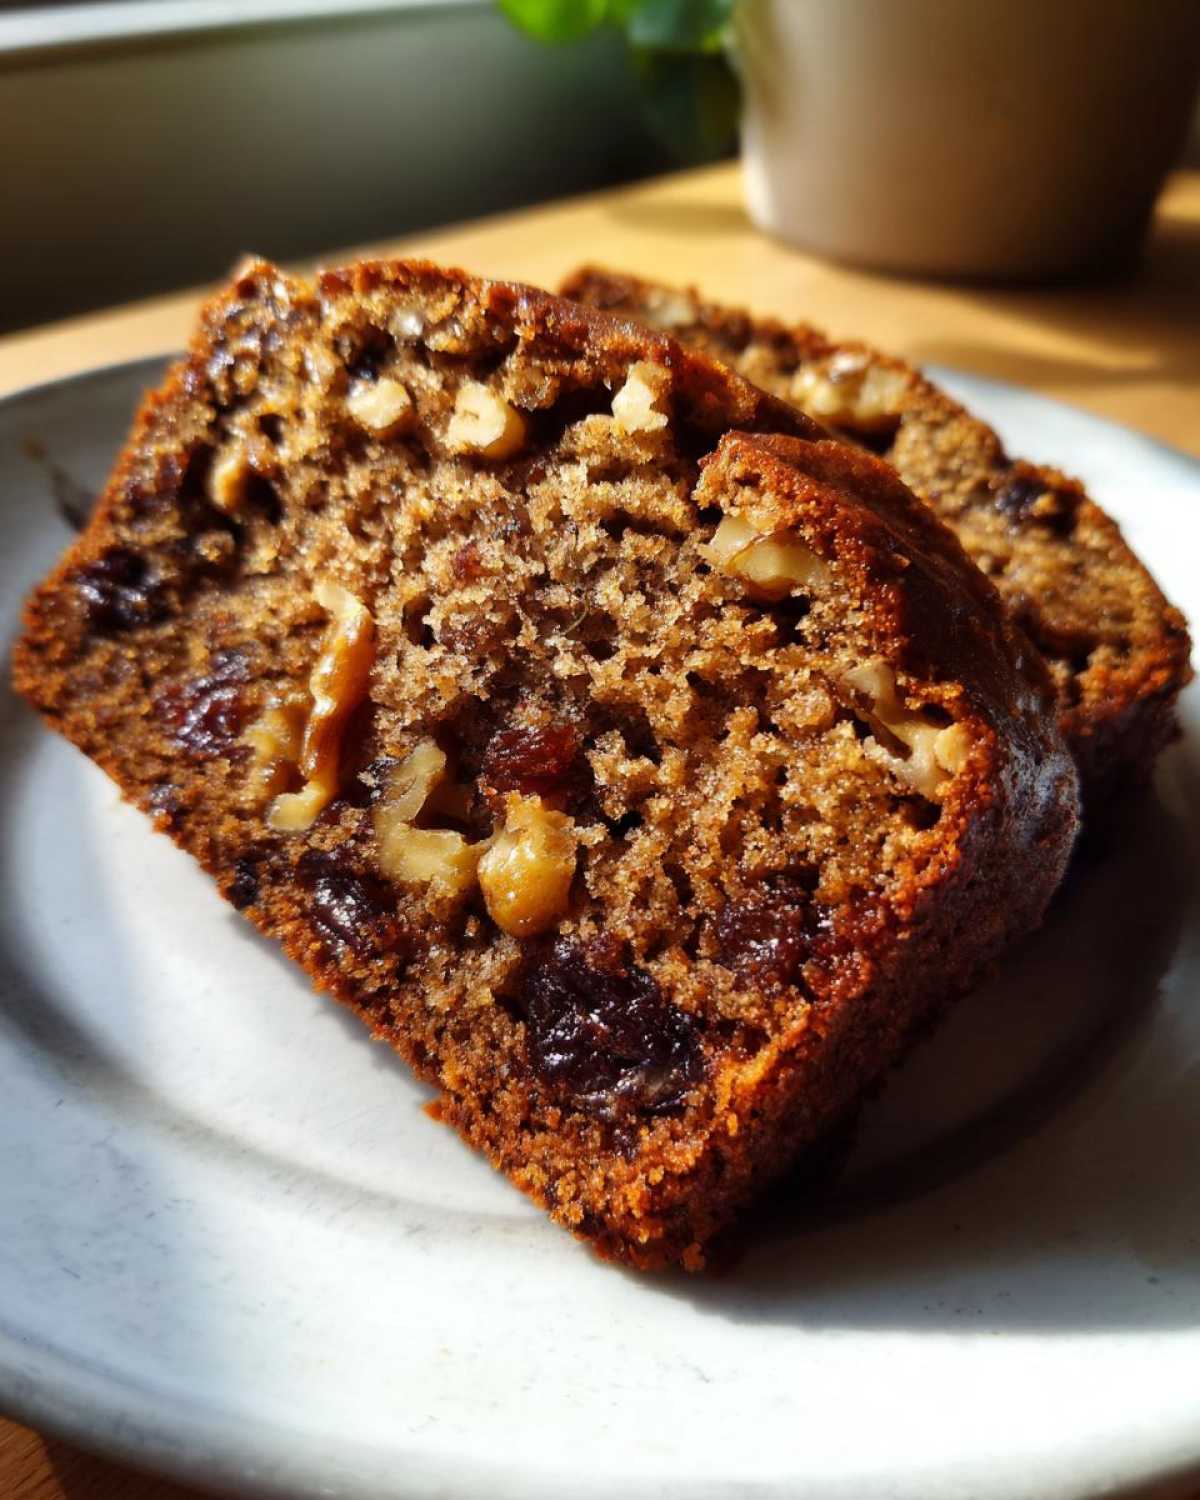
But that’s not the only way to enjoy this moist date nut bread recipe. For a bit more decadence, a smear of good quality cream cheese is divine. If you are taking this to a brunch, consider serving thick slices toasted alongside a little pot of high-quality raspberry jam or even a drizzling of honey. It works just as beautifully as a side piece to a simple cup of coffee as it does served up as a dessert!
Make Ahead Bread and Storage Tips for date nut bread
One of the things I adore most about this recipe is that it truly gets better with time, making it the ultimate make ahead bread! Unlike some cakes that dry out if you look at them wrong, this date nut bread is designed to hold onto its moisture deep into the week. This is why it makes such a fantastic gift or something you can bake on a Sunday to enjoy all the way through the busy week.
When it comes to storage, you have options, but you must keep it sealed! If you plan to eat the loaf within about three days, just wrap it up tightly. I take a piece of plastic wrap, tightly seal the entire cooled loaf, and then wrap that again in aluminum foil, or place it in an airtight container. Leaving it on the counter at room temperature is perfectly fine; honestly, I find the texture stays best there.
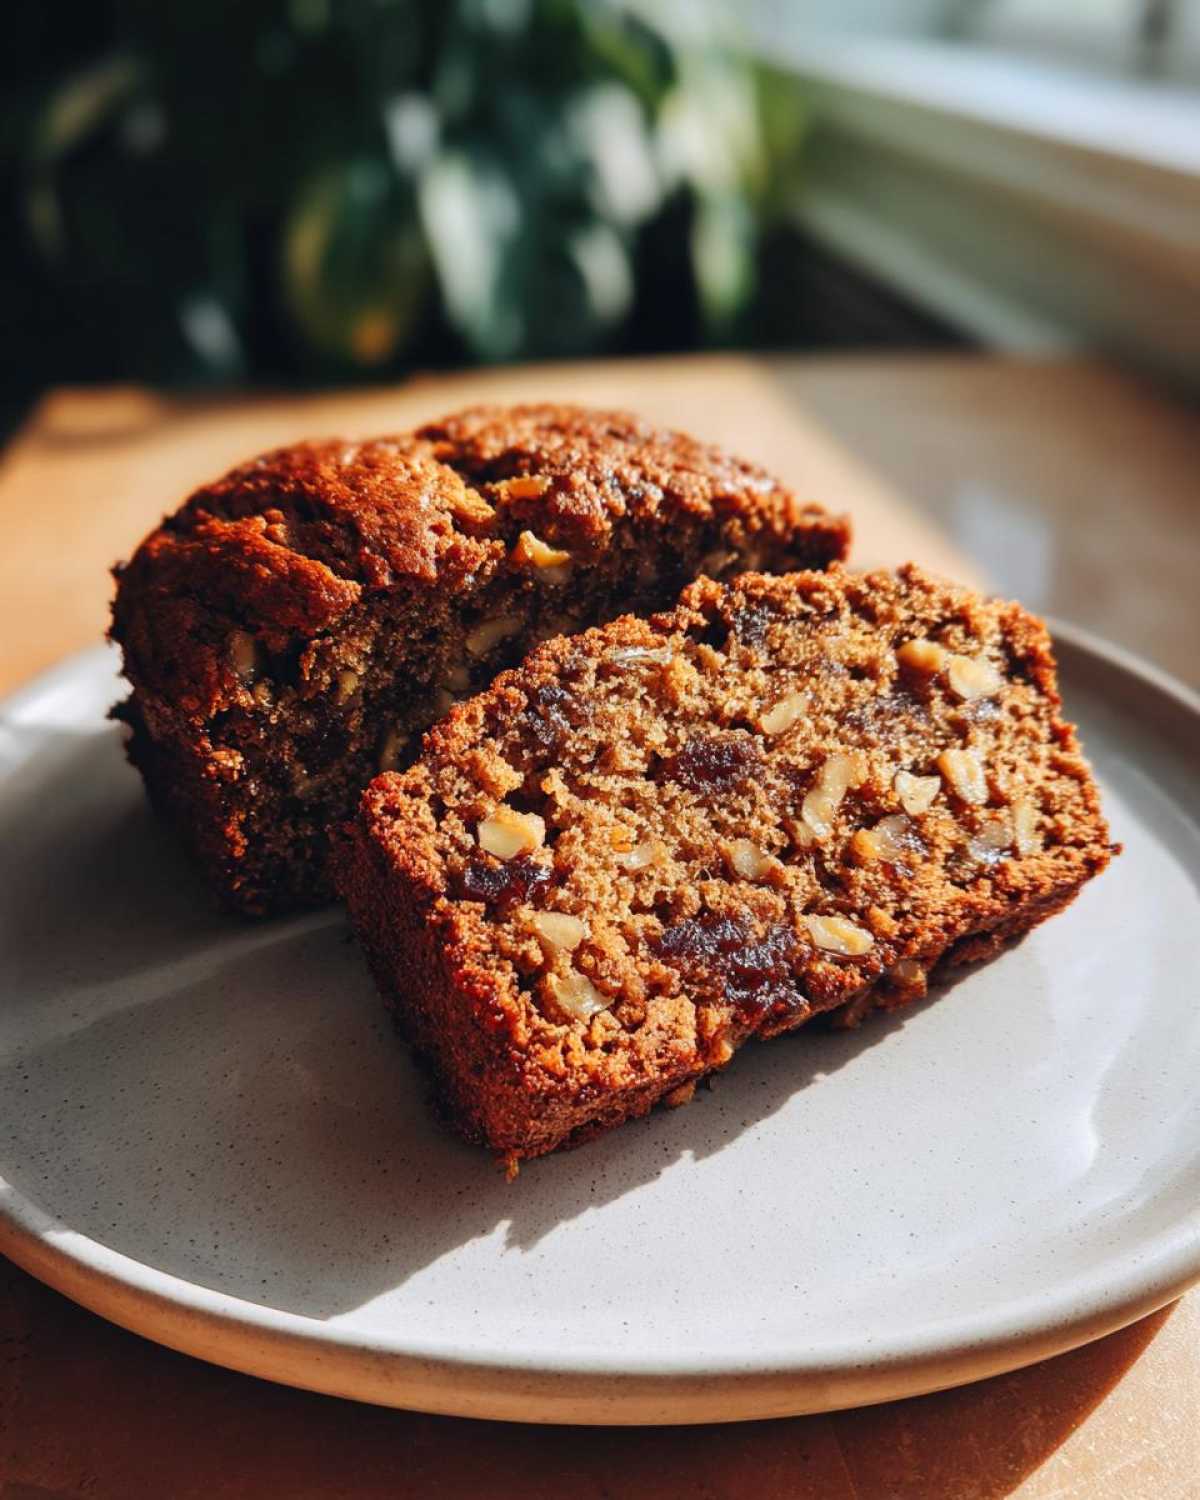
Now, if you’re looking at this loaf and thinking, “Lina, I can’t eat all this before it goes bad,” then we freeze it! This homemade date bread freezes beautifully. Once the loaf is completely cool, wrap it in two layers of plastic wrap and then a layer of foil. This double barrier keeps freezer burn far, far away. It easily lasts three months tucked away in the freezer, ready for a moment when you suddenly crave a slice of comfort food baking. When you want to eat it, just unwrap it and let it thaw slowly on the counter for a few hours!
Variations on the Classic Loaf Cake: Spiced and Banana Date Nut Bread
Listen, while my heart belongs to this pure, old-fashioned recipe, I totally get that sometimes you want to mix things up! That’s the joy of baking, isn’t it? We take a fantastic foundation—this super moist date nut bread recipe—and we give it a little twist to suit our mood or what we have in the pantry. I’ve been playing around with this loaf for years, and I have a couple of favorite ways to change it up that still respect the basic structure of this classic loaf cake.
If you’re looking for something warm and especially festive, especially heading into the cooler months or holidays, you should boost the spices! Cinnamon and nutmeg are your friends here. I love adding about one teaspoon of cinnamon and a half teaspoon of nutmeg right in with the flour mixture. It transforms this simple loaf into a beautiful, fragrant spiced date bread—perfect for gifting!
But my absolute favorite alteration when I have very ripe bananas sitting on the counter is turning this into a Banana Date Nut Bread Variation. Oh my goodness, it’s incredible! You can swap out about half of the butter (since the bananas add so much moisture on their own) or just add about one cup of very ripe, mashed banana right in with your wet ingredients when you add the eggs. Be aware, if you add the banana, you might need to add an extra five minutes to your baking time, so always check that skewer!
If you enjoy experimenting with healthier options, you might want to check out my recipe for banana protein muffins; it uses similar principles of natural sweetness, just in a muffin tin! If you are looking for more inspiration on the classic version, my friends over at The Baking Chocolatess have a fantastic take on the original, too, which you can see right here for comparison!
Frequently Asked Questions About date nut bread
This date nut bread is simple, but sometimes questions pop up, right? It happens to me all the time, even with recipes I’ve made a hundred times! I wanted to quickly cover a few things people ask me most often about getting that perfect result every time, whether you’re after a wholesome snack bread or a beautiful brunch quick bread for company.
Can I use whole wheat flour in this date nut bread recipe?
Yes, you absolutely can! I love embracing simple baking recipes that allow for healthy swaps. If you want to use whole wheat flour, I suggest substituting it for up to half of the all-purpose flour called for. So, if you were using 1 3/4 cups white flour, you could use 7/8 cup white flour and 7/8 cup whole wheat flour. Fair warning, though: whole wheat will absorb a little more moisture and can make the final loaf slightly denser than using all white flour. You might notice you need an extra minute or two in the oven, but it’s a wonderful swap for an extra hearty texture!
How do I know when my date nut bread is fully baked?
This is so important for achieving that guaranteed moistness! While I gave the general time range of 55 to 65 minutes, you should never rely solely on the timer for a classic loaf cake. You must use the skewer test. Insert a long wooden skewer right into the very center of the loaf. If it comes out clean, or with just a few tiny, moist crumbs attached, your bread is done. If batter clings to the skewer, it needs more time—check again in five minutes. I generally don’t bother with an internal thermometer for quick breads, but if you use one, aim for 200°F (93°C) at the deepest point.
If you are looking for more general pointers on getting your baking right every time, check out my tips on simple baking recipes for foundational knowledge!
Estimated Nutritional Information for this date nut bread
Now, I have to be completely honest with you, my friends. Because this date nut bread is made with real ingredients in my own kitchen, the nutrition facts I give you are wonderful educated estimates based on what I’ve calculated for a standard slice. The actual count can change depending on the exact brand of butter or the size of the walnuts you use! Please use these numbers just as a general guide for your sweet loaf recipes. This is truly homemade, which means it celebrates flavor over strict measurements!
This chart is based on one slice serving size. Remember, this is a rich, delicious loaf, perfect for a satisfying snack or a wonderful start to your morning!
- Serving Size: 1 slice
- Calories: Around 310
- Sugar: Approximately 28g
- Sodium: About 180mg
- Total Fat: Roughly 14g (with 5g being saturated fat)
- Carbohydrates: Near 45g
- Protein: Around 5g
I always say, if you are eating something this delicious, you should enjoy it without worrying too much about the details! Just know that using those lovely chopped dates gives you a bit of natural energy and fiber in this beautiful comfort food baking classic.
Print
Old-Fashioned, Ultra-Moist Date Nut Bread Recipe
- Total Time: 80 min
- Yield: 1 loaf (about 10 servings)
- Diet: Vegetarian
Description
Bake this classic, moist date nut bread loaf. It is an easy quick bread recipe, perfect for breakfast, snacking, or holiday gifting.
Ingredients
- 1 cup boiling water
- 1 cup pitted, chopped dates
- 1 teaspoon baking soda
- 1/2 cup (1 stick) unsalted butter, softened
- 1 cup packed light brown sugar
- 2 large eggs
- 1 teaspoon vanilla extract
- 1 3/4 cups all-purpose flour
- 1 teaspoon baking powder
- 1/2 teaspoon salt
- 1 cup chopped walnuts
Instructions
- Preheat your oven to 350°F (175°C). Grease and flour one 9×5 inch loaf pan.
- Place the chopped dates in a heatproof bowl. Pour 1 cup of boiling water over the dates and stir in the baking soda. Let this mixture sit for 15 minutes to soften the dates.
- In a large bowl, cream together the softened butter and brown sugar until light and fluffy. Beat in the eggs one at a time, then stir in the vanilla extract.
- In a separate medium bowl, whisk together the flour, baking powder, and salt.
- Add the dry ingredients to the wet ingredients in three additions, mixing just until combined after each addition. Do not overmix.
- Gently fold in the softened date mixture (including any liquid) and the chopped walnuts until they are evenly distributed throughout the batter.
- Pour the batter into the prepared loaf pan.
- Bake for 55 to 65 minutes, or until a wooden skewer inserted into the center comes out clean.
- Let the bread cool in the pan for 10 minutes before carefully turning it out onto a wire rack to cool completely.
Notes
- For an extra moist loaf, serve slices warm with softened butter spread on top.
- You can substitute pecans for walnuts if you prefer a different nut flavor.
- This homemade date nut bread freezes well; wrap the cooled loaf tightly in plastic wrap and foil.
- Prep Time: 20 min
- Cook Time: 60 min
- Category: Quick Bread
- Method: Baking
- Cuisine: American
Nutrition
- Serving Size: 1 slice
- Calories: 310
- Sugar: 28g
- Sodium: 180mg
- Fat: 14g
- Saturated Fat: 5g
- Unsaturated Fat: 9g
- Trans Fat: 0g
- Carbohydrates: 45g
- Fiber: 3g
- Protein: 5g
- Cholesterol: 55mg


Comments are closed.