

Oh, friend, let’s talk about Italian desserts that absolutely *scream* elegance without making you sweat over a hot stove! When company comes over, I always reach for Tiramisu. It’s rich, it’s soaked in glorious coffee, and honestly, it looks way fancier than the amount of actual work it requires. Forget complicated baking; this tiramisu recipe is my lifeline because it requires zero oven time! I promise you, this version delivers that super creamy, authentic flavor everyone craves. I’ve tweaked and tested this until it’s absolutely foolproof, even when I’m rushing to clean up dinner. It’s my personal secret weapon for looking like a dessert genius.
Why This is the Best Tiramisu Recipe Ever (Easy & No-Bake)
Listen, I know there are a lot of versions floating around, but mine is the absolute champion because it nails the Italian classic vibe without any fuss. Seriously, there’s no baking involved whatsoever! That’s right—we’re keeping this a pure, no bake tiramisu dream. I built this recipe around the incredible texture you get from using proper mascarpone cheese. That’s what makes it that unbelievably creamy mascarpone dessert you dream about.
The best part? This is an easy homemade tiramisu that you assemble in about 30 minutes. You make the components, you layer it up, and then the fridge does the heavy lifting. It’s the perfect make ahead dessert idea! I usually whip this up the day before a dinner party—sometimes I even use a lovely classic tiramisu variation for fun, but this foundational recipe is always the crowd-pleaser. You can’t go wrong!
Ingredients for Your Perfect Tiramisu Recipe
Gathering your supplies is half the battle won, so let’s make sure we have everything ready to go! I’ve listed exactly what you need to create that signature texture. Trust me, using the right coffee is huge here—it needs to be strong enough to really punch through that rich cream! Remember, we are using those wonderful Tiramisu with Ladyfingers, so make sure you grab the slightly stiffer *savoiardi* type if you can find them.
- 6 large egg yolks (But don’t worry, we’ll pasteurize these, so they’re totally safe!)
- 3/4 cup granulated sugar
- 1 1/2 cups heavy whipping cream
- 16 ounces mascarpone cheese, make sure it’s nice and softened
- 1 1/2 cups strong brewed coffee, and it absolutely must be cooled down
- 1/4 cup coffee liqueur or dark rum (if you need that extra kick!)
- 2 packages (7 ounces each) ladyfingers (savoiardi)
- Unsweetened cocoa powder, this is for that beautiful dusting finish
Step by Step Tiramisu Guide: How to Prepare the Tiramisu Recipe
Okay, this is where the magic truly happens! Since this is a No Bake Tiramisu Instructions breakdown, our main task is assembly, but we need that spectacular cream base first. I follow these steps exactly, especially the first one, because I want zero worries about eating this decadent treat. If you can mix stuff in a bowl and dip biscuits, you can nail this recipe. It’s really that simple, way easier than making those other no-bake treats!
Preparing the Mascarpone Cream for the Tiramisu Recipe
First things first: we need to get those egg yolks safe and fluffy. Place a heatproof bowl over simmering water—watch carefully that the water never touches the bottom of the bowl! Whisk your yolks and sugar nonstop until it gets thick, pale yellow, and reaches 160 degrees Fahrenheit. This is called tempering or pasteurizing, and it makes the yolks beautifully safe and light. Once it’s smooth, pull it off the heat to cool a bit.
While that’s cooling, grab your heavy cream and whip it until you have stiff peaks. You know it’s ready when you can lift the whisk and the cream stands straight up! Set that aside; we don’t want it melting. In a separate bowl, give your softened mascarpone a quick whisk just to loosen it up until it’s silky smooth. Now, gently fold that cooled yolk mixture into the mascarpone. Finally, very gently fold in your whipped cream. You want to keep all that air! If you mix too hard, you lose the lightness, and we definitely don’t want a heavy cream sitting on our layers.
Assembling the Layered Coffee Soaked Dessert
Time for the coffee dip! Combine your cooled coffee and, if you’re using it, that lovely splash of liqueur or rum in a shallow dish. This is the flavor backbone of our Layered Coffee Dessert. Now, the most crucial part of assembly: the dipping! You need to dip each ladyfinger quickly—like a quick dunk on each side—into the liquid. Seriously, a second too long, and they turn to mush!
Get your 8×8 dish ready. Lay down half of your coffee-soaked ladyfingers in a snug single layer. Then, grab half of that glorious mascarpone cream mixture and spread it evenly over the fingers. Try to keep the top layer relatively flat! Now you just repeat that process: quick dip, layer the rest of the fingers, and top with the final layer of rich cream. That’s it for the main body!
Chilling and Finishing Your Tiramisu Recipe
It’s tempting to grab a spoon right now, but you absolutely cannot, I mean it! Cover the dish super tightly with plastic wrap. We have to give this beauty time to set up and let all those coffee and cream flavors truly marry. I demand a minimum of six hours chilling, but honestly, overnight is when this Tiramisu recipe reaches perfection. The structure firms up perfectly, and the flavors deepen!
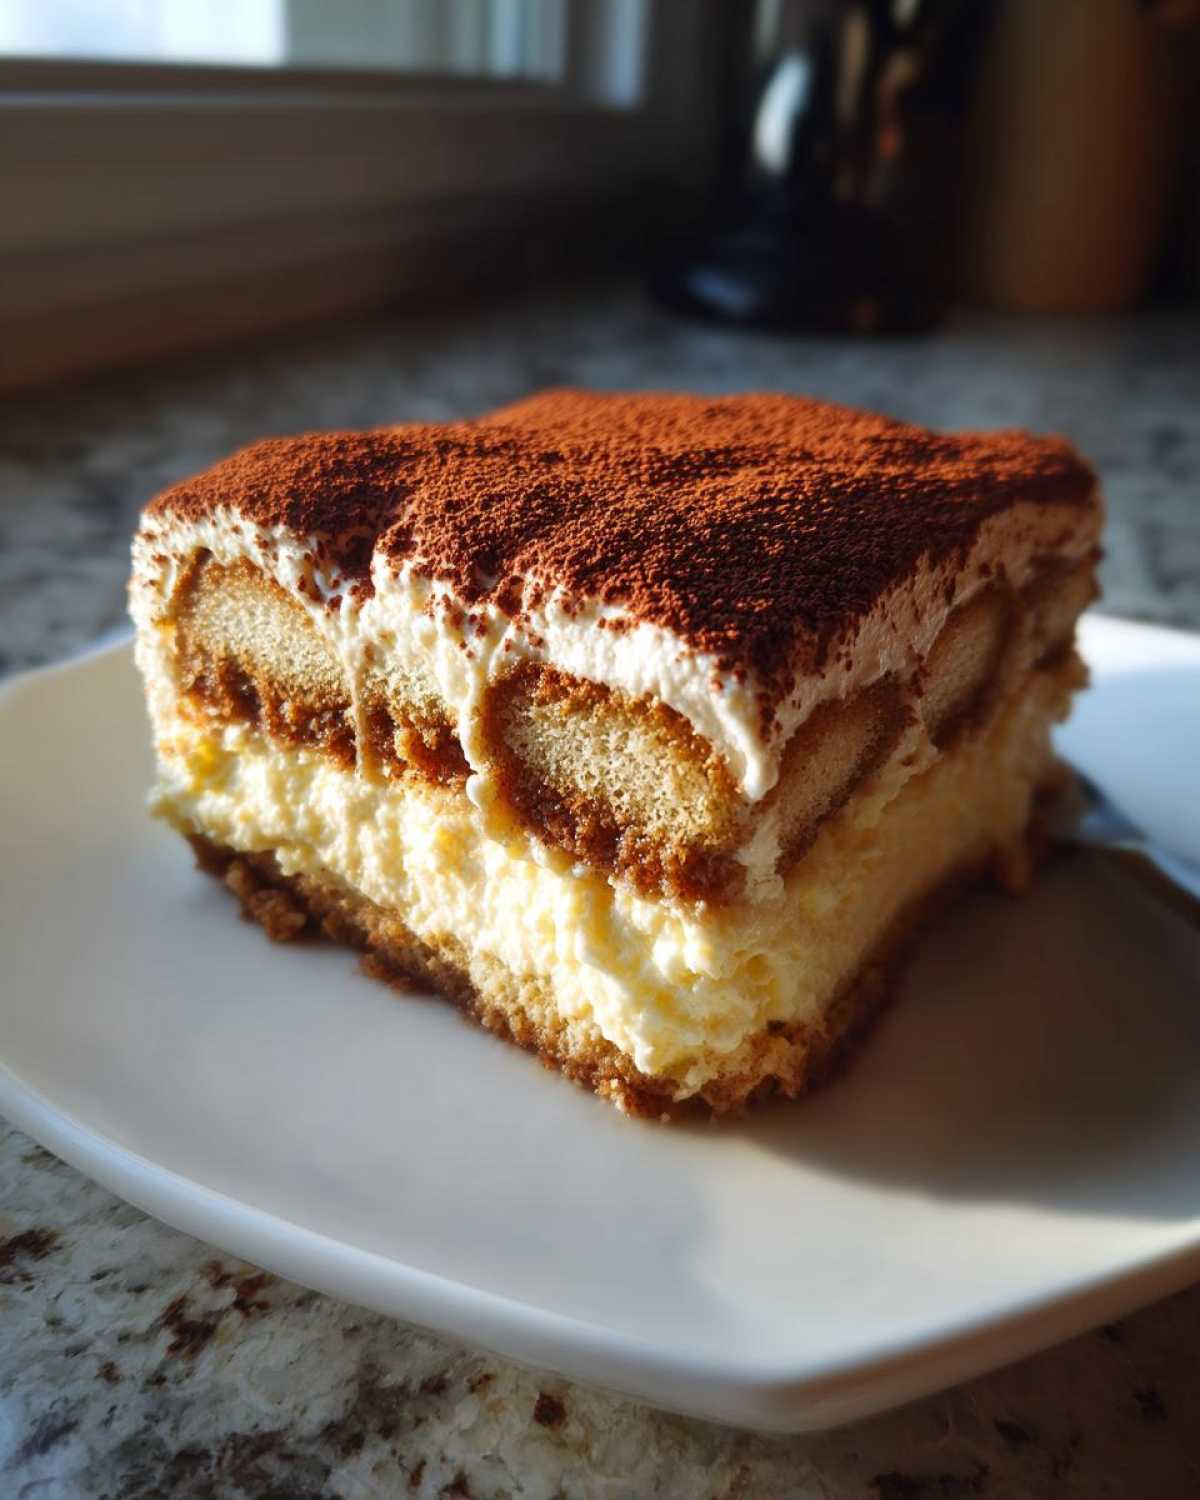
When you are ready to serve your masterpiece—maybe for a holiday or just because you deserve it—finally, grab a fine-mesh sieve. Dust that entire top layer generously with unsweetened cocoa powder. That dark, rich chocolate finish is the perfect visual contrast to the pale cream underneath. Slice it up, scrape the edges when serving, and watch everyone swoon!
Ingredient Notes and Substitutions for this Tiramisu Recipe
Before you tackle the assembly, let’s just talk quickly about what makes the flavors pop in this specific tiramisu recipe. The coffee has to be strong! If you use drip coffee that’s too weak, you’ll end up with a soggy, bland layer instead of that lovely, intense coffee flavor. So make it extra strong, or maybe even use espresso if you have a machine.
Regarding the alcohol, the liqueur or rum is totally optional, but honestly, I highly recommend throwing it in if you can! It adds such a sophisticated depth that plain coffee just can’t touch. But what if you can’t use eggs, you ask? I thought of that! If you want to completely skip the yolks, you can substitute that whole yolk mixture by whipping up 1 cup of chilled heavy cream with about 1/4 cup of powdered sugar and a tiny dash of vanilla until it forms peaks, and then folding that into your mascarpone. It’s a great alternative for a Tiramisu Without Raw Eggs.
Tips for the Best Tiramisu Recipe Presentation and Flavor
Okay, you’ve assembled your dessert, but let’s talk about making it look exactly like the ones in magazines, because presentation matters when you’re serving up a Dessert for Dinner Party!
First off, about that dish size: I mentioned the 8×8 inch pan in the steps, and I stick to that because it gives you those perfect, chunky layers. If you use a dish that’s too big, your layers get too thin and you end up with mostly cream and not enough soaked biscuit, which is a tragedy!
When it comes to the cocoa powder dust, don’t shy away from it! This is what gives you that gorgeous top layer, that Rich Chocolate Dusting Dessert contrast. Use a good quality, unsweetened cocoa. I sometimes even sift it twice to make sure there are absolutely no little lumps—it just looks so much finer that way.
One more little trick for flavor: if you swap out the coffee for something else, make sure that replacement is just as flavorful! For instance, if you were making a special mocha version, you’d need an equally rich chocolate base—maybe check out how I boost flavor in my morning coffee for inspiration on double-strength brews. Strong flavor anchors the whole dessert!
Make Ahead Dessert Ideas: Storing Your Tiramisu Recipe
This is truly one of the great joys of this recipe—it’s a champion when it comes to Make Ahead Dessert Ideas! Remember when I stressed chilling it for at least six hours? Well, that actually means you should aim to make it the day before you need it. The flavors get seriously complex and rich overnight as the coffee settles into the structure. It’s magnificent!
If you have leftovers (which rarely happens at my house, I warn you!), just keep it covered tightly with plastic wrap in the fridge. It holds up beautifully for about three to four days. Since it’s a cold, layered dessert, there’s no reheating involved, thankfully. Just pull it out about 15 minutes before serving to let it lose that deep chill, then hit it with a fresh dusting of cocoa. Easy serving for days afterward!
Serving Suggestions for Your Classic Italian Tiramisu
Now that you’ve mastered this amazing Classic Italian Tiramisu, how should you present it? Honestly, it shines all on its own, especially under that blanket of dark cocoa powder we added! But if you want to dress up the plate a tiny bit, don’t go overboard; you don’t want to mask that beautiful coffee flavor.
I love serving mine with just a very light scattering of fresh raspberries or sliced strawberries right on the side of the plate. The tartness cuts through the richness of the mascarpone so nicely. Another wonderful idea, especially if you served this after a big meal, is to offer a small, chilled glass of something nice alongside it. Think a tiny shot of chilled amaretto or maybe even some homemade liqueur, like that wonderful special bourbon treat I shared last winter, just swapped for a cold version!
Keep the garnishes simple, let this gorgeous, layered dessert do the talking!
Frequently Asked Questions About This Tiramisu Recipe
Can I make this tiramisu recipe without coffee?
Oh, you absolutely *can*, but honestly, why would you want to skip the best part of an Authentic Italian Tiramisu? The coffee and booze soak give the ladyfingers the structural integrity and that unmistakable flavor kick! If you absolutely must skip it, though, you could try soaking them very briefly in strong, cooled black tea, maybe flavored with some vanilla. Or, for a chocolate version, you could melt down some bittersweet chocolate with hot water to make a cocoa liquid base. Just know that the final result won’t taste like traditional Tiramisu!
How long does the tiramisu recipe last in the refrigerator?
This is fantastic for leftovers, which is great for a crowd! Because we pasteurized the eggs (or skipped them entirely), this dessert stays wonderfully fresh. I always find that it tastes even better on Day 2 or Day 3, as the coffee soaks deeper into the ladyfingers. You can safely store this covered tightly in the fridge for up to four days. After that, the ladyfingers might start getting just a little too soft for my liking, even though it’s still perfectly safe.
What is the best way to get a clean layer when assembling the tiramisu recipe?
This is where you need to show a little finesse! After you spread that first layer of mascarpone cream in the dish—and before you lay down the next layer of soaked biscuits—grab a small offset spatula. You know, the skinny metal one you use for frosting cakes? Gently use the flat edge of that spatula to smooth out the cream layer, making sure it’s relatively even. This gives you a solid, flat foundation so your second layer of ladyfingers doesn’t dip awkwardly. It really helps make your final slice look magazine-perfect!
If you’re looking for other fantastic, easy Italian flavors, you simply must check out my limoncello tiramisu variation sometime; it’s bright and perfect for summer!
Nutritional Estimates for This Indulgent Coffee Flavored Treat
Now, let’s talk numbers! I know this Indulgent Coffee Flavored Treat is truly rich, so it’s smart to look at the estimates. I ran the numbers based on the ingredients listed, assuming you use the standard amounts and skip the optional liqueur. Keep in mind, these figures are just a starting point because every bag of mascarpone and every brand of ladyfinger is slightly different!
If you’re worried about the richness, remember this dessert is meant for special occasions, not necessarily an everyday snack! And definitely, if you add that splash of rum or coffee liqueur, those calorie and sugar counts will creep up a bit, so plan accordingly if you’re keeping score.
- Serving Size: 1 slice
- Calories: 450
- Sugar: 30g
- Sodium: 120mg
- Fat: 32g
- Saturated Fat: 19g
- Carbohydrates: 35g
- Protein: 10g
Just a little disclaimer here: this nutrition breakdown is calculated based on standard ingredient measurements. If you use an extra fancy liqueur or a different style of biscuit, your final numbers for this fantastic Tiramisu recipe might change. But hey, that’s part of the fun of making something homemade, right?
Print
Easy No-Bake Classic Tiramisu Recipe
- Total Time: 30 min
- Yield: 8 servings
- Diet: Vegetarian
Description
Follow these simple steps to make an authentic, creamy Italian Tiramisu dessert without baking. This recipe uses mascarpone cream and is perfect for making ahead.
Ingredients
- 6 large egg yolks
- 3/4 cup granulated sugar
- 1 1/2 cups heavy whipping cream
- 16 ounces mascarpone cheese, softened
- 1 1/2 cups strong brewed coffee, cooled
- 1/4 cup coffee liqueur or dark rum (optional)
- 2 packages (7 ounces each) ladyfingers (savoiardi)
- Unsweetened cocoa powder, for dusting
Instructions
- In a heatproof bowl set over a saucepan of simmering water (do not let the bowl touch the water), whisk the egg yolks and sugar constantly until the mixture is pale, thick, and reaches 160 degrees Fahrenheit. This pasteurizes the yolks. Remove from heat and let cool slightly.
- In a separate large bowl, whip the heavy cream until stiff peaks form. Set aside.
- In another bowl, gently whisk the softened mascarpone cheese until smooth. Fold the cooled egg yolk mixture into the mascarpone until just combined.
- Gently fold the whipped cream into the mascarpone mixture until no streaks remain. This is your cream.
- In a shallow dish, combine the cooled coffee and coffee liqueur or rum, if using.
- Quickly dip each ladyfinger into the coffee mixture, turning once. Do not over-soak them.
- Arrange a single layer of dipped ladyfingers in the bottom of an 8×8 inch baking dish or a similar sized serving dish.
- Spread half of the mascarpone cream evenly over the layer of ladyfingers.
- Repeat the process: dip the remaining ladyfingers and arrange them over the cream layer.
- Spread the remaining mascarpone cream over the second layer of ladyfingers.
- Cover the dish tightly with plastic wrap and refrigerate for at least 6 hours, or preferably overnight, to allow the dessert to set.
- Before serving, dust the top generously with unsweetened cocoa powder using a fine-mesh sieve.
Notes
- If you prefer to avoid eggs entirely, you can substitute the yolk mixture with 1 cup of chilled heavy cream whipped with 1/4 cup powdered sugar and 1 teaspoon vanilla extract, folded into the mascarpone.
- Use very strong coffee for the best flavor in the soaking liquid.
- Make this dessert one day ahead for the best texture and flavor development.
- Prep Time: 30 min
- Cook Time: 0 min
- Category: Dessert
- Method: No-Bake Assembly
- Cuisine: Italian
Nutrition
- Serving Size: 1 slice
- Calories: 450
- Sugar: 30
- Sodium: 120
- Fat: 32
- Saturated Fat: 19
- Unsaturated Fat: 13
- Trans Fat: 1
- Carbohydrates: 35
- Fiber: 1
- Protein: 10
- Cholesterol: 250


Comments are closed.