

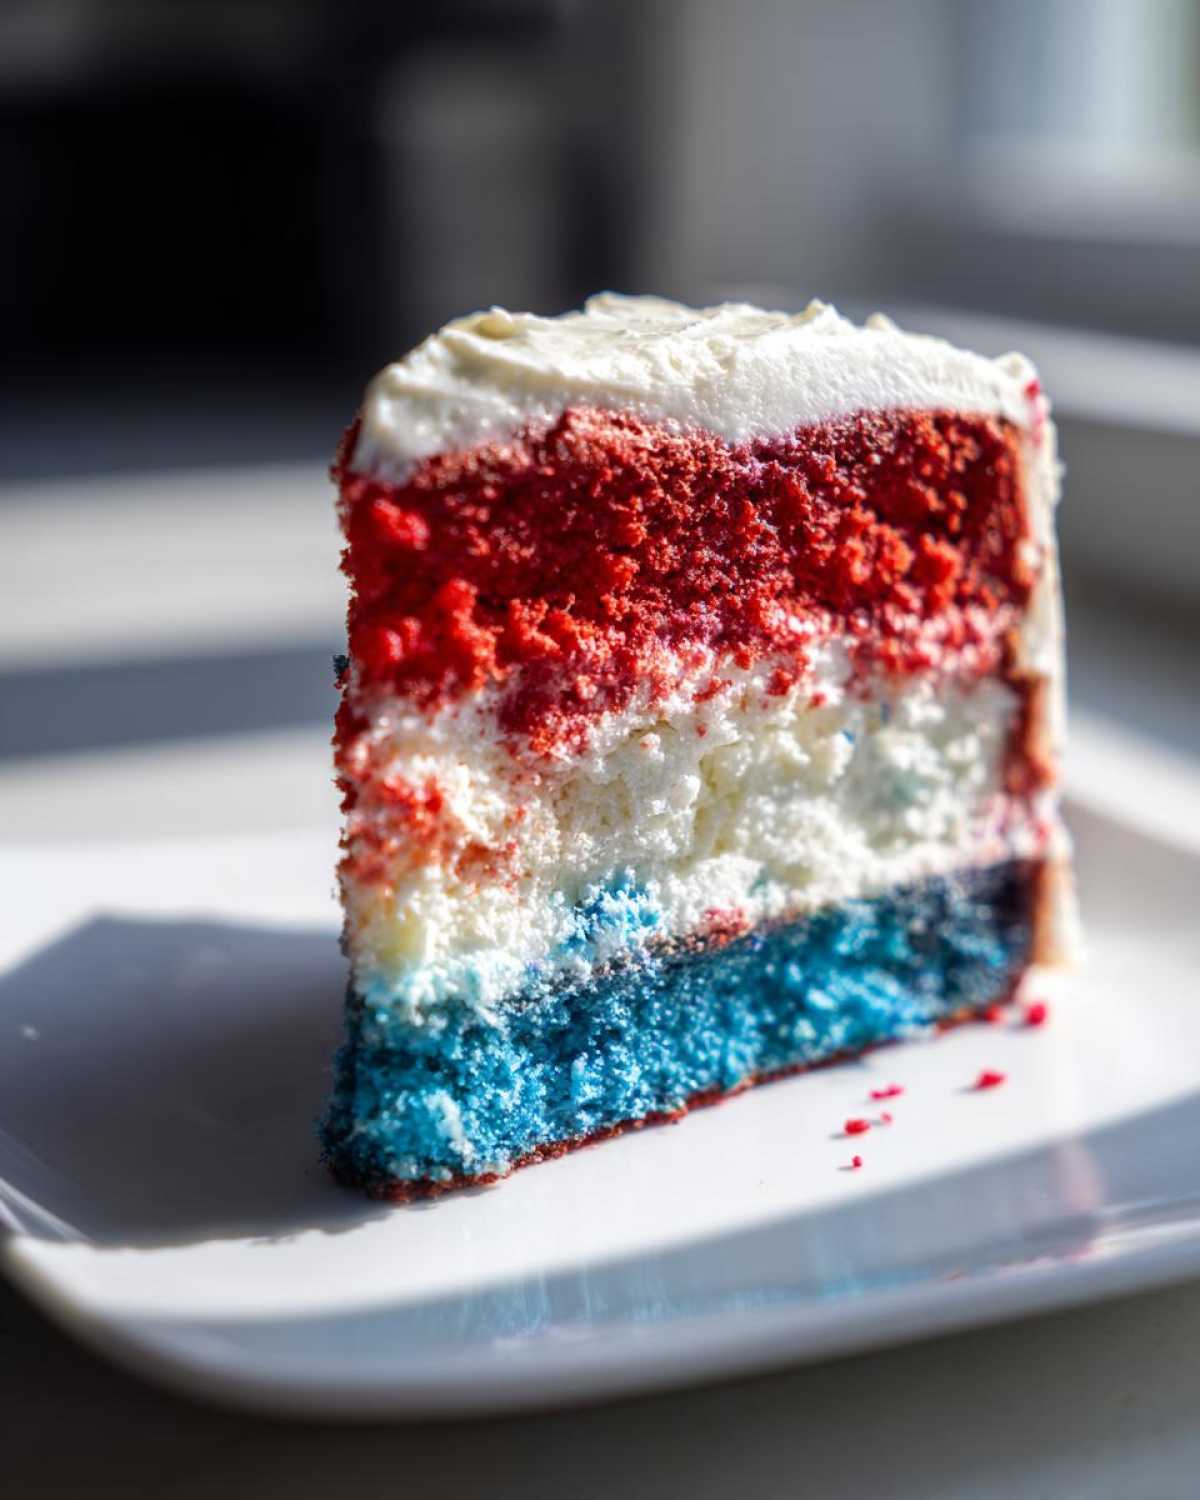
Oh my gosh, when summer rolls around and you start thinking about the Fourth of July or Memorial Day, you just *have* to have a showstopper dessert, right? Forget those flimsy sheet cakes! When I want something truly spectacular—a real centerpiece dessert—I always pull out the giant recipe card for this **Red, White, & Blue Layered Flag Cake**. Seriously, even though I’ve made my own tweaks over the years, it has that amazing, reliable structure you expect from a classic like Betty Crocker. Trust me, this cake looks like you spent days on it, but it chills out so nicely and the colors come out so vibrant. It’s my absolute go-to when I need a cake that screams ‘Happy Holiday!’
Why This Red, White, & Blue Layered Flag Cake (Betty Crocker) is Your Best Choice
When you’re making a themed dessert, you need reliability. You absolutely don’t want a wobbly cake sinking in the middle of your barbecue! This recipe is the best because it has that dependable structure that handles frosting layers beautifully. It’s made to be a showstopper—a truly spectacular 4th of July cake.
Key Features of Our Patriotic Layer Cake Recipe
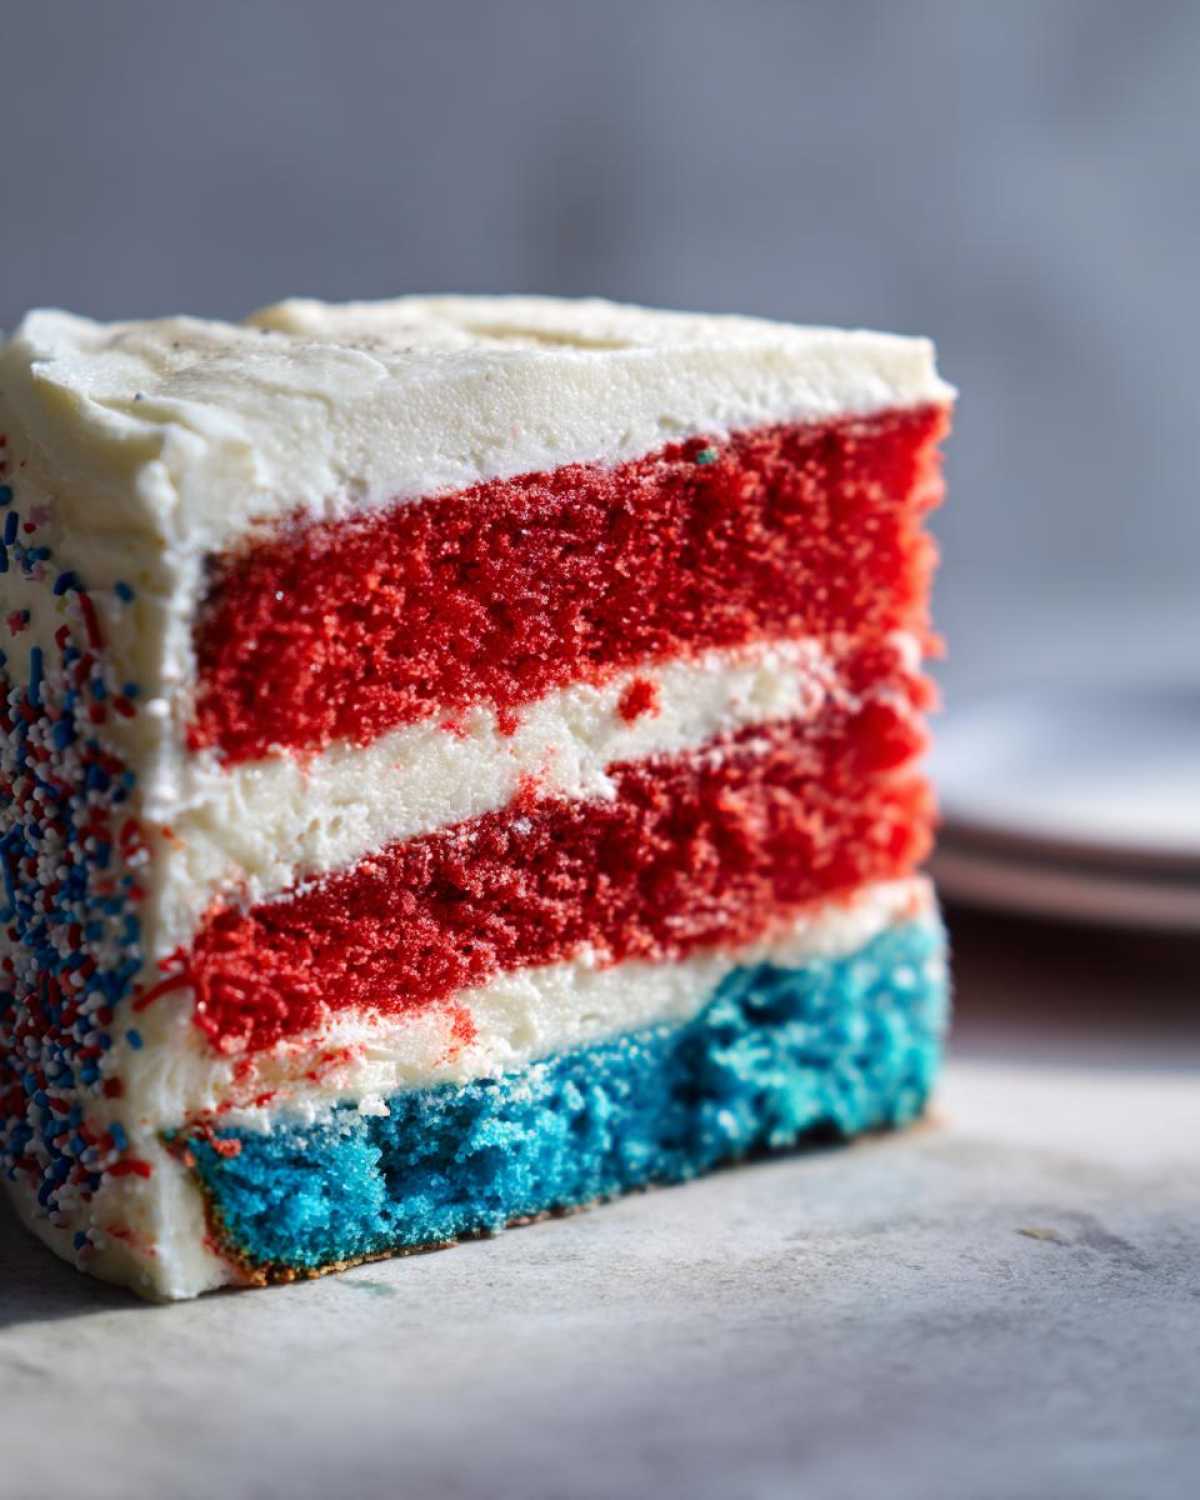
- The batter magically takes the gel colors so well—you get that deep, true red and blue you want.
- It bakes up sturdy, meaning you don’t have to stress about those layers sliding around when you assemble your vanilla buttercream frosting.
- It’s an easy patriotic layered dessert to manage, even when you’re juggling burgers and sparklers!
Ingredients for the Best Layered Flag Cake Recipe
Okay, let’s talk about what you need for this showstopper. Since this is a **Red, White, & Blue Layered Flag Cake (Betty Crocker)** style recipe, quality matters! You’ll need standard pantry basics, but pay close attention to the butter—it needs to be perfectly softened. You’ll also need a good amount of frosting ready to go. I often use a sturdy vanilla buttercream, but if you want something extra rich and tangy, you could try making a cream cheese frosting as your base.
- 3 cups all-purpose flour
- 3 teaspoons baking powder
- 1 teaspoon salt
- 1 cup unsalted butter, softened
- 2 cups granulated sugar
- 4 large eggs
- 1 1/2 cups milk
- 1 teaspoon vanilla extract
- Red food coloring, gel type
- Blue food coloring, gel type
- White frosting (lots of it!)
- Fresh blueberries and strawberries for topping (optional but highly encouraged for the flag look!)
Tips for Achieving Vibrant Red and Blue Colors
This is where so many people go wrong! If you use the liquid food coloring you get at the grocery store, your batter will end up pink and light blue, trust me. You absolutely must buy the gel colors for this **Patriotic Layer Cake Recipe**. Gel color is concentrated. Start small—maybe just half a teaspoon for the red bowl—and mix thoroughly. If you need it darker, add just a drop more, but be careful! Too much won’t just change the color; it can mess with the chemistry.
How to Prepare Your Red, White, & Blue Layered Flag Cake (Betty Crocker)
Alright, we’ve got our supplies, now let’s get mixing! First things first, get that oven cranked up to 350°F (175°C). Make sure your three 8-inch round cake pans are greased up really well and then dusted with flour so nothing sticks. That’s step one for any good cake icing job later!
In one bowl, whisk the flour, baking powder, and salt together—that’s your dry team. Now for the main event: beat that softened butter and sugar until it’s super light and fluffy, pale yellow heaven. Then, eggs go in one at a time. Don’t rush this part; we want those air bubbles. Then drizzle in the milk and dry mix alternately, finishing with the dry stuff. Don’t forget that vanilla!
Mixing and Dividing the Cake Batter
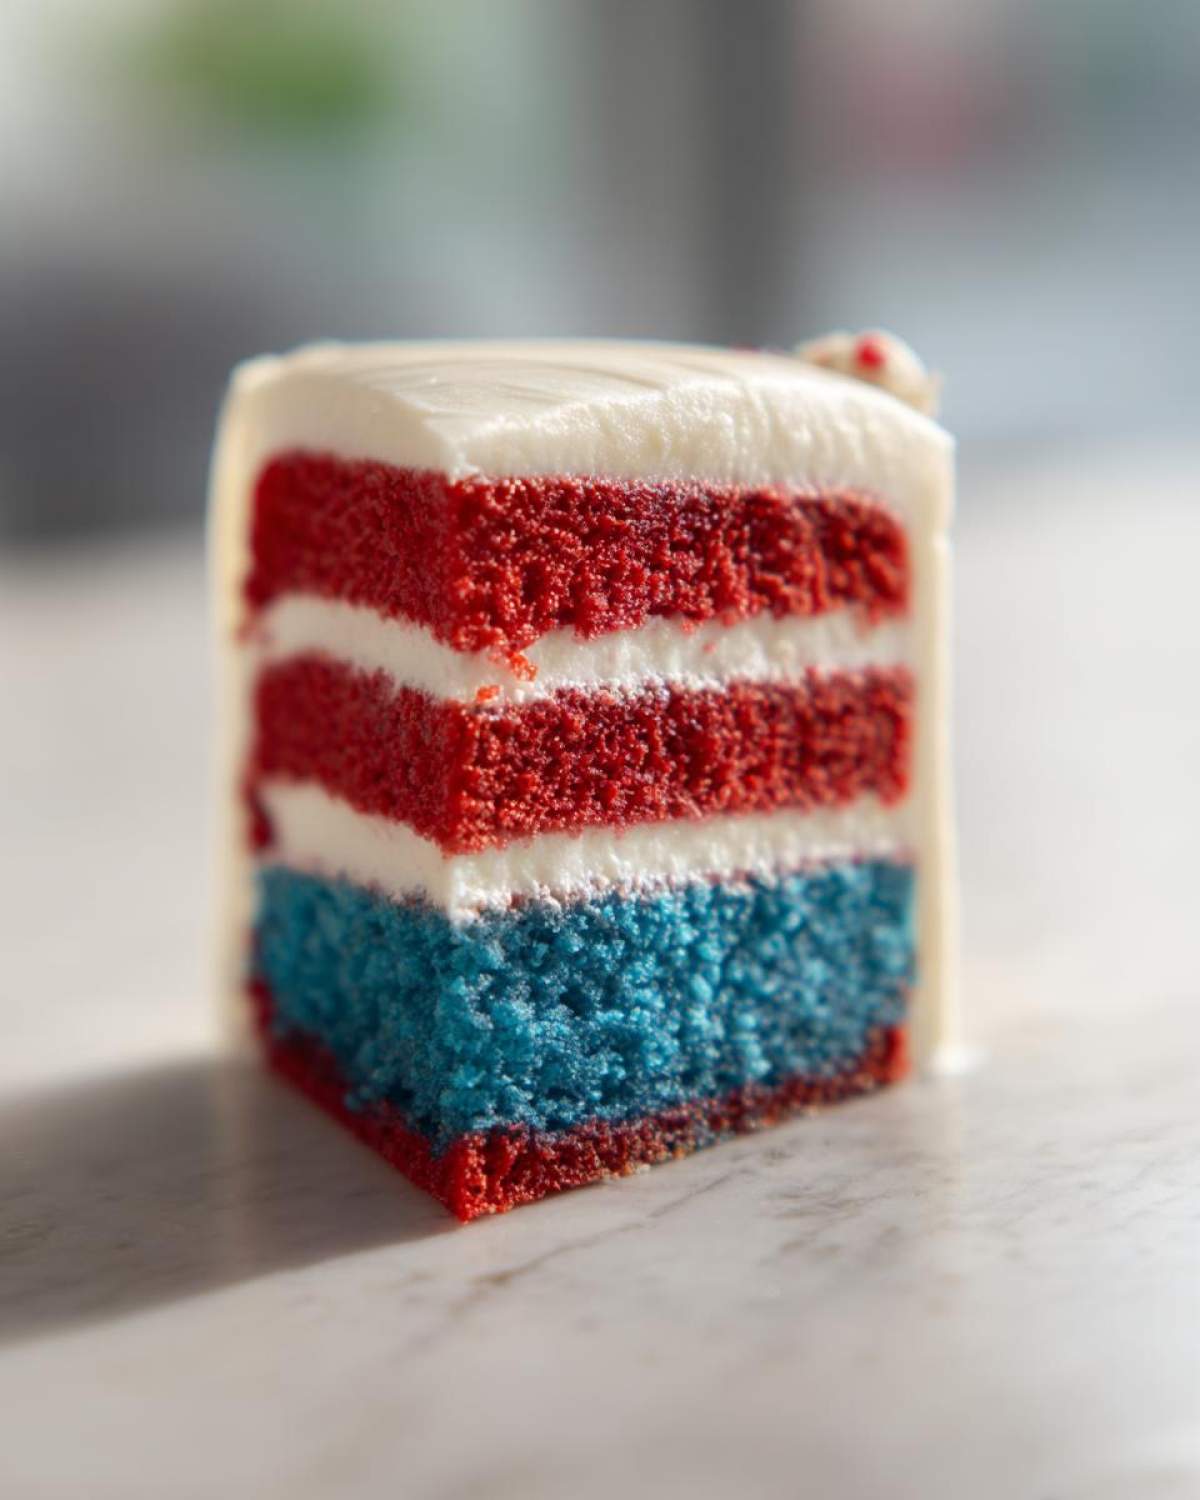
This is the crucial part for our **Red, White, & Blue Layered Flag Cake (Betty Crocker)**. You need to divide that beautiful, pale batter evenly into three separate bowls. You want one bowl plain white. The second bowl gets your red gel coloring—mix until it’s uniform! The third bowl gets the blue. Make sure you have three bowls completely equal in volume so your layers stack nicely and don’t lean.
Pour each color gently into its own prepared pan. Don’t mix them up! You want distinct layers. Then pop them into the oven.
Baking Times and Cooling the Layers
They usually take about 25 to 30 minutes. You’re looking for that classic test: stick a wooden pick right into the center, and if it comes out clean, they’re done! Don’t overbake these, or you’ll lose that soft crumb we worked so hard for in this **Patriotic Layer Cake Recipe**. Let them sit in the pans for just 10 minutes—no more, no less—then flip them out onto a cooling rack. They have to be completely cool before you even think about leveling or frosting them, or you’ll end up with a drippy, melted mess!
Assembling Your American Flag Cake Tutorial
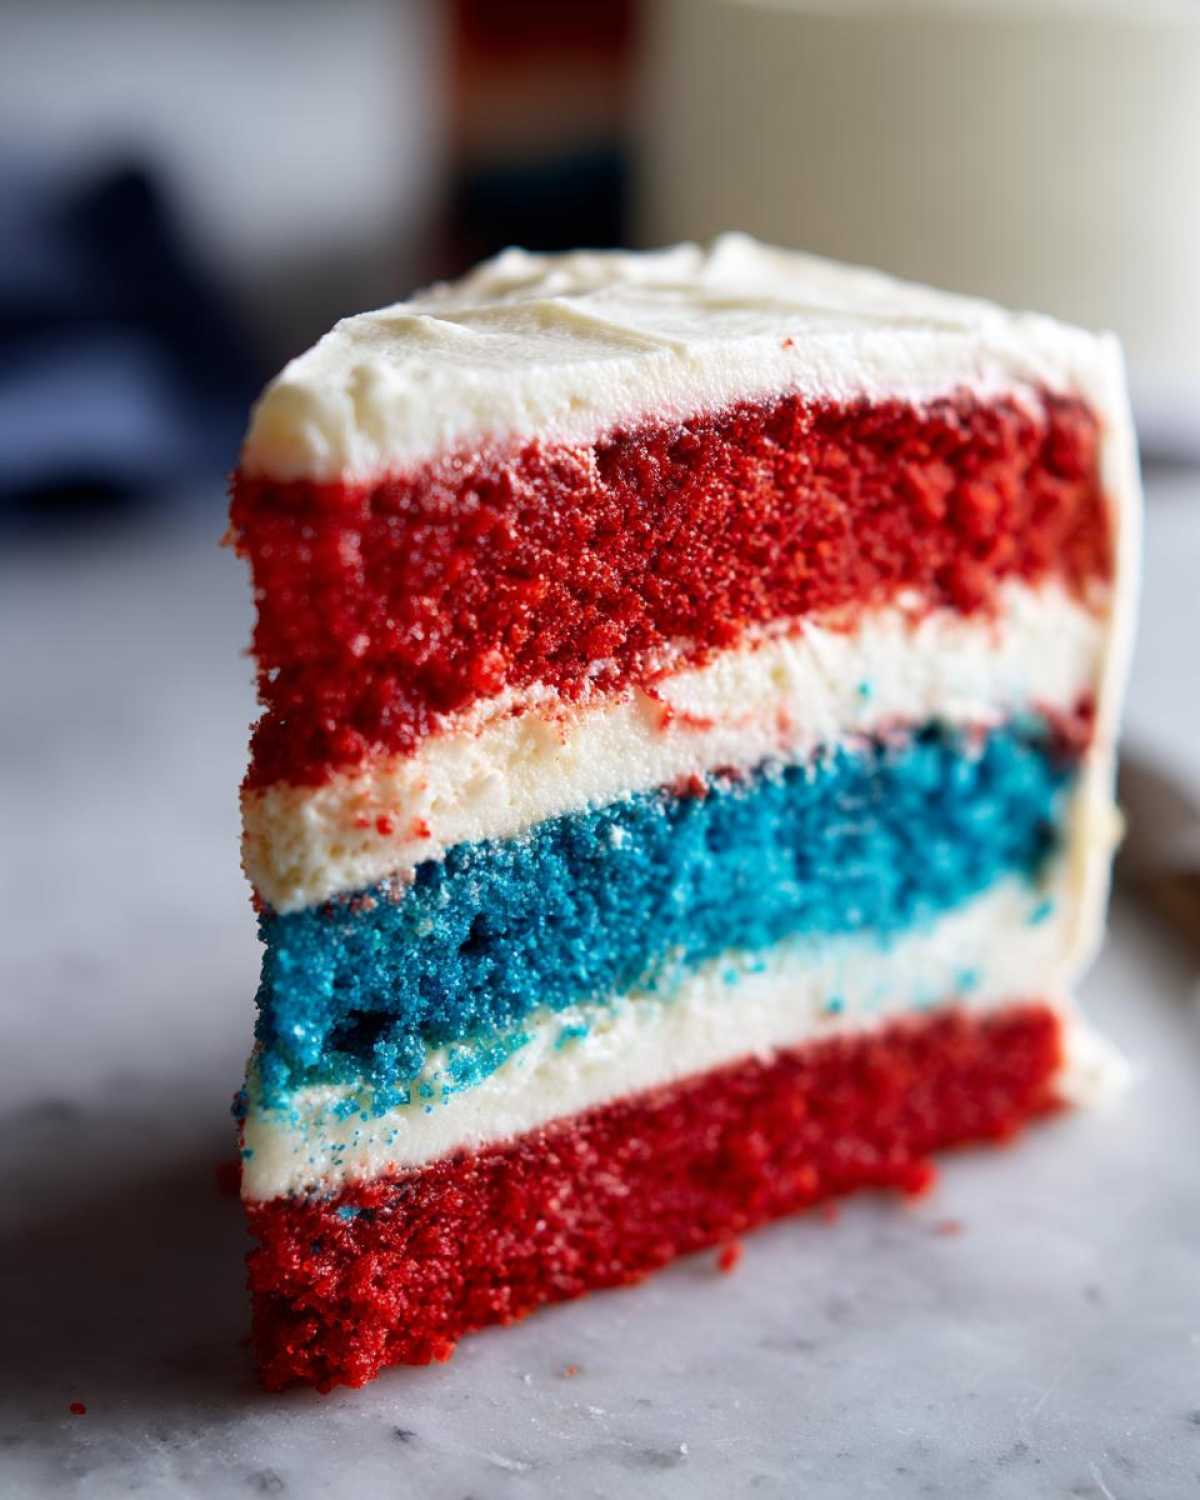
Okay, deep breaths! This is the moment the whole **Layered Red White Blue Layer Cake** comes together, and honestly, it’s the most satisfying part. Once those three colorful layers are completely cooled down—and I mean stone cold, maybe even briefly chilled—it’s time to build this beauty up.
First, we have to make sure our layers are flat. If your cakes domed in the oven, we need to shave that top off using a long, sharp serrated knife. Go slow, use a gentle sawing motion, and turn the cake as you go. This leveling is non-negotiable if you want a sturdy cake that won’t start listing dramatically on your dessert table! We want this cake to look perfect, which means we start with a perfectly level foundation, whether you are using a simple buttercream like the one in my vanilla buttercream frosting recipe or something else.
Tips for Perfect Layer Stacking
For my **Easy Patriotic Layered Dessert**, I always start with the white layer on my cake stand or serving plate. This gives you a nice, clean base. Spread a generous, even layer of your beautiful frosting across the top. Then, gently place your blue layer right on top, centering it carefully. Frost that blue layer completely—don’t skimp here; the frosting is what glues your layers together!
Lastly, the red layer goes on top. Once that’s positioned, you’re ready for the final wrap. Grab your remaining frosting and start covering the entire outside—sides and top. I like to do a thin ‘crumb coat’ first, which locks in any stray crumbs, chill it for about 15 minutes, and then apply the final, thicker layer of beautiful white frosting. That smooth, snowy white surface is what we need for drawing the flag design, so take your time getting it as smooth as you can!
Tips for Success with This Red White Blue Layer Cake
Honestly, making this cake beautiful for any gathering, whether it’s a big barbecue or just a summer treat, comes down to a few small tricks that Grandma always drilled into me. The recipe comes with a few key notes, and I want you to follow them to the letter!
- Gel Color is the Key: You simply must use gel food coloring. I know it costs a little more, but liquid coloring just waters down my batter, and you end up with sad pastel colors instead of brilliant red and deep blue.
- Cool Completely: This is the biggest one. Do not—I repeat, *do not*—try to assemble, stack, or frost these layers until they are totally, 100% cooled down. If you rush this, your frosting melts, and you get a total structural failure on your **Red, White, & Blue Layered Flag Cake (Betty Crocker)**.
- Chill Before Assembly: My personal trick? After the cakes cool, wrap each layer tightly in plastic wrap and stick them in the fridge for at least an hour. This firms them up and makes leveling them for the **Layered Red White Blue Layer Cake** process so much easier.
Oh, and one more thing: If you’re baking on a really sticky, humid summer day, you might need an extra tablespoon of flour when creaming the butter, or your white frosting might feel too soft. Just keep an eye on the weather when you bake!
Serving Suggestions for Your Spectacular 4th of July Cake
Now that you have this absolute showstopper—this gorgeous **Summer Holiday Centerpiece Dessert**—sitting proudly on your counter, we need to talk about how to serve it! The visual appeal of this **Red, White, & Blue Layered Flag Cake (Betty Crocker)** is half the fun, so let’s finish the look.
Remember back in the ingredients list when I mentioned optional fresh berries? Now is their time to shine! If you’ve frosted the top smoothly, you can create that classic flag design using those fresh ingredients. I lay down rows of blueberries for the blue field in the corner section and then use sliced strawberries, cut into small triangles perhaps, to mimic the red stripes across the rest of the cake. It looks stunning.
Pairing the Cake with Summer Sips
A cake this rich deserves a refreshing drink next to it, especially if you’re outside enjoying the fireworks. Since the cake is heavy on vanilla and sweetness, I love pairing it with something light and tart. If you’re serving adults, a chilled Prosecco or a sparkling lemonade works wonders.
For the kids, skip the sugary sodas and try a fun mocktail! I recently made this incredible iced pineapple coconut mocktail recipe, and it’s just tropical enough to balance the richness of the cake without clashing with the berry vibes we have going on. It keeps the whole vibe light and summery.
Serving Temperature Matters
When you go to slice this **Spectacular 4th of July Cake**, remember that it’s best served cool, but not straight out of the deepest part of the fridge. Cold cake can taste a bit hard! Take it out about 30 minutes before you plan on serving it. This lets the frosting soften up just a little bit, which makes slicing cleaner and the texture in your mouth much silkier. You want to see those distinct red, white, and blue layers really pop when you cut that first wedge for your guests!
Storage & Reheating Instructions for the Layered Flag Cake
So, you made this massive **American Flag Cake Tutorial** beauty, and now you have leftovers (if that even happens at your house!). Handling a tall, frosted layer cake like this takes a little finesse, especially if you want those colors to stay bright and the texture to hold up. Since this is a big summer holiday commitment, knowing how to store it properly is key!
First rule: refrigeration is your friend for leftovers. If you have any half-eaten cake left on the plate, cover it loosely. You don’t want to seal it tightly with plastic wrap right away, especially if you used a delicate, fluffy frosting, because condensation builds up fast! I usually place a cake dome over it first, and if it needs to stay overnight, I’ll gently drape a piece of plastic wrap over the dome, making sure the wrap doesn’t actually touch the frosting.
How Long Does the Layered Red White Blue Layer Cake Keep?
Because this cake uses standard butter-based frosting and is relatively moist from the batter, it will do great in the fridge for up to three full days. After that, the texture starts changing a bit, and the colors might look slightly duller. If you made this **Red White Blue Layer Cake** for a party on Monday, it’ll still be perfect for a celebration on Wednesday!
Serving Leftovers: Room Temperature is Everything
Now, here’s the critical part for serving these leftovers: Never serve this **Easy Red White and Blue Baking Project** straight from the fridge! That cold temperature makes the butter in the cake and frosting hard, and honestly, it tastes dense and dry. You need to let it sit out on the counter for at least an hour, maybe an hour and a half if your kitchen is cool. This allows the fats to soften up again, bringing back that lovely, moist texture we worked so hard to achieve when baking.
Can I Freeze the Unfrosted Layers?
Absolutely! If you want to get a head start on your **Memorial Day Cake Ideas**, you can totally bake the layers, let them cool completely, and then wrap each layer individually and tightly in plastic wrap, followed by a layer of foil. They freeze beautifully for up to two months. When you’re ready to decorate, unwrap them slightly and let them thaw overnight in the fridge. Just don’t freeze it once it’s covered in all that beautiful frosting!
Frequently Asked Questions About This Patriotic Layer Cake Recipe
I get so many questions about this cake because everyone wants it to turn out perfectly vibrant for their big summer cookouts! It’s actually pretty straightforward, but a couple of little things can trip people up. So, let’s clear up some of the most common things folks ask me about making this **No Fuss Patriotic Dessert**.
Can I make the layers ahead of time for this Red, White, & Blue Layered Flag Cake (Betty Crocker)?
Yes, this is a fantastic idea, especially if you’re planning for **Memorial Day Cake Ideas** where you’ll be busy grilling all day! As I mentioned before, once the three layers are baked and completely cool, wrap each one super securely in plastic wrap, then maybe throw it in a large Ziploc bag or wrap it again in foil. They freeze wonderfully for up to two months. When you’re ready to decorate, pull them out the night before and let them thaw slowly in the fridge. Do not try to frost them while they are still cold, or the frosting will crack.
What is the best frosting to use for this Layered Flag Cake?
For this tall, layered cake, you absolutely need a stable frosting that pipes well and holds its shape when it sits outdoors for a bit. I know I mentioned cream cheese earlier, but honestly, for the stability needed to build this tall, a classic American buttercream is my number one recommendation. It creams up beautifully, you can easily color the remaining portion white for the final coat, and it sets up nicely. I usually rely on my standard vanilla buttercream frosting recipe when I tackle this **American Flag Cake Tutorial**. It holds crisp edges when you decorate the top!
Can I use different color schemes if I’m not celebrating a holiday?
Oh, that’s a fun question! You definitely can transform this **Patriotic Layer Cake Recipe** for any occasion. Since the base batter is just a lovely vanilla cake, you can divide it into any three colors you love! Think pink, yellow, and mint green for a spring party, or even just three shades of pale blue for a lovely ombre effect. The technique is identical, so feel free to get creative with your color palette year-round! If you’re looking for another great side dish to bring to your party, check out my easy strawberry spinach pasta salad with feta.
Why is my blue layer turning slightly greenish when I bake it?
Ugh, I hate when that happens! It’s usually a tiny chemical reaction between the blue food coloring and the baking soda or baking powder if your batter is slightly too acidic, or sometimes the blue gel itself has yellow undertones. To fix this when you are making the **Red White Blue Layer Cake**, make sure you are using a high-quality, primary blue gel. If you see any hint of green after mixing, add just one microscopic drop of red coloring to the blue bowl—it acts as a neutralizer and can help push it back towards true blue without turning it purple. It’s a little bit of kitchen sorcery!
Estimated Nutritional Information for One Slice
Alright, let’s address the elephant in the pantry for a moment—this is a big, beautiful, frosted layer cake, so it’s definitely a treat! We need to know what we’re dealing with when we serve up a slice of this glorious **Red, White, & Blue Layered Flag Cake (Betty Crocker)**. Below is the estimated breakdown based on the ingredients listed in the recipe. Remember, every single ingredient you swap out—the type of oil in your frosting, the brand of butter—is going to change these numbers a little bit, so use these as a guideline, not gospel!
- Serving Size: 1 slice
- Calories: 450
- Sugar: 45g
- Sodium: 300mg
- Fat: 22g
- Saturated Fat: 14g
- Unsaturated Fat: 8g
- Trans Fat: 0.5g
- Carbohydrates: 60g
- Fiber: 1g
- Protein: 6g
- Cholesterol: 90mg
There you have it! If you are worried about the sugar content for your **Fourth of July Desserts**, the best way to reduce it is by using a lighter-touch frosting or focusing only on the natural sweetness from the cake batter itself. But honestly, for a centerpiece dessert like this **Patriotic Layer Cake Recipe**, you gotta enjoy it! We deserve it after all that meticulous layering!
Print
Red, White, and Blue Layered Flag Cake
- Total Time: 1 hour 5 min
- Yield: 12 servings
- Diet: Vegetarian
Description
Make a striking, multi-layered cake colored red, white, and blue for patriotic celebrations.
Ingredients
- 3 cups all-purpose flour
- 3 teaspoons baking powder
- 1 teaspoon salt
- 1 cup unsalted butter, softened
- 2 cups granulated sugar
- 4 large eggs
- 1 1/2 cups milk
- 1 teaspoon vanilla extract
- Red food coloring, gel type
- Blue food coloring, gel type
- White frosting (enough for layering and covering)
- Fresh blueberries and strawberries for topping (optional)
Instructions
- Preheat your oven to 350°F (175°C). Grease and flour three 8-inch round cake pans.
- In a medium bowl, whisk together the flour, baking powder, and salt. Set aside.
- In a large bowl, beat the butter and sugar with an electric mixer until light and fluffy. Beat in the eggs one at a time, mixing well after each addition.
- Gradually beat in the flour mixture alternately with the milk, beginning and ending with the flour mixture. Stir in the vanilla extract.
- Divide the batter evenly into three separate bowls. Leave one bowl plain (this will be white).
- Add red food coloring to the second bowl and mix until the color is uniform.
- Add blue food coloring to the third bowl and mix until the color is uniform.
- Pour the white batter into one prepared pan, the red batter into the second, and the blue batter into the third.
- Bake for 25 to 30 minutes, or until a wooden pick inserted into the center comes out clean.
- Let the cakes cool in the pans for 10 minutes before inverting them onto a wire rack to cool completely.
- Once cool, level the tops of the cakes if necessary.
- Assemble the cake: Place the white layer on your serving plate. Frost the top evenly. Place the blue layer on top of the white layer and frost. Place the red layer on top and frost the entire cake, sides and top.
- Decorate the top with piped stars or fresh berries to resemble the flag pattern if desired.
Notes
- Use gel food coloring for the most intense and true colors without affecting the batter consistency.
- Allow the cakes to cool completely before frosting to prevent the frosting from melting.
- For a cleaner look, wrap the cooled layers in plastic wrap and chill them for at least one hour before assembly.
- Prep Time: 35 min
- Cook Time: 30 min
- Category: Dessert
- Method: Baking
- Cuisine: American
Nutrition
- Serving Size: 1 slice
- Calories: 450
- Sugar: 45g
- Sodium: 300mg
- Fat: 22g
- Saturated Fat: 14g
- Unsaturated Fat: 8g
- Trans Fat: 0.5g
- Carbohydrates: 60g
- Fiber: 1g
- Protein: 6g
- Cholesterol: 90mg


Comments are closed.