

You know me—when a holiday rolls around, especially the 4th of July or Memorial Day, I want something that screams ‘celebration’ without tying me up in the kitchen all day. Forget baking fussy cakes when everyone just wants to be outside, right? That’s why this Red, White, & Blue Cheesecake Dip became our official summer go-to!
This recipe is pure magic because it’s completely no-bake, tastes exactly like the best cheesecake filling you’ve ever had, and looks absolutely stunning layered in a clear bowl. Honestly, every neighbor demands the recipe when I bring this out. I’ve tested this specific layered version over the last five summers, tweaking the coloring just so, and trust me, it’s the perfect, quick dessert for any crowd. It’s simple, sweet, and hits all the festive marks!
Why This Red, White, & Blue Cheesecake Dip is Your New Holiday Favorite
I promise you, once you make this, it’ll be pinned right next to your most trusted recipes. It’s the ultimate stress-free sweet that still manages to wow everyone. We love serving this alongside our savory snacks because it holds its own!
-
Quick Prep for Effortless Entertaining
Seriously, we’re talking minutes of active work here. Since this is a completely no bake recipe, your oven stays off, the kitchen stays cool, and you can spend time prepping other things. It’s truly an Easy 4th of July Dessert.
-
Stunning Layered Cream Cheese Dip Presentation
This is where the fun is! Creating those distinct red, white, and blue bands turns a simple dip into a gorgeous centerpiece. People instantly notice that beautiful, Flag Inspired Dessert appearance.
-
Perfect Summer Picnic Dessert Idea
Because it’s served cold, it travels so well! Just keep it cool until serving time. It’s robust enough that it doesn’t get soupy, making it the ideal Summer Picnic Dessert Idea. Check out my guide on making a Patriotic Grazing Charcuterie Board to pair with it!
Ingredients for Your Festive Red, White, & Blue Cheesecake Dip
When you’re making something this visually striking, you need your ingredients prepped and ready to go. Don’t skimp here; the quality makes a huge difference in the texture of this No Bake Cheesecake Dip. If you want rich flavor, use the real stuff!
Here’s what you’ll need for the base:
- 8 oz cream cheese, make sure it’s softened up nice and warm!
- 1 cup powdered sugar (you need that smoothness!)
- 1 teaspoon vanilla extract
- 1/2 cup heavy whipping cream, and it absolutely must be cold.
For the color, I only use gel food coloring—it keeps the dip thick. You’ll want 1/4 teaspoon of blue gel and 1/4 teaspoon of red gel. And for the topping? Half a cup of fresh blueberries and half a cup of sliced strawberries or raspberries. If you want more dipper ideas, I love this other fruit dip recipe too!
Equipment Needed for the Best Red, White, & Blue Cheesecake Dip
You don’t need fancy gadgets for this recipe, which is part of why I love it so much! It’s truly a minimalist’s dream dessert. You just need a few standard mixing bowls and something to help you whip that cream properly.
Make sure you have these things ready before you start:
- A hand mixer or a stand mixer. Trying to whip that heavy cream by hand is a workout, and you want stiff peaks!
- One large bowl for the main white base mixture.
- Three smaller, separate bowls for dividing and coloring the red, white, and blue portions.
- A rubber spatula for gently folding and scraping down the sides.
- A clear 1-quart trifle bowl or a similar clear glass serving dish. Using a clear dish is non-negotiable for showing off those layers!
Step-by-Step Instructions for Making the Red, White, & Blue Cheesecake Dip
Okay, time to get mixing! For something this pretty, you need to be a little gentle. We aren’t mixing bread dough here; we are building air into this dip. If you overmix, we lose that fluffy texture we worked so hard to get. Don’t worry, it’s super straightforward!
Creating the White Base Mixture
First things first, get that softened cream cheese mixing with your powdered sugar and vanilla until it’s unbelievably smooth. No lumps allowed! While that’s happening, you need to whip your cold heavy cream separately until you get stiff peaks. That whipped cream is your secret weapon for lightness. When it’s ready, you have to fold it into the cream cheese base—and I mean *fold* it. Use a spatula and go easy, just until they peek at each other and combine. This step is crucial for our No Bake Cheesecake Dip!
Coloring and Dividing the Red, White, and Blue Portions
Now, take that beautiful white base and divide it up so you have three equal piles in separate bowls. One pile stays totally white, which is going to be our middle layer. Into the second bowl, gently mix in that blue gel coloring until the shade is perfect. Do the same with the red coloring in the third bowl. Remember, gel coloring is key—it keeps the mixture thick, unlike watery liquid colors.
Assembling the Layered Cream Cheese Dip
Grab your clear serving dish—this is where it all pays off visually! Spoon the white mixture into the bottom first and gently smooth it over. Next, carefully layer your blue mixture right on top of the white. Finish it off by spooning the red mixture on the very top layer. Take the back of a spoon and smooth it lightly. Pop this beauty into the fridge for at least 30 minutes; getting it to chill helps the layers set up nicely before we add the fruit topping. If you love making things ahead, I have a great guide on other no-bake recipes you might enjoy prepping!
Finishing Touches for the Red, White, & Blue Cheesecake Dip
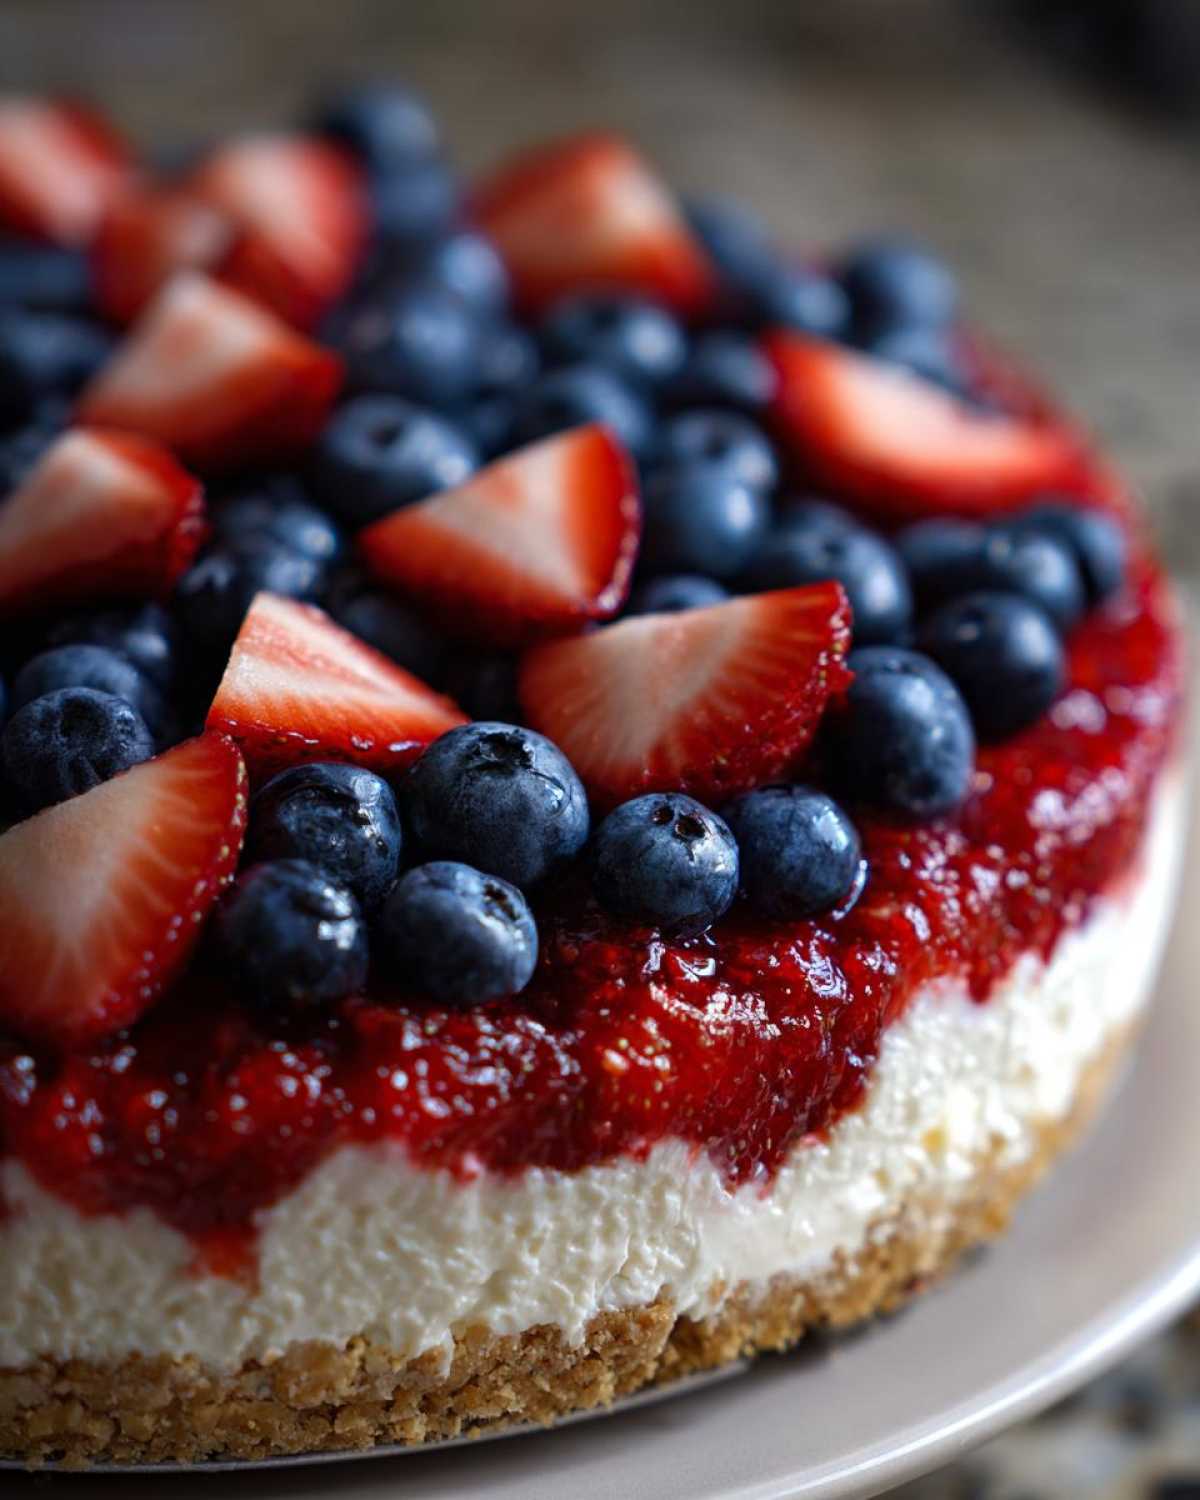
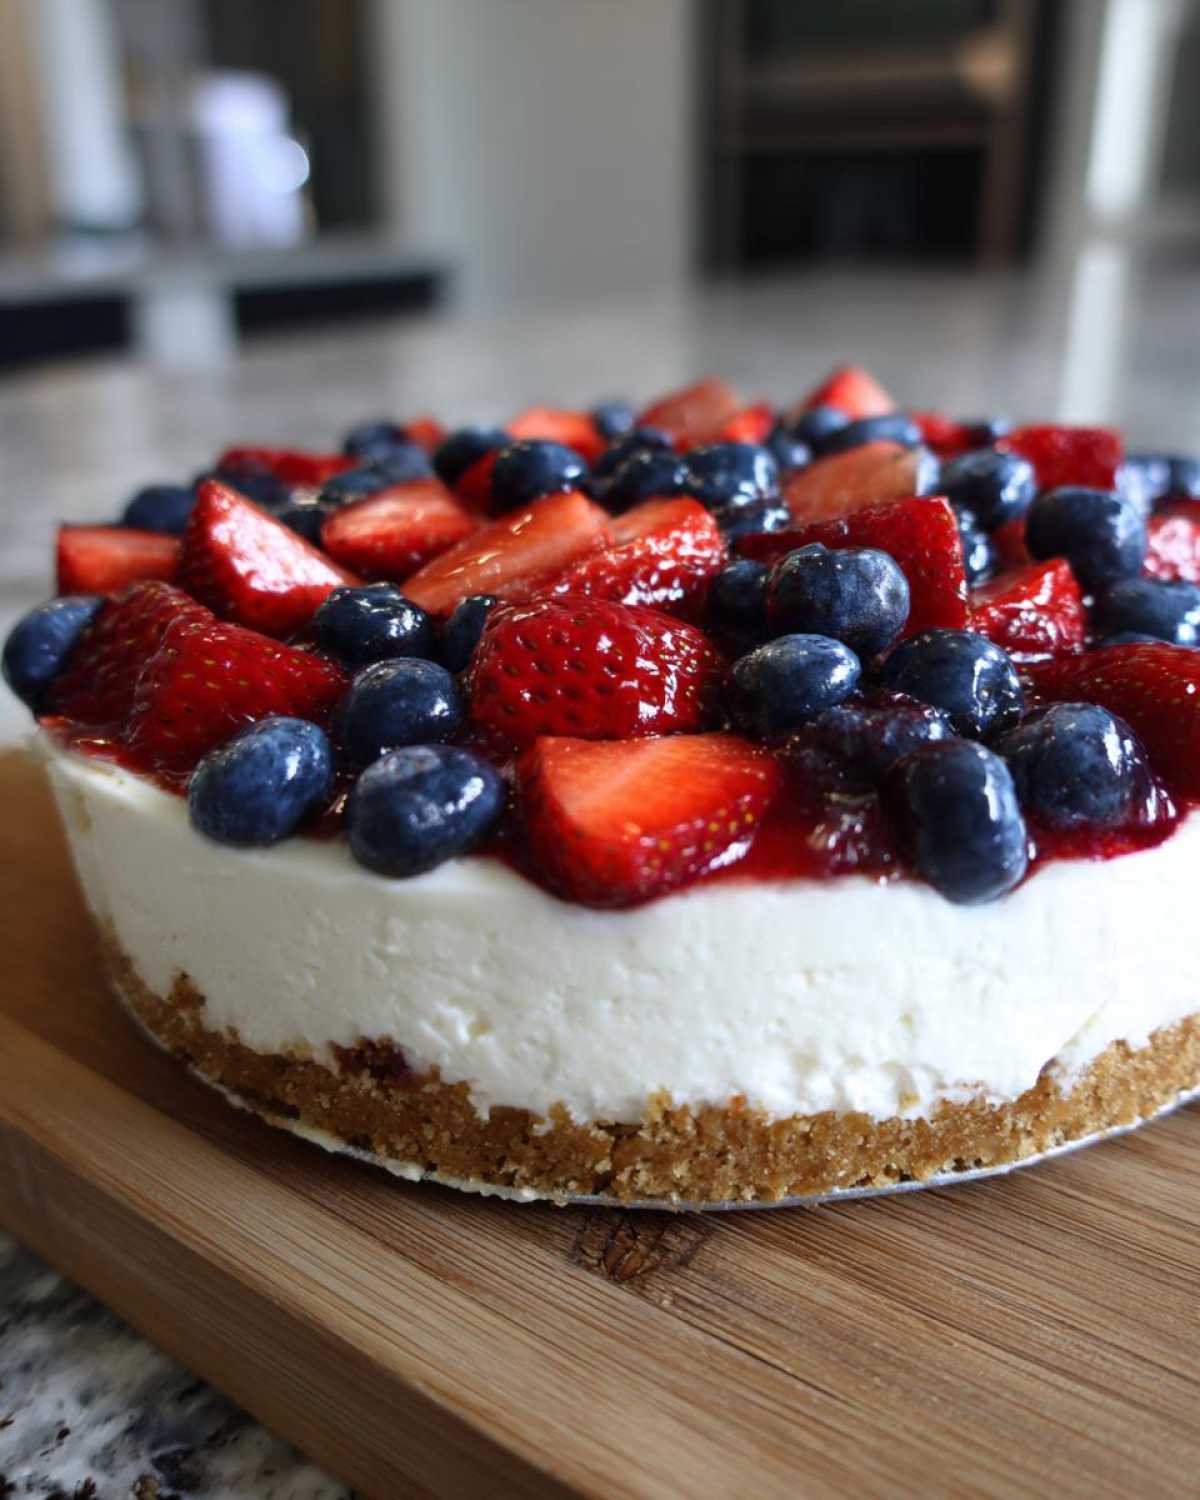
Once it’s chilled and firm, it’s time for the finale! Scatter those blueberries generously all over the red top layer. Then, tuck in your sliced strawberries or raspberries alongside them. That fresh fruit really pops against the color and brings in that nice tartness to balance the sweetness of the dip!
Tips for Success with Your Patriotic Party Dip Recipe
Listen, I’ve made this dip enough times to know exactly where things can go wrong, but honestly, there’s not much to mess up with a no-bake recipe! The key is temperature and using the right colorants. If you want this to look like the prettiest Layered Cream Cheese Dip at the party, you need to pay attention to just a couple of details.
You absolutely must use room temperature cream cheese. If it’s even slightly cold, you’ll end up with tiny, stubborn cream cheese lumps, and nobody wants that in their dessert. Give your block about an hour on the counter before you start mixing. Now, about those colors—my number one piece of advice that I learned the hard way is to stick to gel food coloring. Liquid coloring adds too much water, and that will totally thin out your wonderful, fluffy base into a runny mess! We want a thick, dippable consistency.
If you’re really serious about presentation, here’s a trick for killer separation: chill each layer for about 15 minutes before putting the next one on top. It takes longer, but you prevent the colors from bleeding into each other, which is great if you’re trying to make a crisp flag look. You can even prepare the three mixtures a day ahead and keep them covered in the fridge; just give them a quick soft remix before layering them up.
When you’re done, you can see how gorgeous this is next to other themed treats, like my recipe for a Layered Flag Cake! Every bit of festive effort is worth it.
Serving Suggestions for Your Simple Cheesecake Dip
Oh, the best part! A dip isn’t a dip without something fantastic to scoop it with. Since this Red, White, & Blue Cheesecake Dip is rich and tangy, you want dippers that offer a good crunch or a clean flavor contrast. We always have a mix out just so everyone can find their favorite combo.
For the classic sweet route, you absolutely can’t go wrong with simple vanilla wafers or these little shortbread cookies—they are sturdy enough not to snap off in the dip, which is a huge win!
But if you’re looking for that lighter, brighter side to this Cream Cheese Fruit Dip, fruit is the way to go. Fresh strawberries are a must since they bring their own red color! Banana slices are amazing because they soak up a little of that cheesecake flavor so nicely. You could even slice up some crisp green apples if you want to throw in a fourth color for fun. I often serve it alongside crisp celery for my friends who want something crunchy but less sugary. It’s versatile; just grab whatever crisp item you have on hand!
If you’re planning a bigger spread, check out how I make a fantastic salad that pairs well with sweet appetizers, too: The Perfect Strawberry Spinach Salad.
Make-Ahead and Storage Instructions for the Red, White, & Blue Cheesecake Dip
I know that holiday weekends mean juggling a million things, so I love that this Patriotic Party Dip Recipe lets you get ahead of the game. You can totally prep this dip without stressing about it collapsing before the party starts!
The absolute best way to do this is to prepare the three individual colored mixtures—red, white, and blue—up to a full day before you plan to serve them. Just mix them, cover each bowl tightly with plastic wrap, and tuck them straight into the refrigerator. They hold up beautifully! If you do this, just try to use them within 24 hours for the best flavor.
Now, when it comes to layering, you have two options. You can layer the whole thing the night before and keep it chilled. That works fine, but if you want those colors to look extra sharp and defined, chill the individual colors first, then assemble right before serving. If you need to prep early, you can use my tip mentioned earlier: give the assembled dip a quick, gentle stir when you take it out of the fridge just before layering, just to refresh the texture before you stack them up.
What about leftovers? Well, this No Bake Patriotic Dessert usually disappears fast, but if you have any left, cover the dish tightly with plastic wrap or transfer it to an airtight container. It tastes just as good the next day! I’ve kept leftovers happily chilling for about three days before I finally toss the last bit. If you’re interested in other make-ahead ideas, I have a great recipe for a Make-Ahead Egg Bake that saves Sunday mornings!
Frequently Asked Questions About This Festive Dessert Dip
I always get asked about tweaks and techniques when people see this dip for the first time! It’s an unusual presentation, you know, being a Layered Cream Cheese Dip and all, so I rounded up the most common questions I hear at the grill every summer.
Can I use fresh berries instead of food coloring for the red and blue layers?
That’s a great question, and I totally get wanting to avoid food coloring if you can! You absolutely *can* try to use berries for color. The issue is texture, though. If you try to mix fresh raspberries right in, they break down and end up looking a little muddy, not bright red. I use the berries strictly for the topping, like I showed in the recipe, because that’s where they look shiniest!
If you were determined, you could try puréeing the fruit very, very fine and then straining it through a cheesecloth to get just the liquid color, but honestly, it tends to thin out your base too much. For this easy recipe, sticking to the gel coloring for the layers and using fresh fruit on top is the way to keep it looking perfect.
How long does this No Bake Cheesecake Dip need to chill?
The recipe calls for a minimum of 30 minutes, and that’s really just to get it firm enough so your layers don’t slide around when you’re scooping the top layer on. If you have time, though, I highly recommend letting it chill for at least an hour, maybe even two. The longer it sits in the fridge, the firmer your base becomes, and the cleaner your layers look when people start digging in. It keeps the whole thing feeling much more substantial, too!
What is the best way to serve this Holiday Appetizer Sweet?
Presentation is half the fun with this No Bake Patriotic Dessert! You simply must use a clear glass dish—whether it’s a bowl, a trifle dish, or even a clear pie plate. The whole point is to see those three distinct bands of color! Make sure it’s kept cold right until company arrives. The best setup is placing the dip right in the middle of your dessert platter and surrounding it with all your dippers. If you want more inspiration on pairing dips, check out my guide for a No-Bake Strawberry Cheesecake Dip setup!
Estimated Nutritional Overview for Red, White, & Blue Cheesecake Dip
Now, let’s talk numbers! Because this is essentially cheesecake filling, it’s certainly a treat reserved for special occasions. The values below are estimates calculated for one serving size, which is about 1/6th of the entire dip mixture. Remember, we’re counting calories when we’re having fun, right?
- Serving Size: 1/6 of dip
- Calories: 310
- Sugar: 25g
- Fat: 21g (with 13g saturated)
- Protein: 5g
These numbers don’t account for whatever glorious graham crackers or cookies you choose to dip into it, of course! Enjoy every bite!
Print
No-Bake Red, White, and Blue Cheesecake Dip
- Total Time: 20 min
- Yield: 6 servings
- Diet: Vegetarian
Description
A simple, no-bake cream cheese dip layered and topped with red and blue colors for a festive patriotic presentation.
Ingredients
- 8 oz cream cheese, softened
- 1 cup powdered sugar
- 1 teaspoon vanilla extract
- 1/2 cup heavy whipping cream, cold
- 1/4 teaspoon blue food coloring gel
- 1/4 teaspoon red food coloring gel
- 1/2 cup fresh blueberries
- 1/2 cup sliced strawberries or raspberries
- Graham crackers, vanilla wafers, or fruit for dipping
Instructions
- Beat the softened cream cheese, powdered sugar, and vanilla extract together in a medium bowl until smooth.
- In a separate, clean bowl, whip the cold heavy whipping cream until stiff peaks form.
- Gently fold the whipped cream into the cream cheese mixture until just combined. This is your white base layer.
- Divide the mixture evenly into three separate bowls.
- Leave the first bowl white. Add the blue food coloring to the second bowl and mix until the color is uniform. Add the red food coloring to the third bowl and mix until the color is uniform.
- To assemble the dip, layer the colors in a clear serving dish or trifle bowl: place the white layer on the bottom, followed by the blue layer, and top with the red layer. Use the back of a spoon to gently smooth each layer.
- Chill the dip for at least 30 minutes to allow it to set slightly.
- Before serving, top the red layer with fresh blueberries and sliced strawberries or raspberries to complete the red, white, and blue theme.
- Serve immediately with your chosen dippers.
Notes
- You can prepare the three colored mixtures up to one day ahead and store them covered in the refrigerator.
- For a thicker dip, chill the mixture for one hour before layering.
- Use gel food coloring for the most intense colors without thinning the dip.
- Prep Time: 20 min
- Cook Time: 0 min
- Category: Dessert
- Method: No Bake
- Cuisine: American
Nutrition
- Serving Size: 1/6 of dip
- Calories: 310
- Sugar: 25
- Sodium: 150
- Fat: 21
- Saturated Fat: 13
- Unsaturated Fat: 8
- Trans Fat: 0
- Carbohydrates: 27
- Fiber: 1
- Protein: 5
- Cholesterol: 65


Comments are closed.