

I swear, finding the perfect frosting is like finding the Holy Grail of baking! You want something that tastes like pure, fluffy vanilla dreams but won’t slide right off the cake the second the room gets a little warm. I spent years fighting with runny icing and grainy sugar, but I finally cracked the code. This isn’t just any frosting; this is the ultimate fluffy & stable vanilla buttercream recipe you’ve been dreaming about.
We are talking rock-solid stability for piping intricate decorations *and* that melt-in-your-mouth texture you only find at the very best bakeries. Ditch the store-bought stuff. In about 10 minutes, you’ll have a batch of this creamy buttercream that looks professional but tastes like pure love. Seriously, once you nail this, you’ll never go back!
Why This Ultimate Fluffy & Stable Vanilla Buttercream Recipe Works
Honestly, there are a million recipes out there for vanilla buttercream, but most of them turn into soup if you look at them wrong! What makes this one different is that I stopped cutting corners on time. This isn’t some fussy multi-hour process, either—it’s fast, but those extra minutes of beating are non-negotiable for stability. This frosting is going to be your new best friend for cake decorating.
- It holds shape perfectly for piping intricate borders and rosettes, no sagging ever!
- You get that incredibly rich, smooth taste without any graininess hiding in the background.
- The prep time is ridiculously fast—we’re talking ten minutes total if your butter is ready to go!
Achieving Bakery Style Frosting Consistency
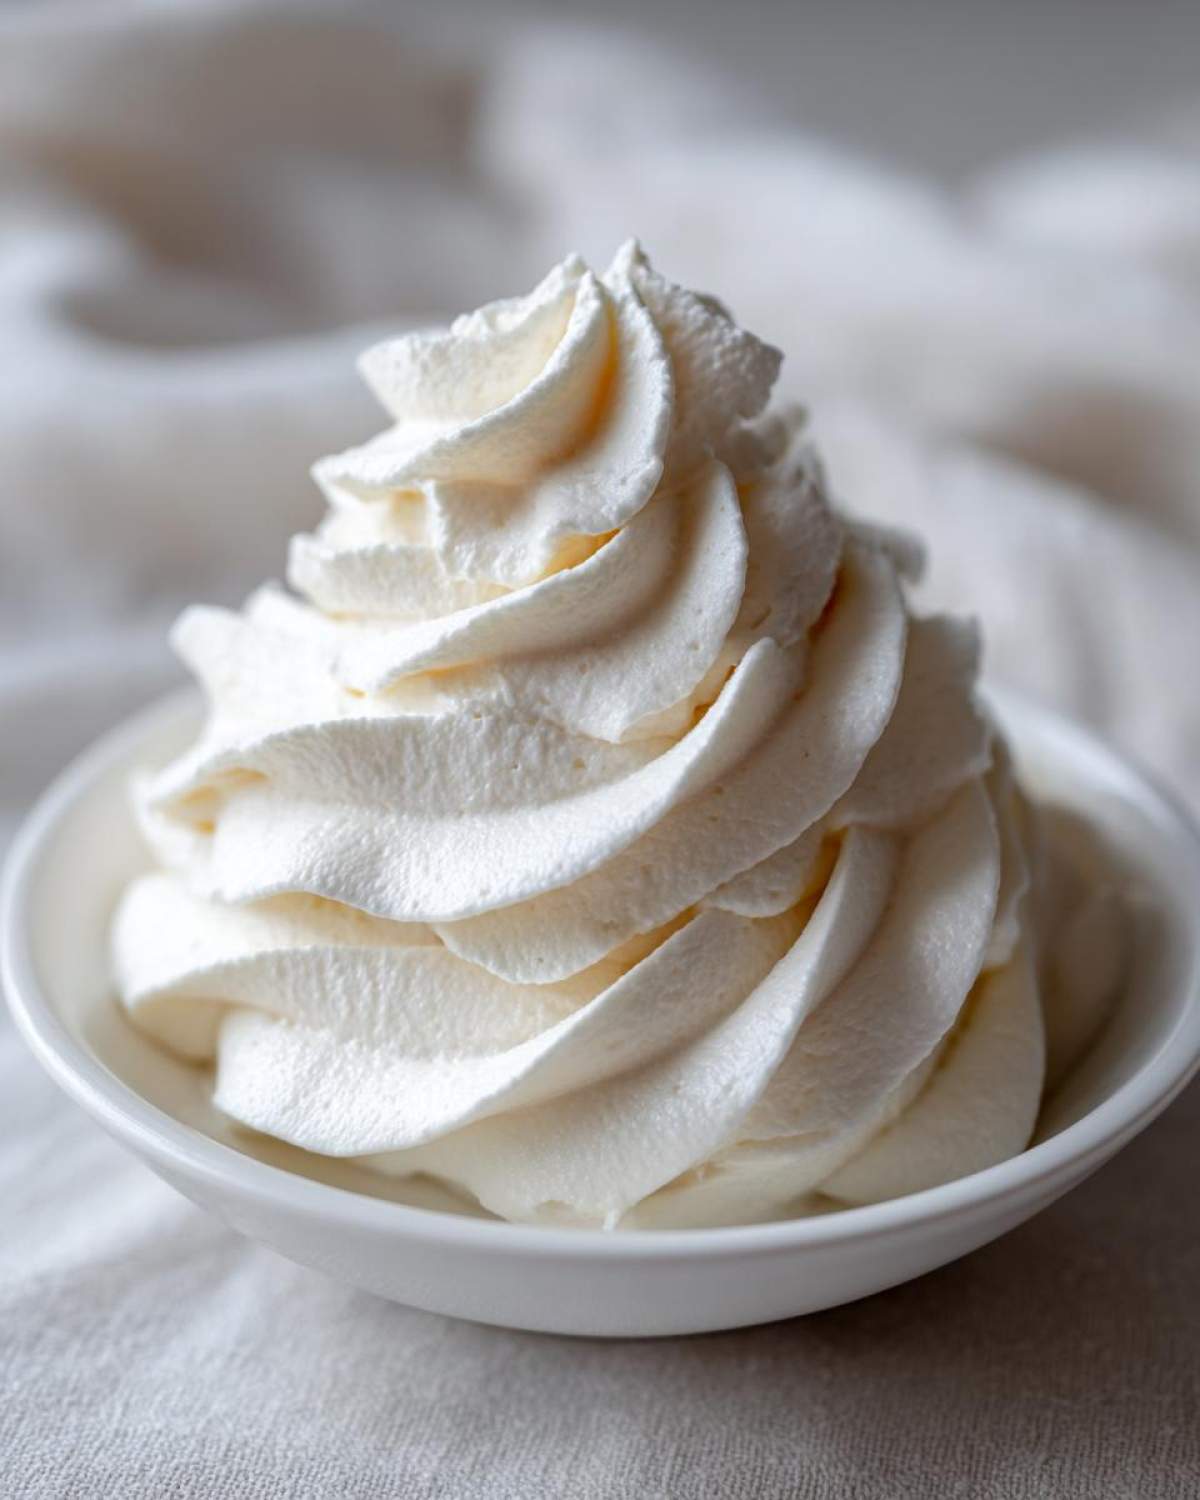
The secret to getting that beautiful, light, and creamy texture comes in the final stage of mixing. You have to beat this stuff on high speed like you mean it! When you add the cream near the end, turning the speed up incorporates tons of air. That air is what transforms dense icing into that fluffy frosting texture everyone raves about. It should look pale yellow and almost mousse-like when you’re done. Trust me, don’t stop beating when you think it’s ready; beat it for the full couple of minutes until it lightens up!
Gathering Ingredients for Perfect Vanilla Buttercream
Okay, let’s talk stuff. You can’t make amazing vanilla buttercream if your ingredients are grumpy! This is American Buttercream, the classic gold standard, and it only requires five things. Remember, we are aiming for about three cups of wonderful frosting total here, which is why I always double the recipe if I’m frosting a big layer cake.
- 1 cup (2 sticks) unsalted butter, softened to room temperature
- 4 cups powdered sugar, sifted
- 1 teaspoon pure vanilla extract
- 1/4 teaspoon salt
- 2 to 4 tablespoons heavy cream or milk
Ingredient Notes and Substitutions for Your Vanilla Buttercream
Listen to me carefully on the butter part: it has to be room temperature. If it’s cold, it won’t cream right. If it’s melted, your whole batch of vanilla buttercream will look oily and sad. I leave mine out for hours sometimes! Also, PLEASE sift your powdered sugar. It takes two seconds, but it’s the difference between smooth topping perfection and finding gritty little sugar rocks in your icing.
If necessary, you can swap the heavy cream for whole milk, but the cream helps keep the texture that rich, sturdy consistency we love so much for piping. If you wanted to make this frosting truly white, skip the regular vanilla extract—it adds a slight beige tint—and use clear vanilla instead. Those little tricks make all the difference!
How to Make Fluffy Vanilla Buttercream Instructions
I know you’re just dying to get to the mixing part, I can feel it! Making this frosting is mostly hands-off but timing is everything, especially for getting that beautiful, stable texture. We aren’t doing any baking here, thankfully, so you don’t need to worry about preheating anything! Just focus on your mixer; it’s going to do all the heavy lifting for you over the next few minutes. Follow these steps precisely for the best vanilla buttercream.
This process is what turns basic ingredients into that amazing American buttercream tutorial texture. Your mixer is going to work hard to incorporate air, which is key for keeping that fluffy frosting standing tall no matter what you put it on!
Step 1: Creaming the Butter for Smooth Vanilla Buttercream
First things first: get that room-temperature butter into your stand mixer bowl fitted with the paddle attachment. You need to run the mixer on medium speed until that butter is completely smooth and creamy. This takes about two full minutes. Don’t eyeball it! Once it looks like soft silk, stop the mixer and scrape down the sides and the very bottom of the bowl. You want zero chunks of unmixed butter hanging around before you add the sugar.
Step 2: Incorporating Sugar and Flavor into the Vanilla Buttercream
Now, to avoid ending up with a cloud of powdered sugar dust coating your entire kitchen, keep the mixer speed on low. Add your sifted sugar one cup at a time. Wait until the previous cup is incorporated before adding the next. Once all the sugar is mixed in, toss in your vanilla extract and salt. Turn the speed up to medium-high and let it run for a solid three minutes. This starts building that fantastic airiness underneath your creamy buttercream recipe.
Step 3: Whipping for Light and Fluffy Frosting Consistency
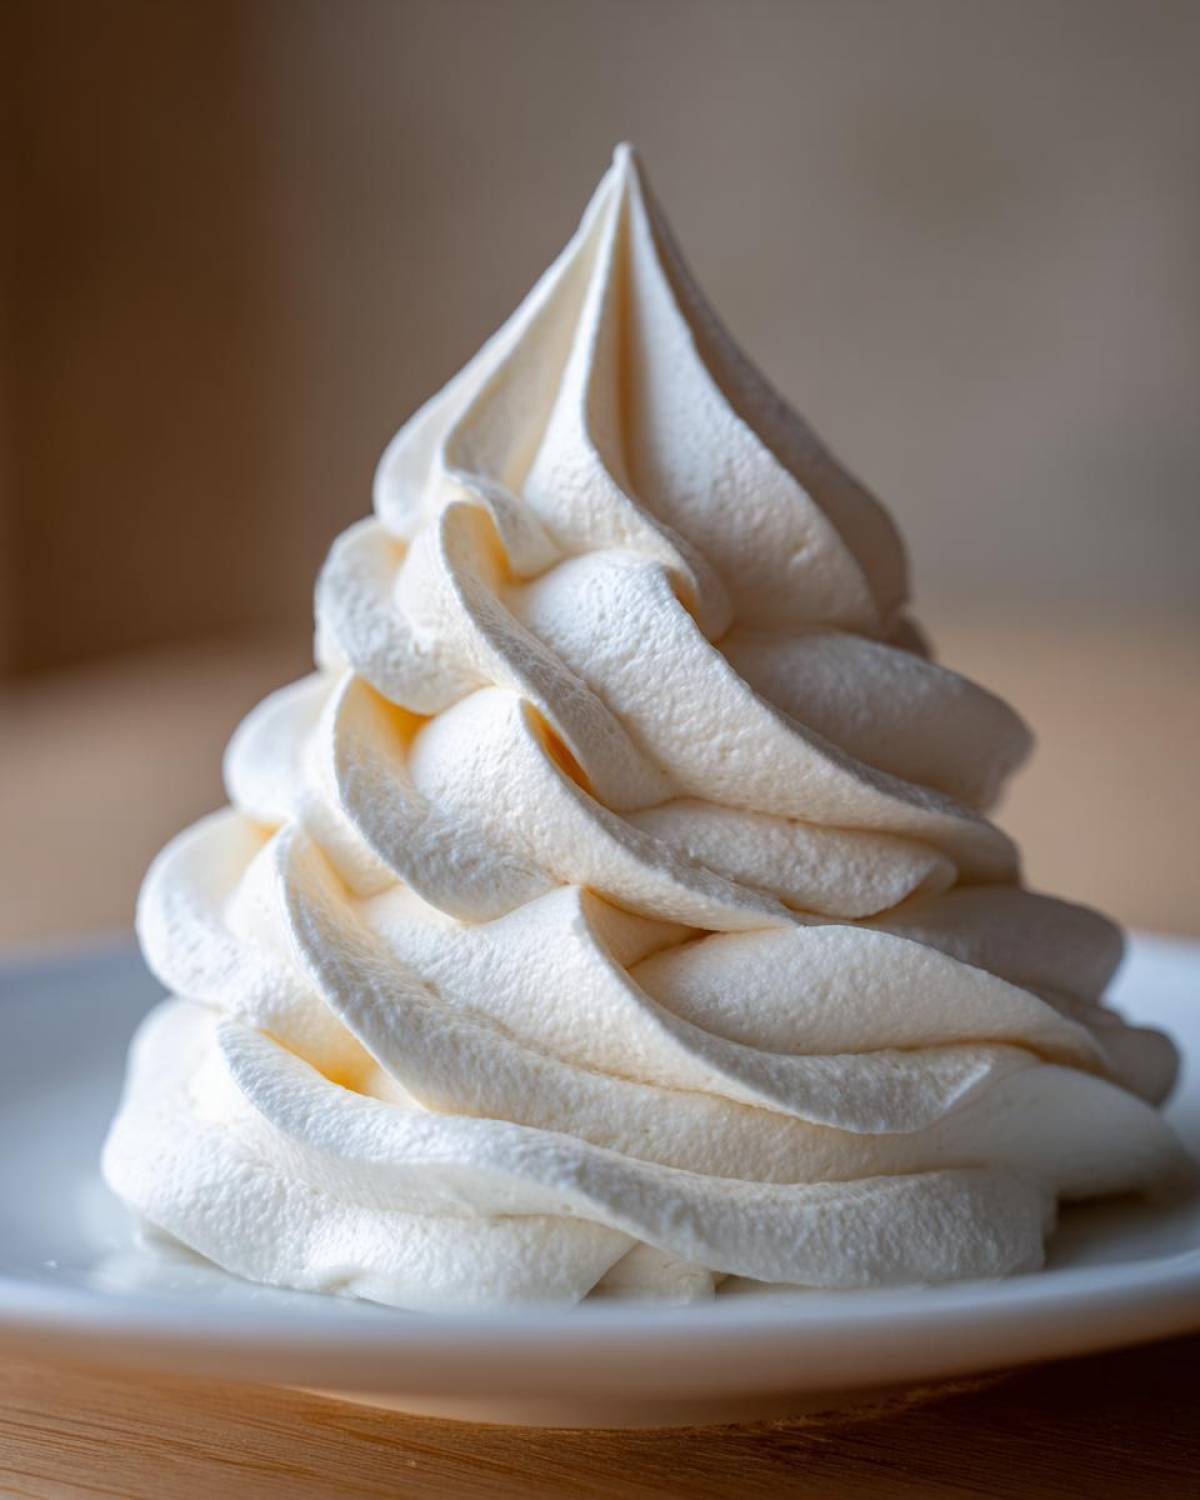
This is where the magic happens, so don’t rush this bit! Add just two tablespoons of your heavy cream or milk to start. Turn the speed up high—medium-high is perfect—and let the mixer whip away for another three to five minutes. You’ll see the color start to lighten, and it will become incredibly airy. This intense whipping creates that ‘light and fluffy’ structure needed for true homemade vanilla frosting. If it seems too stiff after five minutes, add another teaspoon of cream until it moves beautifully in the bowl.
Tips for Perfect Piping Frosting Consistency with Vanilla Buttercream
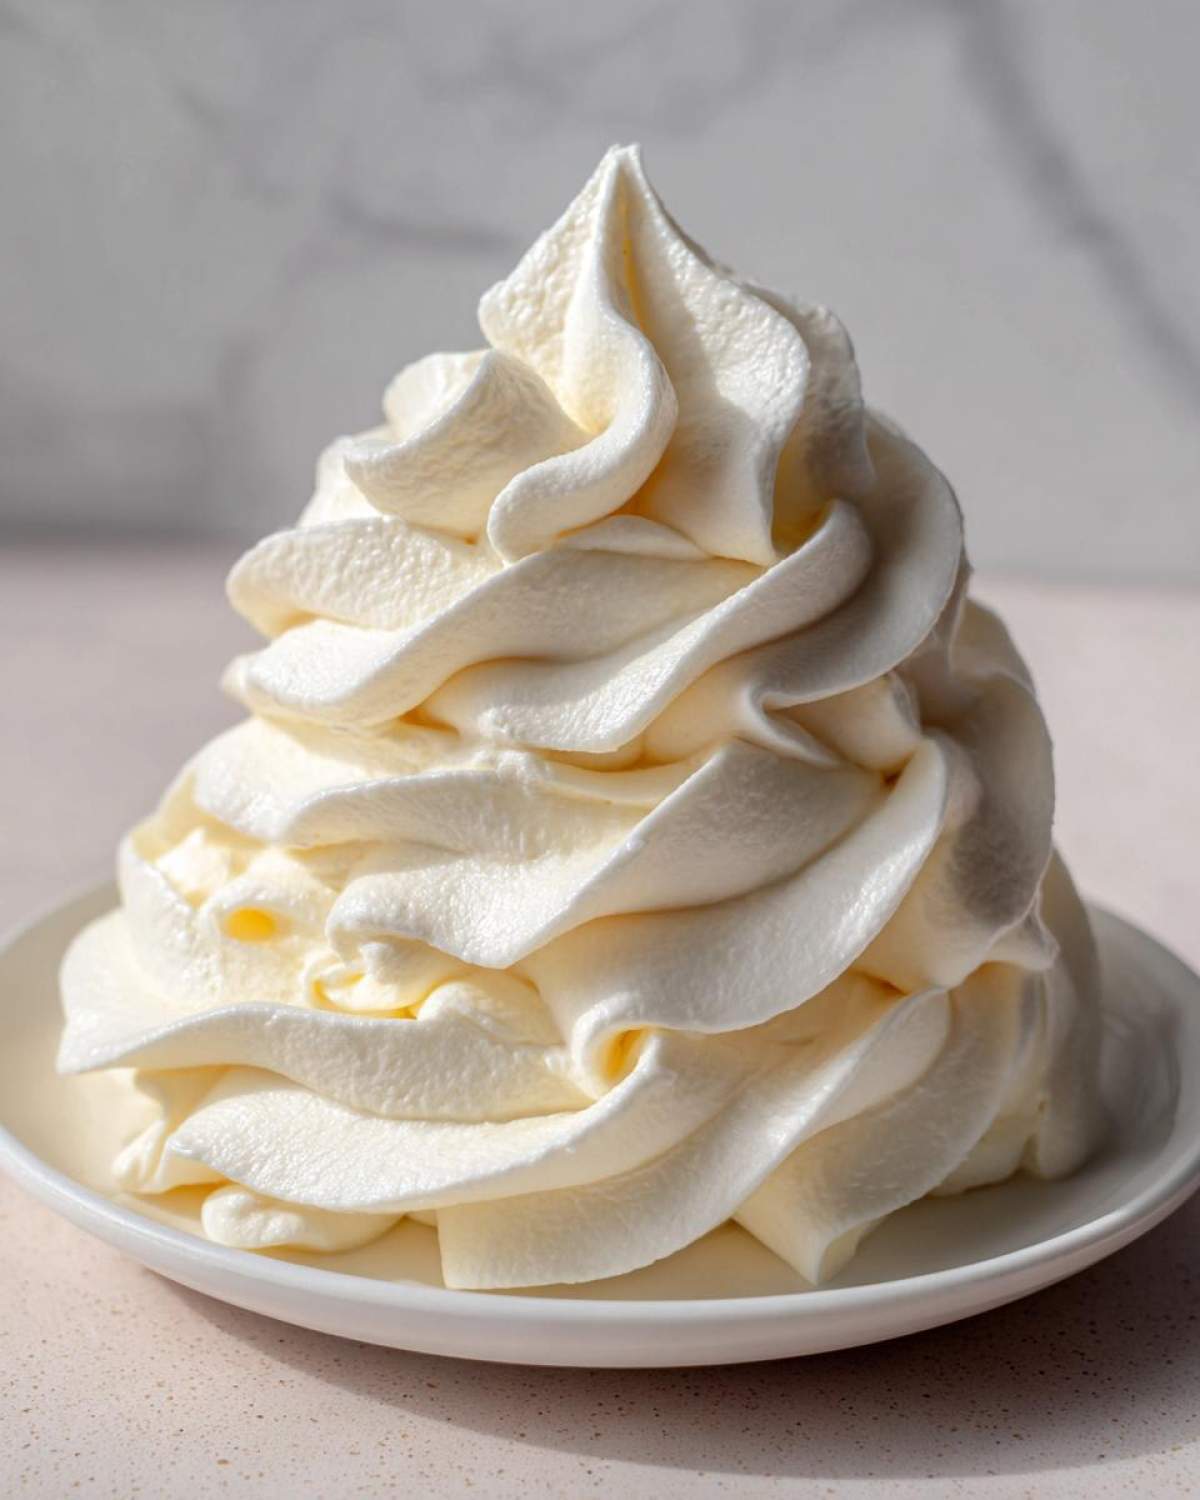
You’ve whipped it, it looks great, but now you need it to stand up to the pressure of your piping bags, right? That’s the difference between a fun decorating session and a total disaster. For me, achieving that perfect piping frosting consistency means being ready to make small, quick adjustments right at the end. This classic vanilla buttercream is sturdy, but sometimes you need it a tiny bit softer for a detailed shell border or a little firmer for those sharp star tips.
If, after that final high-speed whip, your frosting looks gorgeous but feels a bit too stiff to easily push through your decorating tip, don’t panic! Add just one teaspoon of your heavy cream at a time while the mixer runs on low. Mix for 15 seconds. Check it. Add another teaspoon if you must. It’s always better to add liquid slowly than to dump in too much and end up with soup! You want it to hold a peak but still swirl easily off the spatula.
Now, what if you added too much cream because you were nervous? Don’t toss it! Just scoop the frosting you need for decorating into a separate bowl, cover it, and pop it in the fridge for about 10 to 15 minutes. That chilly time firms everything up again beautifully. When you take it out, give it a quick whisk by hand—no mixer needed—just until it loosens up slightly. That little rest is often all you need to get the ideal firmness for a stunning, professional-looking cupcake top or cake design. Remember, temperature is your best friend when working with vanilla buttercream!
Troubleshooting Common Issues with Your Creamy Buttercream Recipe
Every single baker—and I mean *every* single one—has pulled a batch of frosting from the mixer only to realize something went hilariously wrong. It happens! The great news is that since this is a simple mix-and-whip recipe, there are really only three main disasters, and they are all 100% fixable. Don’t throw that bowl away before trying these quick fixes; I’ve saved so many batches this way!
If your frosting looks weird, the first place I always point people is to their butter temperature. Over-beating or under-beating the initial ingredients throws the whole balance off, but usually, a little temperature adjustment or extra mixing time sets everything straight.
What To Do If Your Frosting Is Too Soft or Runny
This is the most common problem, especially if your kitchen is already a little warm. If the frosting looks soupy or won’t hold any shape at all, fighting it with more sugar will only make it grainy later on. Resist the urge to dump in more powdered sugar!
The real fix here is temperature. Cover your mixing bowl tightly with plastic wrap and slide the whole thing into the refrigerator. Give it 15 or 20 minutes to chill down. Butter firms up fast in the cold. When you pull it out, you might think it’s rock hard, but grab a spatula and beat it on medium speed for just 30 seconds. This allows the butter solids to redistribute without melting. That usually firms it right up to the perfect spreadable consistency.
How to Fix Stiff or Crumbly Icing
If your icing is too stiff, maybe you left your butter out too long and it started to separate, or perhaps you used slightly less liquid than I called for. If it looks stiff and a little crumbly—like wet sand rather than smooth clay—it’s just begging for moisture.
You are just one ingredient addition away from fixing this! Slowly add your heavy cream or milk, one teaspoon at a time, beating well after each addition. Keep the speed on low at first so the cream incorporates instead of splattering everywhere. It usually only takes two or three teaspoons to bring a stiff batch back into the smooth, spreadable texture you want. Be patient, though; you have to let the mixer blend it fully to avoid over-liquefying it.
Why Did My Buttercream Curdle or Look Grainy?
If your frosting suddenly looks a little separated, maybe with tiny little specks of fat floating around, that means your butter and sugar got overworked, or the butter was too warm when you started creaming it. It looks “curdled,” but it’s not ruined!
This is less common after the sugar is in, but if it happens, the solution is almost always the same as when it’s too soft: chill it slightly! Pop the bowl in the fridge for 10 minutes. The change in temp helps the fats reset their emulsion. Once slightly chilled, beat it again on medium speed, but this time, add one tiny splash of cold milk or cream right as you start beating. It shocks the emulsion back into being smooth and creamy. Seriously, trust the chill!
How to Store and Keep Your Homemade Vanilla Frosting Fresh
So, you made a huge batch of this amazing vanilla buttercream, and now you’ve got leftovers—or maybe you just want to make it ahead for a weekend baking marathon. I totally get it! Planning ahead is essential, especially when you want that perfect, smooth topping ready to go.
The storage method really depends on how soon you plan on using it. Since this is a classic American buttercream, mostly made of sugar and fat, it’s quite resilient, but we still need to be smart about keeping it perfectly soft and pipeable.
Short-Term Storage at Room Temperature
If you’re planning to use your frosting within a day or two, you can actually leave it out on the counter, provided your kitchen isn’t scorching hot! If you piped it onto a cake—say, you frosted a cake on Tuesday afternoon—it should hold up just fine until Thursday, typically. Just make sure you cover the cake or the bowl tightly with plastic wrap. This stops it from forming that weird, crusty skin which happens when the air hits the sugar.
Don’t let it sit out for longer than two days, though. Even though there’s tons of sugar, we want to keep things fresh, and melted butter sitting out for days just creeps me out. If you notice it looks softer than you’d like, just give it a quick hand whisk before spreading again.
Refrigerating Leftover Vanilla Buttercream
For longer storage—maybe a week or two—the fridge is your best bet. Place your leftover vanilla buttercream in an airtight container. Seriously, airtight! If air gets in, it starts pulling moisture and getting hard around the edges. You can safely keep it refrigerated for about two weeks.
Now, here’s the most important part about using refrigerated frosting: you have to revive it! Don’t ever try to spread rock-hard frosting straight from the fridge; you’ll tear up your cake, guaranteed. First, let the container sit on the counter for an hour or two until it’s mostly softened up. Then, transfer it to your mixing bowl and beat it on medium speed for about three to five minutes until it becomes creamy again. It’s almost like making it fresh—that whipping brings back all the fluffy volume you need!
Freezing Frosting for Future Decorating Days
If you’re making ahead for a big holiday rush or just batch-baking, this frosting freezes beautifully! Put your frosting into a sturdy, freezer-safe container or a heavy-duty zip-top bag. Press the wrap directly onto the surface of the frosting before sealing the container—again, to stop air exposure. It keeps perfectly well in the freezer for up to three months.
When you’re ready to use it, move the container to the fridge overnight to thaw slowly. Once it’s soft enough to handle, bring it to room temperature for about an hour, and then bring it back to life with a good, strong whip in the stand mixer, just like we did with the refrigerated batch. It comes out perfectly fresh, ready for any cake or cupcake masterpiece you have planned!
Variations on Classic Vanilla Buttercream Icing
Okay, you’ve mastered the classic,easy buttercream icing, and now you’re feeling bold! I totally get it. Sometimes vanilla is great, but we need a little *zing* or a different holiday flavor profile. The beauty of this recipe is that it’s just a fantastic, reliable base. You can change out the flavoring agents easily without affecting the structure at all. This is where you can really play!
The easiest way to create a completely new experience is by swapping out the vanilla extract. Because the base is so neutral, it takes on new flavors like a sponge. If you’re making this for a holiday cookie platter, for example, swap in something totally different. It’s still a no-fail process, just with a new starring flavor instead of vanilla.
Swapping Extracts for Fun Flavors
If you want something bright and warm, try swapping the vanilla for almond extract. Just be careful! Almond is potent, so start with half a teaspoon and taste test. It’s amazing on chocolate cakes, giving it a sophisticated bakery feel that people never quite expect. For peppermint lovers (hello, winter holidays!), substitute half the vanilla with pure peppermint extract. This gives you an instant fluffy frosting that feels incredibly festive, especially when paired with red or green food coloring.
Another favorite of mine, especially when I’m serving citrus-flavored pound cakes, is lemon. Add one teaspoon of lemon extract along with the zest of half a lemon. The zest adds little bursts of flavor and color! Just cut that lemon zest really, really fine so you don’t have big chunks getting stuck in your piping tips later.
Adding Zest or Spice for Depth
Sometimes you don’t need a new extract; you just need to deepen what you already have. If you want a subtle, cozy warmth that pairs well with spice cakes or chocolate, try adding a small amount of ground cinnamon into the sugar mixture during Step 2. I’m talking just a quarter teaspoon—we don’t want it to taste like pie spice, just a hint of warmth.
Citrus zest takes this frosting up a notch, as I mentioned above, but it’s worth repeating for its sheer impact. Don’t just use lemon; orange and lime zest are fantastic too! Remember that zest holds all the oils, so you only need a little bit. Always use a microplane if you have one for the smoothest zest—it shaves off just the colorful part and leaves the bitter white pith behind. That bitterness can ruin the nice sweetness of your vanilla buttercream if you accidentally scrape too deep!
Making a Quick Chocolate Buttercream Icing
If you need to pivot from vanilla to chocolate instantly, this is how you do it without starting from scratch. Once your basic vanilla buttercream is totally smooth and fluffy (after Step 3!), gently mix in about half a cup of high-quality unsweetened cocoa powder. You have to sift that cocoa powder! If you don’t, you’ll end up with streaks of dark powder and a grainy texture.
You’ll notice it thickens up immediately, maybe too much. That’s why you keep a tablespoon or two of heavy cream handy. Mix the cocoa in on low speed until it’s just combined, then add a teaspoon of cream if needed to bring it back to that perfect, spreadable consistency. Instant rich chocolate topping! It’s amazing on a classic vanilla cake, too.
Serving Suggestions for This Smooth Vanilla Topping
Now that you have perfected your ultimate fluffy and stable vanilla buttercream, the only question left is: Where should I put this glorious pile of sweet cloudiness? Honestly, it goes on everything! Since it’s sturdy enough for decoration yet light enough to eat by the spoonful (don’t judge me, I do it!), it’s probably the most versatile frosting you can possibly master. This simple dessert topping is a true champion.
I always think about what I’m serving it with. Do you need something tough enough to handle summer heat? Or something delicate enough for a tea party cookie? Because we nailed that bakery style consistency, this frosting handles all the pressure. It’s just begging to be slathered on something delicious!
Here are some of my favorite ways to use up this batch of vanilla buttercream:
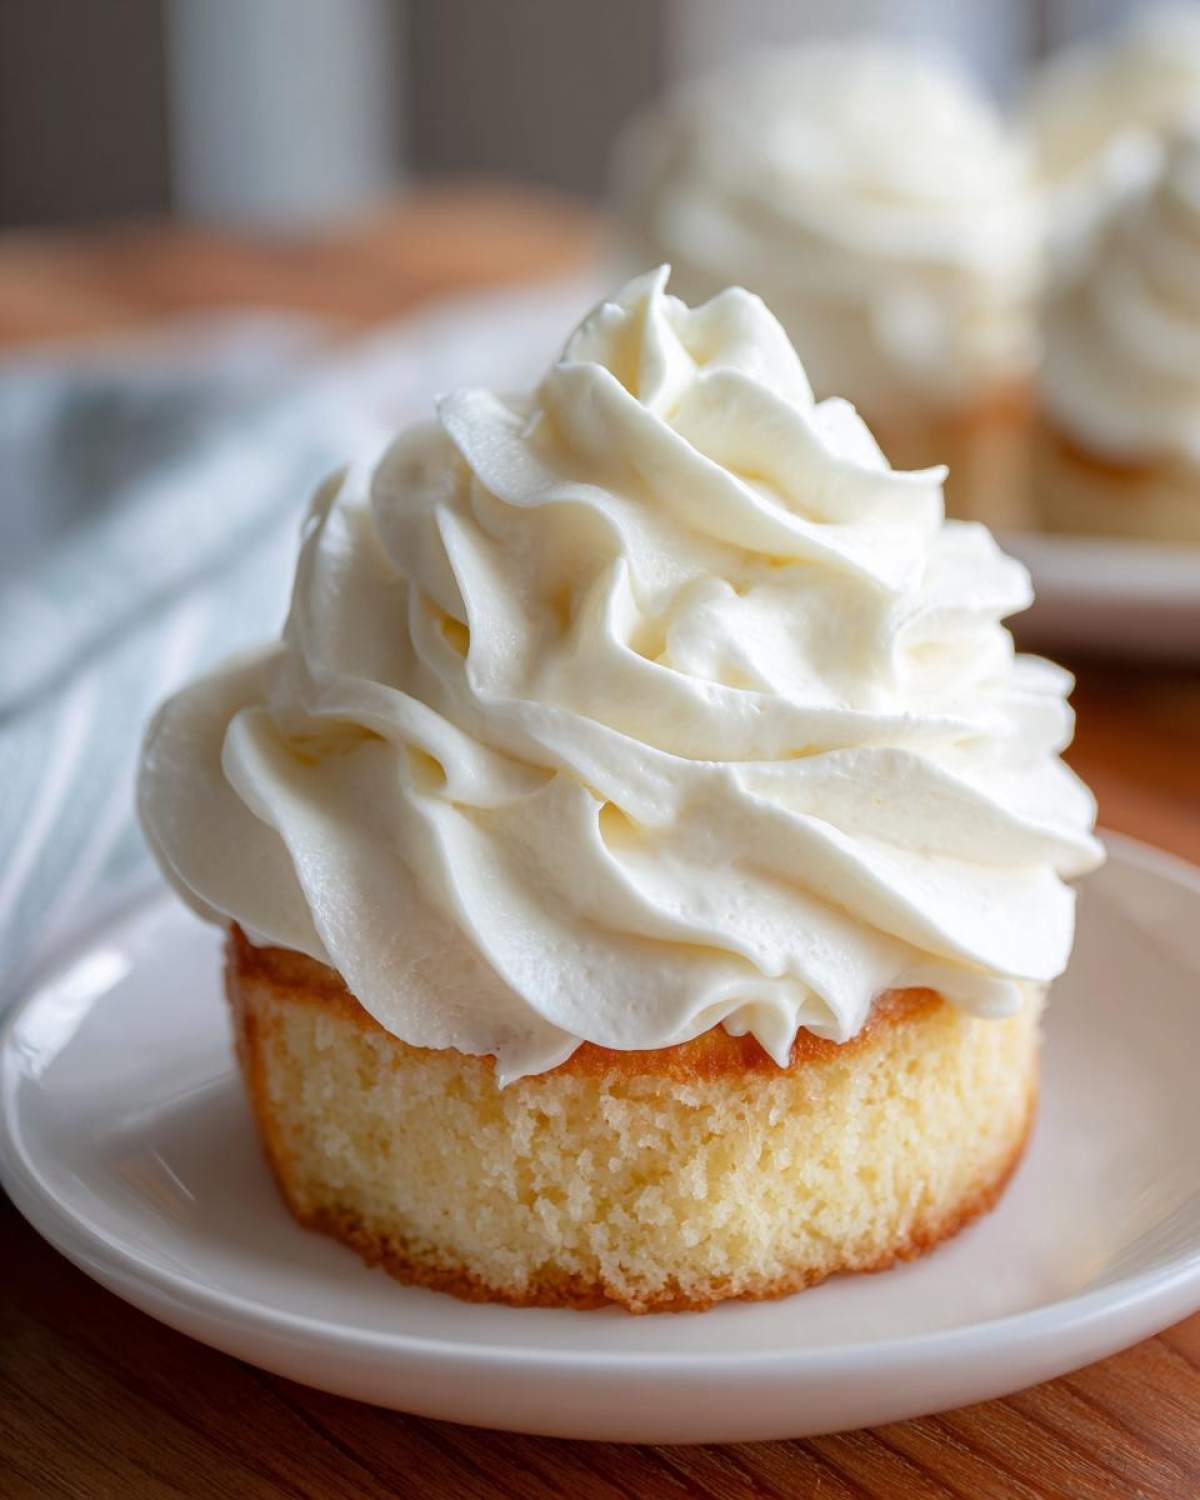
- Classic Cupcakes: Forget simple swirls! Use a large piping tip—I love the 1M star tip—and create a towering mound on top of your favorite cupcakes. This smooth vanilla topping looks incredible piped high on vanilla or chocolate cupcakes.
- Layer Cakes: This is the best buttercream for cakes because it doesn’t run! Use it as a filling between the layers for extra richness, and then use the stiff leftovers to crumb coat the outside before applying your beautiful, final coat.
- Cookies: For sugar cookies, this is the perfect icing. If you want it completely firm, only use 2 tablespoons of liquid in the recipe. Wait until the cookies are totally cool before spreading a generous layer on top.
- Cake Pops: Using this frosting instead of melted candy coating for binding your cake pop mixture adds a wonderful depth of flavor. Just mix crumbled cake with the buttercream until it holds its shape when rolled into a ball.
- Simple Dessert Topping: Sometimes I forget to bake anything but just need a little sweet something. Keep a small container of this frosting in the fridge and just eat it with a spoon or use it to fancy up a slice of store-bought pound cake! Instant gratification!
No matter what treat you choose, know that you’ve made the best base there is. Enjoy every single decadent bite of your new favorite vanilla buttercream!
Estimated Nutritional Data for Vanilla Buttercream
I always include the nutrition facts for my recipes, but I have to be super upfront about this part! Since we are dealing with something as customizable as frosting—you might use European butter, I use standard, or maybe you add a little extra vanilla—these numbers are definitely just an estimate. You should treat this as a guide, not a strict lab report. Think of this as the approximate nutritional breakdown for a standard serving size based on the ingredients listed.
This data is calculated for a serving size of 1/4 cup of the completed frosting. As you can see, this is a treat, packed with energy from the butter and sugar, which is exactly what you expect from a rich, creamy topping! Remember, if you use less butter or use a substitute like shortening instead of all butter, these numbers will definitely change.
- Serving Size: 1/4 cup
- Calories: 320
- Sugar: 40g
- Sodium: 65mg
- Total Fat: 18g
- Saturated Fat: 11g
- Carbohydrates: 42g
- Protein: 0g
- Cholesterol: 70mg
My biggest piece of advice here is not to worry too much about the numbers when you’re enjoying your dessert! This fantastic vanilla buttercream is meant to bring joy to cupcakes and cakes. If you are worried about the fat content, remember that using high-quality butter really does make the flavor difference, so don’t skimp on that primary ingredient!
Print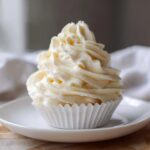
Ultimate Fluffy & Stable Vanilla American Buttercream Frosting
- Total Time: 10 min
- Yield: About 3 cups
- Diet: Vegetarian
Description
Make rich, creamy, and fluffy vanilla buttercream frosting that is perfect for piping on cakes, cupcakes, and cookies.
Ingredients
- 1 cup (2 sticks) unsalted butter, softened to room temperature
- 4 cups powdered sugar, sifted
- 1 teaspoon pure vanilla extract
- 1/4 teaspoon salt
- 2 to 4 tablespoons heavy cream or milk
Instructions
- Place the softened butter in the bowl of a stand mixer fitted with the paddle attachment. Beat the butter on medium speed until it is completely smooth and creamy, about 2 minutes. Scrape down the sides and bottom of the bowl.
- Gradually add the sifted powdered sugar, one cup at a time, mixing on low speed until just combined after each addition.
- Add the vanilla extract and salt. Increase the mixer speed to medium-high and beat for 3 minutes. This incorporates air and makes the frosting light.
- Add 2 tablespoons of heavy cream or milk. Beat on medium-high speed for another 3 to 5 minutes until the frosting is very light and fluffy.
- If the frosting seems too stiff for your needs, add the remaining cream, one teaspoon at a time, until you reach your desired smooth consistency for spreading or piping.
- Use immediately or cover tightly to prevent drying.
Notes
- For the best texture, ensure your butter is truly room temperature, not melted.
- Sifting the powdered sugar prevents lumps in your final smooth frosting.
- If the frosting seems too soft, chill it for 10 minutes before using it for piping decorations.
- To make this frosting whiter, substitute clear vanilla extract for the standard brown extract.
- Prep Time: 10 min
- Cook Time: 0 min
- Category: Dessert Topping
- Method: Mixing
- Cuisine: American
Nutrition
- Serving Size: 1/4 cup
- Calories: 320
- Sugar: 40
- Sodium: 65
- Fat: 18
- Saturated Fat: 11
- Unsaturated Fat: 7
- Trans Fat: 0
- Carbohydrates: 42
- Fiber: 0
- Protein: 0
- Cholesterol: 70


Comments are closed.