

Oh, listen to me, friends. If you’ve ever pulled out a mixer expecting luscious, cloud-like topping and ended up with something lumpy, grainy, or just plain soupy—you are not alone! I have fought the good fight with countless batches over the years. But I’ve finally cracked the code. This isn’t just a recipe; it’s a survival guide to the **best classic cream cheese frosting** you’ll ever whip up. It’s wonderfully rich, gets that perfect little zing of tang, and trust me, it never lumps. I remember the disaster I made for my nephew’s first birthday cake—the cream cheese was too cold, and it looked like cottage cheese! Never again. This method guarantees a smooth, reliable topping every single time.
Why This is the Best Cream Cheese Frosting Recipe
I keep coming back to this specific formula because it hits every note perfectly. If you’re tired of frosting that slides right off the cake or tastes like you just beat butter and sugar together, you need this recipe in your life. This **cream cheese frosting** is the real deal! Honestly, it’s my go-to because it never fails to impress.
- It’s famously smooth—no grit, no lumps, ever!
- It has that perfect sweet-yet-tangy flavor balance we all crave.
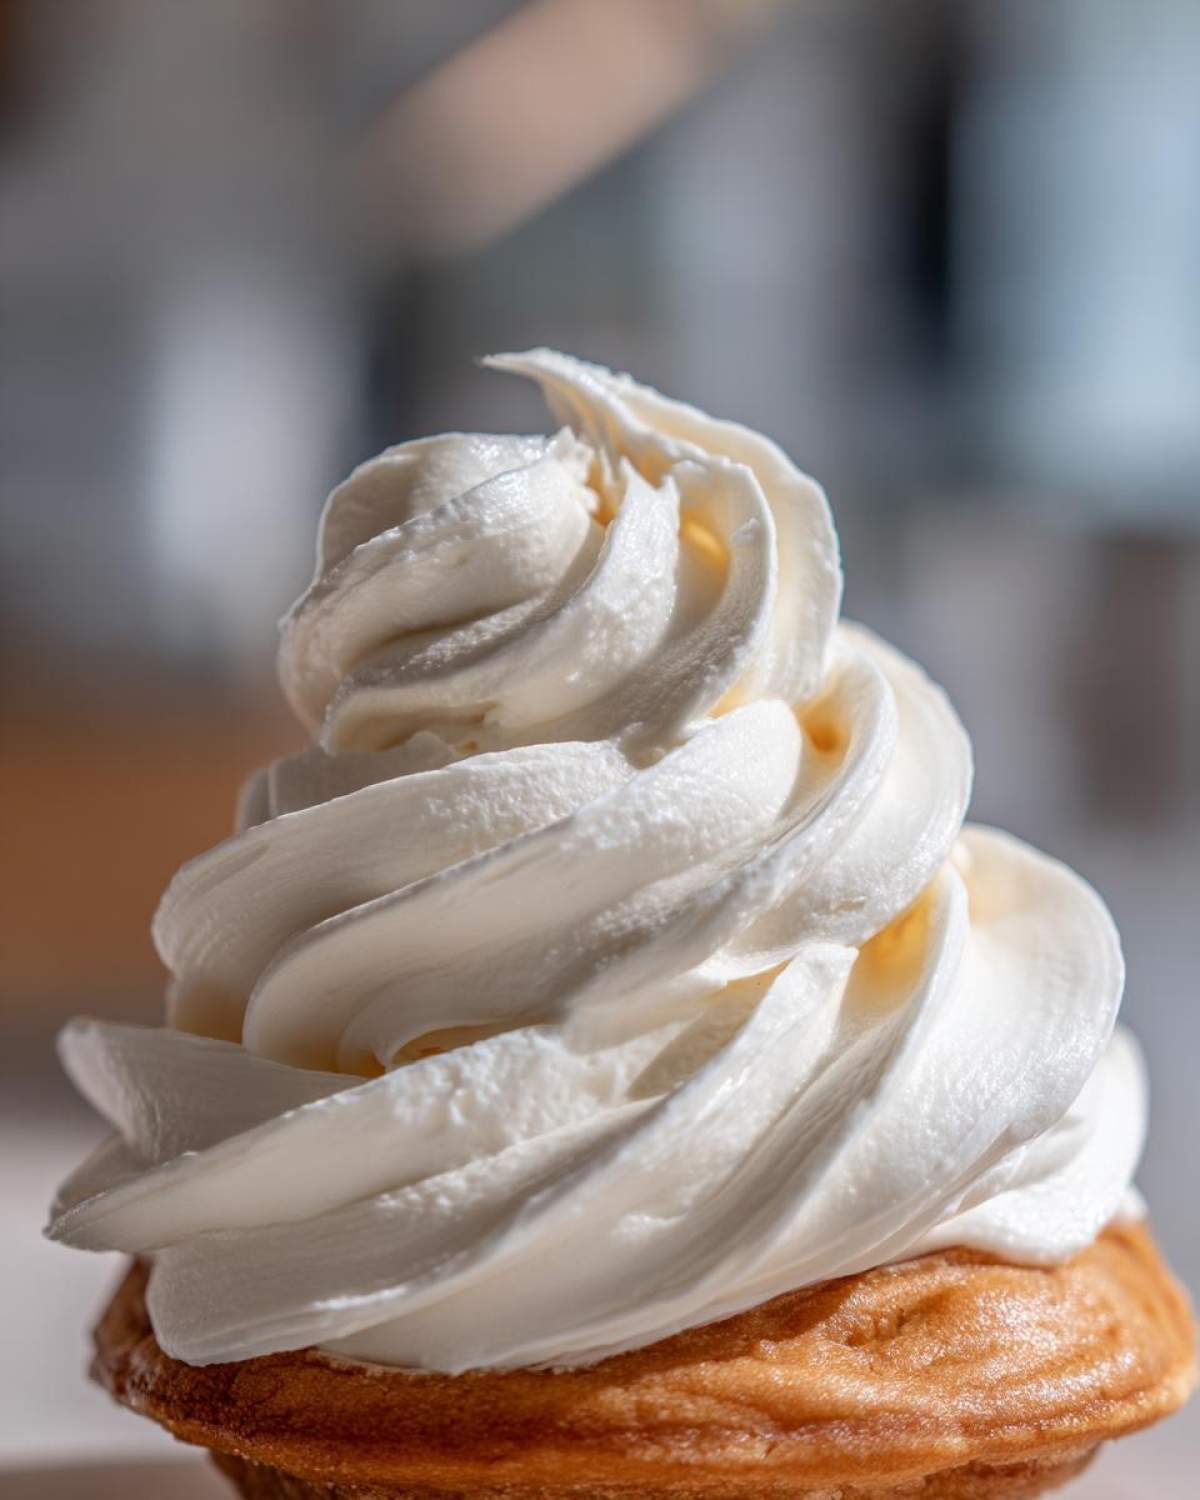
- It holds its shape beautifully for piping tall swirls on cupcakes.
- It comes together faster than ordering dessert!
Achieving a Fluffy Cream Cheese Frosting Texture
The secret to getting that airy, cloud-like texture is the beating, folks. You absolutely must give your butter and cream cheese a good head start alone, and then, once the sugar’s in, you crank that mixer up! We are whipping air into this mixture until it transforms. That long beat is what creates truly **fluffy cream cheese frosting** that feels incredibly light in your mouth.
The Secret to Tangy Cream Cheese Icing
People often make this mistake where they just load up on powdered sugar to make it sweet, but then it loses that classic zip! The full 8 ounces of cold, sharp cream cheese is what cuts through the richness of the butter and the sugar. We skip extra sweeteners because we want the cream cheese flavor to shine. That slight bite gives us the perfect **tangy cream cheese icing** that professionals aim for.
Ingredients for Perfect Cream Cheese Frosting
When we talk about the **best classic cream cheese frosting**, the quality of the ingredients, and how you prep them, matters a ton! If these aren’t right, we end up weeping over lumps later. Seriously, don’t cheat on the softening part! You need every single thing here to be perfectly room temperature so they blend like they were always meant to be together.
- 1 cup (2 sticks or 226g) unsalted butter, softened right to room temperature—I mean soft enough to dent easily!
- 8 ounces (226g) full-fat cream cheese, also softened. Get that foil package out early!
- 4 cups (480g) powdered sugar, AND you must sift this first! No exceptions.
- 1 teaspoon pure vanilla extract—use the good stuff, it makes a difference.
- 1/4 teaspoon salt. Yes, salt! It balances the sweetness beautifully.
How to Make Quick Homemade Frosting (Cream Cheese Frosting)
This is where the magic happens, and honestly, it barely takes any time at all! You’re going to want to have your stand mixer ready for this because we are making the **cream cheese frosting** happen fast. Remember what I said about the ingredients needing to be soft? Follow these steps exactly, especially focusing on Step 1. If you nail that base, the rest is a breeze, making this the answer for anyone needing a fast, amazing topping for that red velvet cinnamon rolls recipe you just made!
Step 1: Creaming Butter and Cream Cheese for Smooth Buttercream Alternative
First things first: get your softened butter and cream cheese into the bowl. Don’t even think about turning the mixer on yet! Beat them together on medium heat for a full two minutes until they look perfectly married into one silky, uniform base. This ensures you get the smoothest start possible, giving you that beautiful **smooth buttercream alternative** texture we are aiming for.
Step 3: Whipped Cream Cheese Topping for Piping
Once all the sugar is incorporated and no longer dusty, it’s time to get it fluffy! Crank that speed up to medium-high. You need to beat this for a good two to three minutes! That longer beating develops the air pockets. When it looks lighter in color and holds a slight shape when you stop the mixer, you’ve achieved that gorgeous, stable **whipped cream cheese topping** that’s perfect for piping swirls.
Tips for No Lump Frosting Success
Okay, if there’s one thing that ruins icing faster than anything else, it’s lumps. It’s the bane of my existence when I’m trying to finish off a perfectly baked good. I promise you, if you follow the rules for getting that **no lump frosting** finish, you’ll never look back. It all comes down to preparation, not complicated mixing!
First off, that temperature thing? It is not a suggestion, it’s law! Both the butter and the cream cheese have to be truly soft. If they are even slightly cold when they enter the mixer, they won’t combine smoothly with the fat—leaving you with little chunks, no matter how long you beat it later.
Secondly, you absolutely must sift your powdered sugar. I know it feels tedious, but those tiny clumps of sugar don’t magically dissolve when mixed with fat; they just stubbornly remain. Sifting takes 30 seconds and ensures we get that incredibly smooth result we want on our red velvet cheesecake recipe.
A final little trick: if you’ve already mixed it and see a sneaky lump, stop the mixer, grab a silicone spatula, and physically press that lump against the side of the bowl until it breaks down. Then, resume mixing. It works every time!
Making Pipeable Cream Cheese Frosting for Cakes
When you want those gorgeous, defined swirls on top of your birthday cake or cupcakes, you need your **cream cheese frosting** to be a little stiffer than if you were just spreading it on a sheet cake. We aren’t aiming for liquid here, right? To get that truly **pipeable cream cheese frosting**, you have two easy options.
If your frosting turned out a tiny bit too soft after beating, just pop the whole bowl into the fridge for about fifteen minutes. Don’t walk away! Chilling it slightly firms up that butter and cream cheese, giving it the structure it needs to sit up proudly when you squeeze it through your piping bag tip. If it’s already looking perfect, resist the urge to add more powdered sugar, because that will just make it too sweet.
On the flip side, if you accidentally used slightly harder butter and now it’s too stiff to even spread—oops! Just mix in a teaspoon of milk or heavy cream at a time until it loosens just enough. We want stiff peaks, not soup!
Versatile Applications: Cream Cheese Frosting for Cinnamon Rolls
Now listen, I know most people think of red velvet cake when they hear about this topping, but you really haven’t lived until you slather this on a warm cinnamon roll. That perfect bit of tanginess cuts right through the richness of the pastry dough. This **cream cheese frosting for cinnamon rolls** is non-negotiable in my house on Saturday mornings!
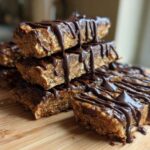
It’s also the perfect **cream cheese topping** for anything that needs that decadent, slightly sharp counterbalance to sweetness. Think pumpkin bread, carrot cake cupcakes, or even drizzled over a simple coffee cake. Honestly, this recipe is so robust, it handles virtually any baked good you throw at it. If you haven’t tried this icing on my famous homemade cinnamon buns yet, you are missing out on life!
Storage and Reheating Instructions for Homemade Cake Icing
Making this glorious **cream cheese frosting** ahead of time is totally possible, but you have to treat it right! Since it’s dairy-based, it needs to chill out in the fridge. Pop your extra **homemade cake icing** into an airtight container and it should last about five days in the refrigerator. Don’t worry if it looks a little sad and stiff when you pull it out; that’s normal because the butter has hardened.
When you’re ready to use it again, pull it out about an hour before you plan to frost anything. You don’t want it slushy, just soft enough to stir. Give it a quick whisk by hand—no need for the full mixer dance—and it will come right back to that fluffy, spreadable texture you loved. If you’re in a rush, microwave it for literally five seconds, but watch it like a hawk!
Essential Equipment for Making Cream Cheese Frosting
You don’t need a professional bakery setup to make this perfect topping, thankfully! But having the right tools really speeds things up and helps us avoid those lumps we talked about. Seriously, if you only have a whisk, you’re setting yourself up for a workout!
The mixer is the star here, whether it’s a big stand mixer or a handheld electric one. You need that power to whip it properly. Also, grab a fine-mesh sieve—this is non-negotiable because we are sifting that powdered sugar, remember?
- Electric Mixer (Stand or Handheld)
- Large Mixing Bowl (preferably metal or glass)
- Fine-Mesh Sifter
- Rubber Spatula for scraping down sides, consistently!
Basic Cream Cheese Icing Nutritional Estimates
Now, I know none of us are making this topping because we are counting calories—it’s pure joy in a bowl! But for those who like to keep track, here are the general estimates for this incredibly delicious **basic cream cheese icing**.
Please keep in mind these are just ballpark figures based on standard, full-fat ingredients. If you swap out butter for a lighter spread, or change up the sugar, things will shift! But for the recipe as written, here’s what you’re looking at for about a quarter cup serving size.
- Calories: Roughly 380
- Total Fat: Around 23 grams (Be generous with that butter!)
- Carbohydrates: About 46 grams, mostly from the sugar
- Protein: A small boost at 2 grams
- Sugar: High, about 45 grams!
It’s rich, it’s decadent, and it’s worth every single bite!
Print
Best Classic Cream Cheese Frosting
- Total Time: 10 min
- Yield: About 3 cups
- Diet: Vegetarian
Description
Make a smooth, fluffy, and perfectly balanced cream cheese frosting quickly. This recipe avoids lumps and creates a stable topping ideal for cakes, cupcakes, and cinnamon rolls.
Ingredients
- 1 cup (2 sticks or 226g) unsalted butter, softened to room temperature
- 8 ounces (226g) full-fat cream cheese, softened to room temperature
- 4 cups (480g) powdered sugar, sifted
- 1 teaspoon pure vanilla extract
- 1/4 teaspoon salt
Instructions
- Place the softened butter and softened cream cheese in a large mixing bowl. Beat them together with an electric mixer on medium speed until the mixture is completely smooth and creamy, about 2 minutes. Scrape down the sides of the bowl.
- Reduce the mixer speed to low. Gradually add the sifted powdered sugar, one cup at a time, mixing until just combined after each addition.
- Add the vanilla extract and salt. Increase the mixer speed to medium-high and beat for 2 to 3 minutes until the frosting is light, fluffy, and smooth. Do not overmix once fluffy.
- If the frosting is too thick for spreading, add 1 teaspoon of milk or heavy cream at a time until you reach your desired consistency. If it is too soft, chill for 15 minutes before using.
- Use immediately to frost cakes, cupcakes, or cinnamon rolls.
Notes
- For a lump-free frosting, ensure both your butter and cream cheese are truly at room temperature. Cold ingredients cause lumps.
- Sifting the powdered sugar is essential for achieving a smooth texture.
- If you need a tangier flavor, reduce the vanilla extract slightly or add 1/2 teaspoon of fresh lemon juice.
- To make this frosting pipeable, beat it slightly less time after adding the sugar until it holds stiff peaks.
- Prep Time: 10 min
- Cook Time: 0 min
- Category: Dessert Topping
- Method: Mixing
- Cuisine: American
Nutrition
- Serving Size: 1/4 cup
- Calories: 380
- Sugar: 45
- Sodium: 110
- Fat: 23
- Saturated Fat: 14
- Unsaturated Fat: 9
- Trans Fat: 0.5
- Carbohydrates: 46
- Fiber: 0
- Protein: 2
- Cholesterol: 75

Comments are closed.