
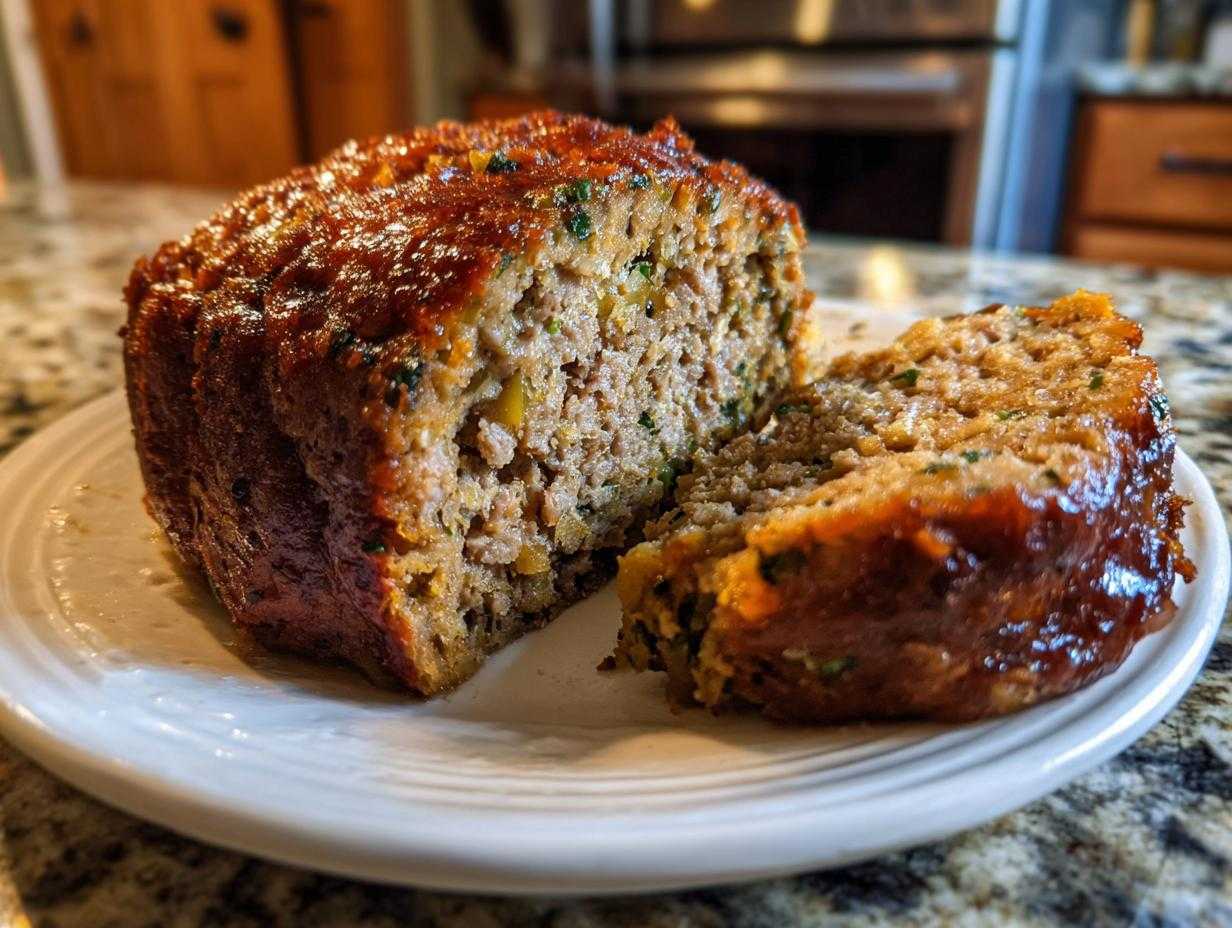
Oh, the holidays! Everyone is panicking about the turkey timing and whether they bought enough gravy mix. I get it—the pressure for perfect side dishes can be intense! But listen, you can take one crucial item completely off your worry list right now: the stuffing. Seriously, this Ultimate Classic & Easy Herb Stuffing recipe is my absolute go-to. I’ve messed up countless things leading up to Thanksgiving dinner over the years, but once I mastered this foolproof approach to homemade stuffing, things got so much easier. It comes out gorgeous and flavorful every single time!
Why This Classic Herb Stuffing is Your New Holiday Essential
Why should you toss out that box of dried crumbs and make this? Because this Homemade Stuffing Recipe solves all the common holiday side-dish dramas in one easy swoop. Trust me, I used to dread making my stuffing, but this method is just so reliable. It’s the perfect Easy Stuffing solution for a busy cook!
- It absolutely nails the texture goal: beautifully Moist and Crispy Stuffing on demand.
- It’s incredibly flexible. You can bake it in the bird or separately in a casserole dish!
- You can get almost the whole thing ready the day before, which is a lifesaver on actual holidays. If you end up with leftovers, check out what I do with them in my stuffing breakfast hash recipe—it’s amazing!
Perfect Texture Every Time: Moist Interior, Crispy Exterior
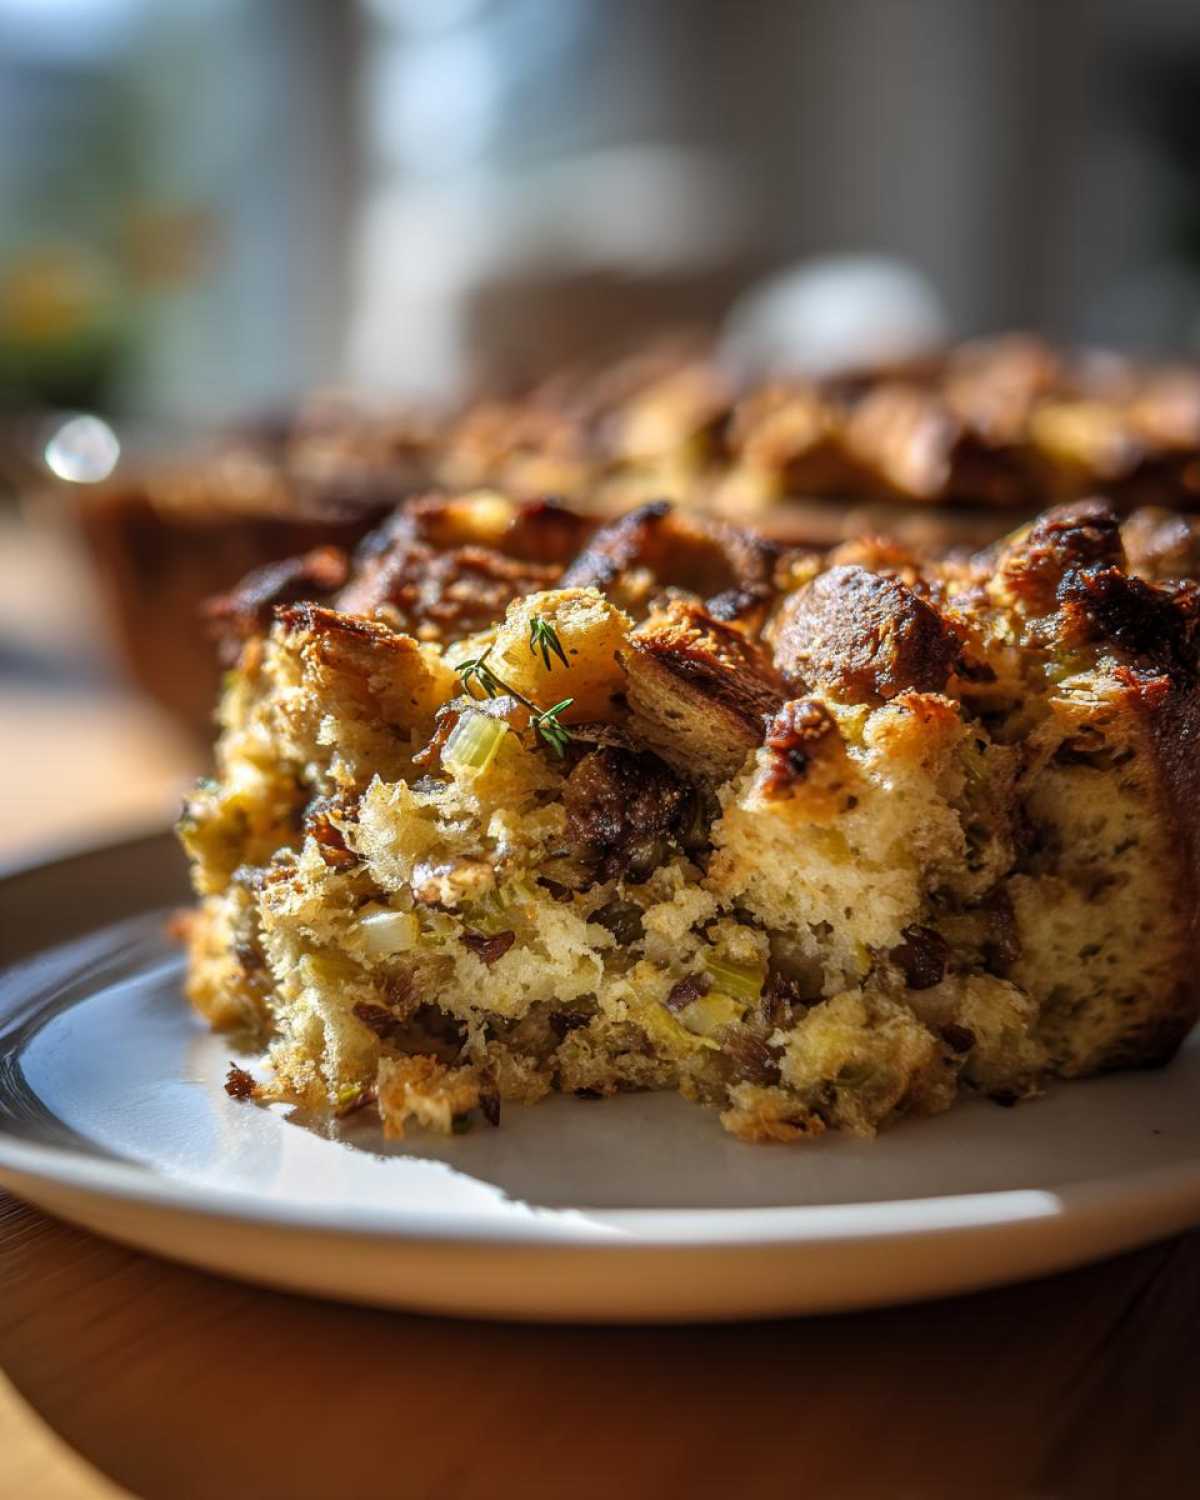
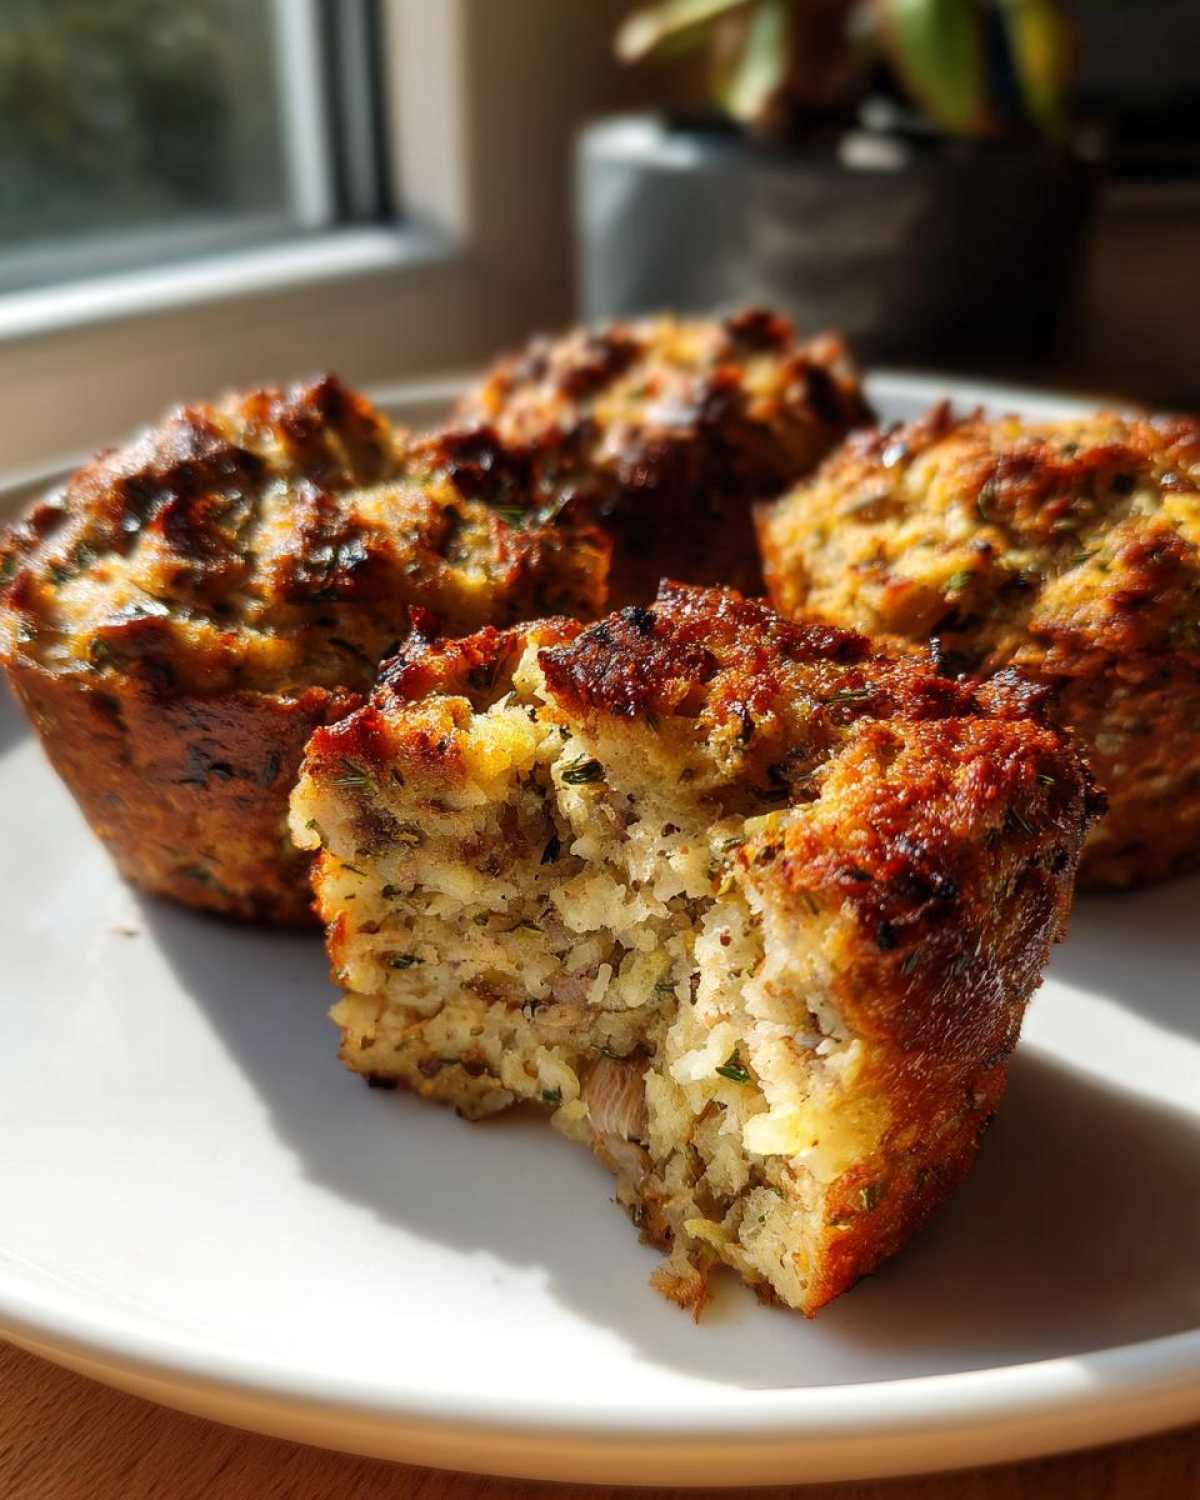
Getting that balance is the key, right? It’s all about creating barriers! First, we lightly toast the bread cubes before they even see the liquid. That gives them a surface to absorb the savory broth slowly. Then, the simple ratio of broth to bread lets the inside steam perfectly while the top layer gets all golden and crunchy under the oven heat.
Simple Steps for Foolproof Stuffing Success
If you can sauté onions and dump ingredients in a bowl, you can make this. There’s no tricky yeast, no complicated folding. You soften the veggies, mix in the toasted bread, pour, stir, and bake. It’s honestly one of the least stressful items on my Thanksgiving Side Dishes list!
Gathering Ingredients for Flavorful Stuffing
Okay, gathering your stuff is half the battle, and this recipe uses such fundamental, wonderful ingredients that you probably have a lot of this already! This is where we build the foundation for that deep, comforting flavor that makes everyone ask for the recipe. Getting the prep right here is what keeps this recipe trustworthy and delicious.
Here is exactly what you need on your counter before you start moving things into the skillet. Remember, precision matters here, not just for taste, but so the final texture turns out exactly right!
Bread Base and Aromatics for Your Stuffing
The bread choice is critical—I need you to use day-old bread, please! If your bread is super fresh, it will just turn to goo when the broth hits it. You want that slightly dry, slightly sturdy texture so it can soak up the flavor without collapsing. I usually just leave a loaf out on the counter overnight, cut into one-inch cubes. You’ll need one full pound of that cube-y goodness!
For the base flavor, we rely on the classic duo: one cup of unsalted butter melted down in the pan, followed by two cups of chopped celery and one large yellow onion, finely chopped. I cook them slowly until they are just tender—you don’t want them crunchy, but you certainly don’t want them mushy either. About 8 to 10 minutes on medium heat takes care of softening them up perfectly.
Herbs and Liquids for the Best Ever Stuffing
This is where we bring in the classic holiday perfume! We need two teaspoons of dried sage—sage is the king of stuffing flavors, don’t skimp here. Then, one teaspoon each of dried thyme and dried rosemary. We stir those in right after the veggies soften for just a minute until you can really smell them waking up. That warm, earthy scent fills my whole kitchen!
For liquids, we use four cups of good quality chicken or vegetable broth—use the best you can afford because it really sings. And two large eggs, which I lightly beat separately before adding them in. The eggs help bind everything together just enough so it’s one cohesive, savory loaf rather than just soggy bread chunks!
Step-by-Step Instructions for Classic Stuffing
Okay, now for the fun part! Watching this come together is so satisfying, and with the bread already toasted and the veggies softened, we’re moving fast. This whole process, the actual cooking part, is surprisingly quick once you’ve prepped everything. Remember that golden rule: we are aiming for a beautiful, savory casserole, not a soggy loaf. Keep your eye on the color and the smell as you go!
Start by getting your oven going—preheat it to 350 degrees F. You also need to grease that 9×13 dish now so it’s ready to go. Don’t forget this step, or you’ll be scraping burnt bits later, which is the absolute worst way to start a holiday meal!
Preparing the Bread and Sautéing Vegetables for Stuffing
Step two is crucial if you skipped the step of toasting the bread the day before: spread those dry cubes out on a baking sheet and get them toasted until they are just lightly golden, about 10 to 15 minutes. This texture security is everything!
Next, grab a big skillet and melt that full cup of butter over medium heat. Toss in your celery and onions—the aromatics! Let those cook down until they look soft and sweet, which takes around 8 to 10 minutes. Once they’re there, sprinkle in all those wonderful dried spices: the sage, thyme, rosemary, salt, and pepper. Stir constantly for just one minute until the kitchen smells incredible—that’s your signal that they’re fragrant and ready to go.
Mixing and Baking Your Oven Baked Stuffing
Now we combine! In your biggest bowl—you need a big one for this!—mix the toasted bread cubes and all that gorgeous, buttery vegetable/spice mix. Gently toss them together. Then, whisk your 4 cups of broth with those 2 lightly beaten eggs, and pour that liquid right over the bread mixture. Gently toss it again until it looks evenly moistened. If you mix this too aggressively, you’ll break up the bread too much, and that’s how you get goo! Don’t overmix!
Transfer everything to that prepared baking dish. Slide it into the oven for 35 to 45 minutes. You’re checking for two things: it needs to be heated all the way through, and the top surface must be golden brown and slightly firm. If you want extra crispy edges, you can bake it uncovered, just like I do!
Tips for Mastering Your Homemade Stuffing Recipe
You’ve made it this far, and trust me, you’ve got the hard part down! But knowing how to troubleshoot or plan ahead is what elevates this from a good recipe to a truly authoritative one—the kind that never fails, even when the kitchen is chaos. These organizational secrets ensure your stuffing is the star of the show!
Bread Choice and Preparation for Superior Stuffing
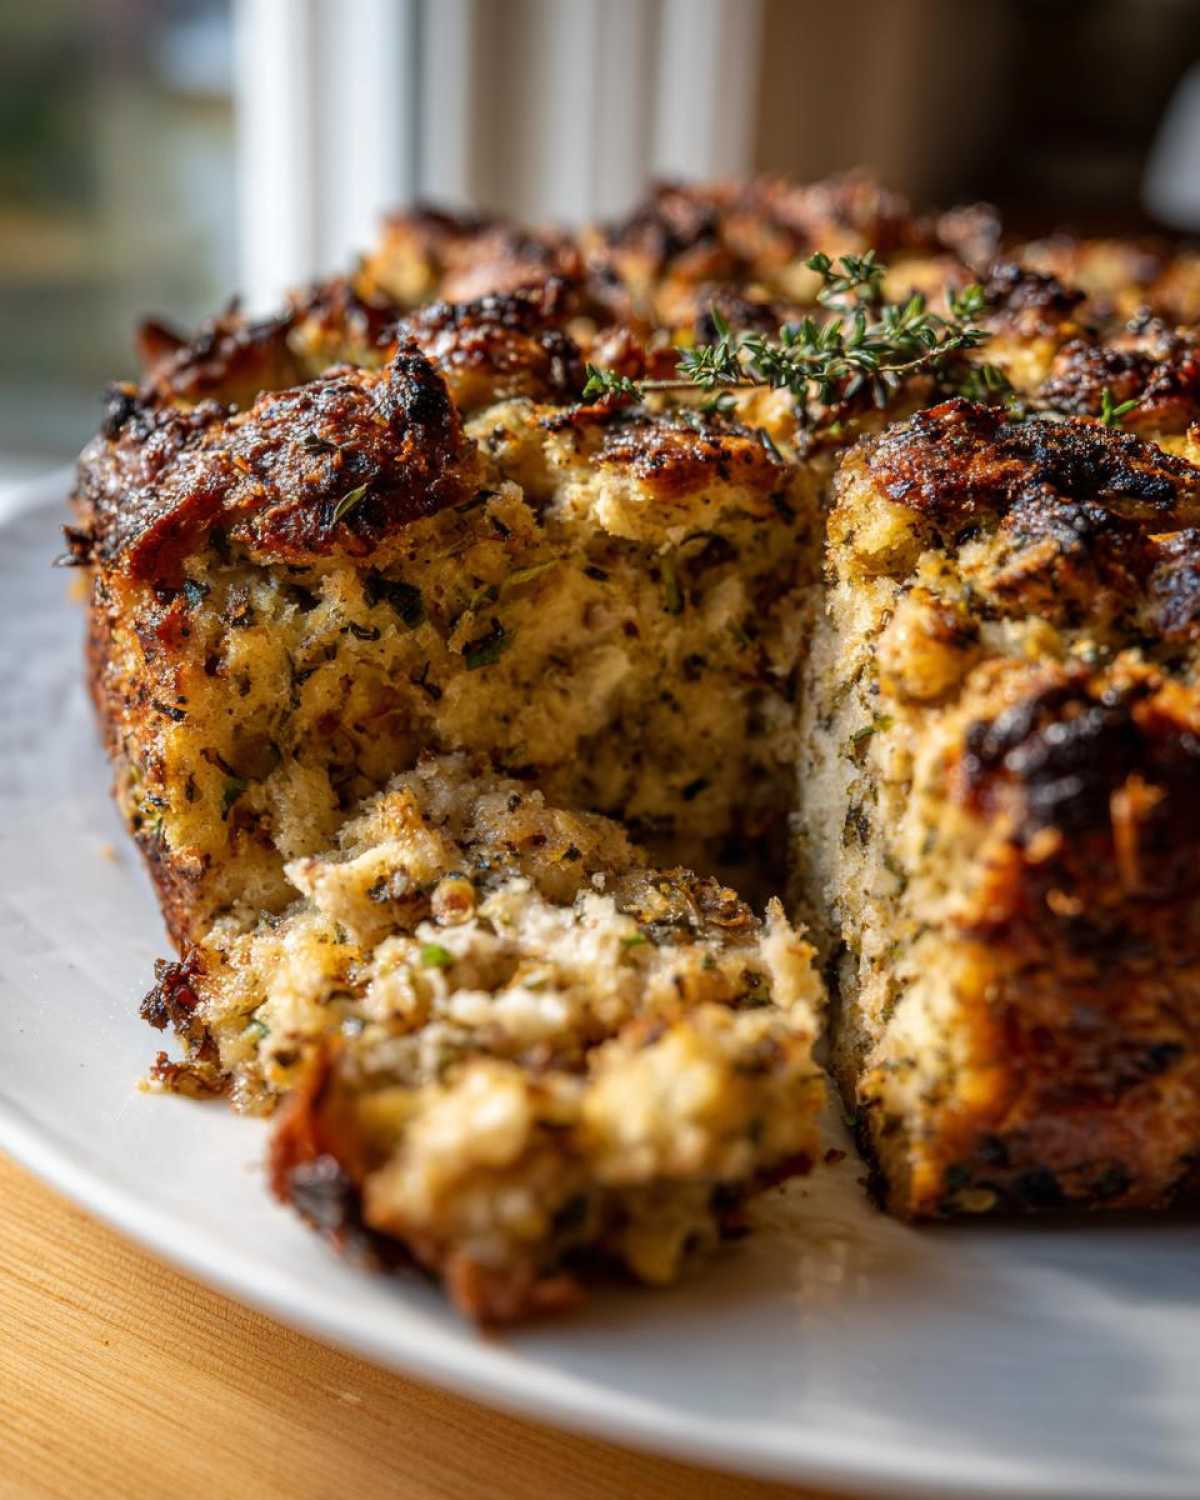
I really need to stress the bread again because this is where most people lose the battle against soggy stuffing. You are aiming for structural integrity! If you use soft, fresh sandwich bread, you’re basically setting yourself up for failure. You want bread that has already dried out—maybe some sourdough, French bread, or even cubed brioche if you want it rich.
The toasting step isn’t optional; it’s mandatory under the laws of good holiday cooking! That initial bake dries the exterior and slightly firms up the interior crumb. When you add the liquid later, the little cubes soak it up like sponges instead of dissolving into a heavy paste. That’s how you get that amazing, slightly chewy, perfectly textured bite that makes people go back for seconds of this Flavorful Stuffing.
Make Ahead Strategy for Holiday Stress Reduction
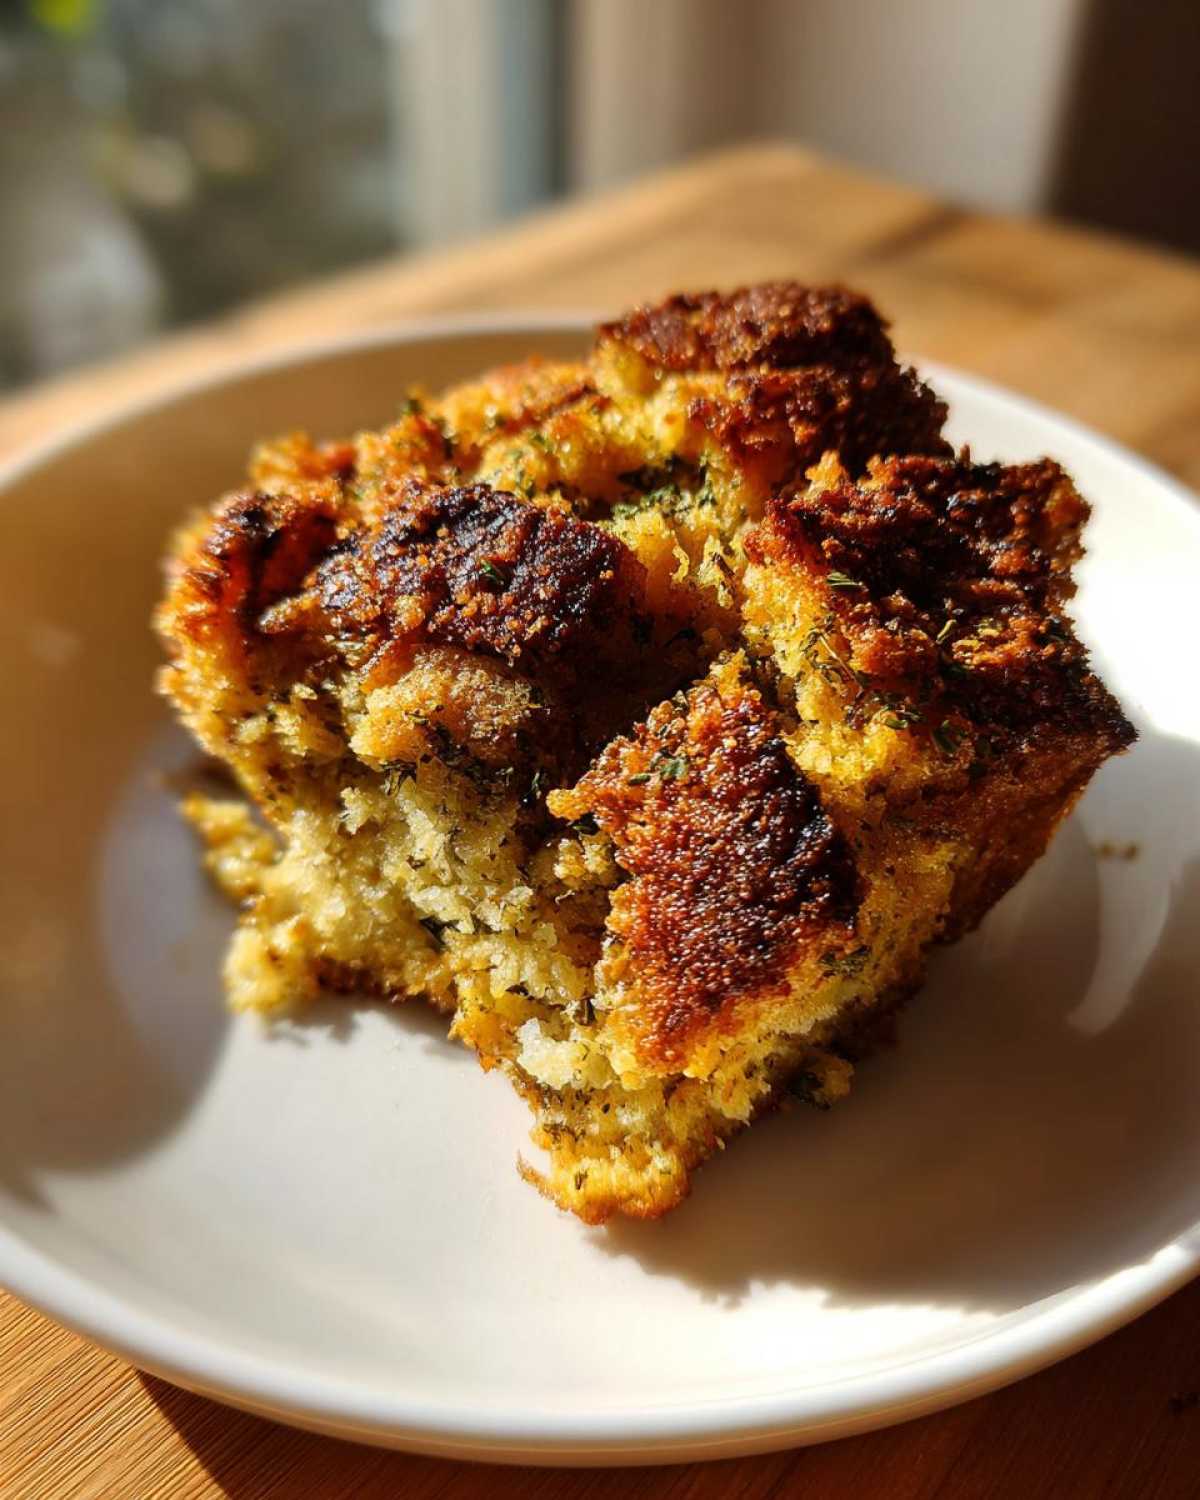
This is my favorite tip for any busy holiday cook. You can fully assemble this entire stuffing mixture—bread, veggies, broth, eggs, everything—the day before you plan to serve it. Just mix it all up right through Step 6 in the instructions, cover that greased dish tightly with plastic wrap, and pop it in the fridge.
When you’re ready to bake it, maybe an hour before dinner, you just have to remember one thing: because it’s baking cold, you need to add an extra 10 to 15 minutes onto that listed baking time. It needs extra time to heat all the way through from the center out. Prepping this as one of your main Make Ahead Side Dishes has saved my sanity so many times. It means less time babysitting the oven when the turkey is finally resting!
If you’re super organized, you can even freeze the assembled, unbaked mixture for up to a month! Just thaw it overnight in the fridge before adjusting the bake time as I mentioned. This recipe is truly built for stress-free entertaining, giving you more time to enjoy that delicious leftover stuffing later!
Stuffing Variations: Moving Beyond Classic Stuffing
I love this recipe because it’s the perfect, reliable base, but let’s be real—sometimes you want to jazz things up a bit for the table, right? While this classic herb profile is my favorite, it’s simple to pivot into something new without losing that essential moist and crispy texture we worked so hard for. Think of this as your ultimate starting line for whatever stuffing masterpiece you want to tackle next! It’s all about adding layers of complementary flavor.
Adding Meat: Try Stuffing with Sausage
If you want to make this a heartier, richer side dish, adding meat is the way to go! To incorporate sausage, you just have to adjust that initial vegetable sauté step. You’ll definitely want to brown about a pound of your favorite sausage—I love a good Italian sausage for a little fennel kick—right in that big skillet first.
Once the sausage is cooked through, drain off most of that excess fat—we need some, since we rely on butter for the herbs, but too much grease will weigh down your bread. Then, you just proceed exactly as written: push the sausage to the side of the pan, add your butter if you need more, and then cook down your celery and onion right there with the meat before adding your herbs. If you’re looking for more meaty ideas, check out this sausage-stuffed mushrooms recipe for inspiration!
Vegetable Stuffing Options
Maybe you’re making a main dish that already has meat, or maybe Aunt Carol is vegetarian this year. No worries! This recipe is easily transformed into a vibrant Vegetable Stuffing. If you want to keep it meat-free but pump up the earthiness, I suggest adding 8 ounces of sliced Cremini mushrooms along with your celery and onion. Sauté them until they release their moisture and start browning lightly.
For a pop of color and sweet-tartness, try folding in maybe a cup of dried cranberries when you toss the toasted bread cubes. They plump up just enough while baking to give you a beautiful counterpoint to all those savory herbs. You can even skip the broth entirely and use vegetable stock for an even deeper vegetable flavor profile. It’s so adaptable!
Serving Suggestions for Your Perfect Stuffing
So, you’ve mastered the stuffing—it’s baked hot, it’s crispy on top, and that aroma is floating through the entire house. Fantastic! Now, what are you serving it alongside? This classic Herb Stuffing recipe is designed to be the perfect supporting actor for all your big holiday feasts.
Because this recipe is savory and deeply seasoned with sage and rosemary, it pairs beautifully with rich, comforting main dishes. It’s definitely a star in the category of Fall Dinner Ideas, but it truly shines on the Thanksgiving table. Don’t let it just sit there lonely in the serving bowl; you need to give it some amazing friends on the plate!
For the main event, you absolutely need a beautiful, juicy roast. Whether it’s a traditional turkey or a big holiday ham, this stuffing complements them both perfectly. If you’re doing ham, a creamy side dish contrasting the stuffing’s chewiness is wonderful. Have you ever tried my recipe for scalloped potatoes and ham? That entire combination screams comfort food perfection!
If you want to layer up the flavors, think about texture contrast too. Since this stuffing offers that great mix of soft/crispy, try serving it next to something creamy like mashed potatoes or a smooth gravy. It also loves tartness—a simple cranberry sauce or a bright green bean casserole cuts through the richness just enough to make every bite interesting!
Storage and Reheating Your Delicious Stuffing
Alright, the cleanup! We’ve all been there—the feast is over, everyone is stuffed (pun totally intended!), and you have this amazing pan of stuffing leftover. Don’t let that deliciousness go to waste! Storing and reheating it correctly is key because the last thing you want is soggy, sad dressing on day two.
This recipe is wonderfully robust, making it trustworthy for leftovers. For safe storage, you need to follow the standard rules for cooked foods, especially since this has vegetables and broth. It builds a lot of confidence knowing your holiday sides will still taste fantastic the next day!
Safe Storage is Key for Flavor Preservation
If you’re planning on eating the leftovers within three or four days, pop that casserole dish right into the fridge as soon as it’s cool enough to handle safely. Don’t cover it immediately; let it cool on the counter for about an hour first. Covering hot food traps steam, and steam equals sogginess, which is the enemy of good stuffing!
If you know you won’t get to it within four days, the freezer is your best friend. Transfer the cooled stuffing into a heavy-duty freezer bag or an airtight container. I usually portion mine out—it’s easier to thaw just what you need later. Label it clearly with the date! It keeps beautifully in the deep freeze for about two or even three months.
Bringing Back That Crispy Top When Reheating
Reheating is tricky because reheating in the microwave is convenient, but it turns everything soft and steamy. For the absolute best texture, we have to use the oven method again. If you’re reheating the whole pan, just cover it loosely with foil—this prevents the top from burning while the center warms up.
Bake it at about 350 degrees F until it’s piping hot all the way through. If you want to bring that crispiness back to life (and you should!), pull that foil off for the last 10 minutes of heating. If you’re just reheating a single serving from the fridge, a quick 10 minutes in a toaster oven or even a non-stick skillet over medium heat brings back that fantastic texture we worked so hard for!
Frequently Asked Questions About Making Stuffing
When you’re getting ready for a big holiday meal, your mind is probably racing with timing charts and safety concerns. It’s totally normal! I get so many questions about texture and technique, even with this super simple recipe. Let’s clear up some of the most common things people ask me about getting their stuffing just right every single time.
Can I bake this stuffing in a slow cooker or crockpot?
Absolutely! People love the slow cooker method because it keeps the oven free for the turkey or the sweet potatoes. If you use a crockpot, you’ll need to adjust your moisture a little bit. Think about it—no evaporation means the liquid stays trapped. I’d reduce that 4 cups of broth down to about 3 cups initially, maybe even 3 and a half. You still want the mixture moist, but not swimming!
Grease the crockpot really well, place the mixture inside, and cook it on low for about 4 hours or on high for 2 to 3 hours. Skip the lid for the first hour if you still want a little bit of browning on top. This works great if you are making a smaller batch, too! It turns out so soft, almost like a very sturdy Savory Bread Pudding.
What is the difference between stuffing and holiday dressing?
Oh, this is a classic holiday debate that chefs love to argue about! Traditionally, the difference comes down to location. If it’s baked inside the turkey or bird, it’s called stuffing. If it’s baked separately in a casserole dish like we’re doing here, it’s technically called Holiday Dressing.
For me, the difference is purely semantics! This recipe works perfectly either way. Baking it separately makes it safer, and it lets you manage that crispy top crust much better. If you decide to stuff your turkey with this, just make sure that the internal temperature of the stuffing reaches 165 degrees F simultaneously with the bird! We are focused on safety first, obviously.
How do I prevent my stuffing from becoming soggy?
This is the panic question, isn’t it? Soggy stuffing is the worst! It comes down to two non-negotiable steps we took earlier in the recipe. First, remember that bread toasting? You have to toast the cubes! They need to be fully dried out so they don’t dissolve when the broth is added; they need to absorb it slowly.
Second, watch that broth ratio like a hawk. We use a 4:1 ratio of dry bread cubes (by weight or bulk) to liquid, but the eggs help thicken things up a bit too. Don’t dump all the liquid in at once and then stir like crazy! You just want to gently incorporate until no large dry pockets remain. If you followed those two guidelines, your dressing will be perfect—moist on the inside but with that fantastic crust on top. If you’re looking for more ideas for your side dishes, I found this great link on French toast that surprisingly shares some similar binding techniques for texture!
Estimated Nutritional Breakdown for This Stuffing
Now, I know some of you are hosting huge spreads, and some of you are watching macros, so I wanted to give you the general idea of the numbers here. Remember, because we are using rich butter, homemade broth, and slightly stale bread, this is a hearty comfort food, not a diet dish! These figures are rough estimates based on the ingredient list provided, so keep that in mind!
This breakdown is based on the recipe yielding 8 generous servings. If you stretch this stuffing out into more servings, the numbers per cup obviously change, but this gives you a solid baseline:
- Serving Size: About 1 cup
- Calories: Approximately 350 per serving
- Fat: Around 20 grams total (and yes, most of that is that glorious butter, but it includes 11g of saturated fat!)
- Carbohydrates: About 35 grams
- Protein: Roughly 8 grams
- Sugar: A low 4 grams, mostly from those savory onions and celery mingling with the butter.
- Sodium: This is the only one you might watch; salt adds up, so mine comes in around 550mg. If you use low-sodium broth, you can really cut that down!
This is truly classic homemade stuffing; it’s rich, satisfying, and exactly what your Thanksgiving table deserves. Enjoy every single, delicious bite—we earned it!
Print
The Ultimate Classic Herb Stuffing
- Total Time: 65 min
- Yield: 8 servings
- Diet: Vegetarian
Description
Make moist and flavorful homemade stuffing with a crispy top. This classic recipe uses simple herbs and is perfect for your holiday table.
Ingredients
- 1 pound day-old bread, cut into 1-inch cubes
- 1 cup unsalted butter
- 2 cups chopped celery
- 1 large yellow onion, chopped
- 2 teaspoons dried sage
- 1 teaspoon dried thyme
- 1 teaspoon dried rosemary
- 1 teaspoon salt
- 1/2 teaspoon black pepper
- 4 cups chicken or vegetable broth
- 2 large eggs, lightly beaten
Instructions
- Preheat your oven to 350 degrees F. Lightly grease a 9×13 inch baking dish.
- Spread the bread cubes in a single layer on a large baking sheet. Bake for 10 to 15 minutes until lightly toasted. Set aside.
- Melt the butter in a large skillet over medium heat. Add the celery and onion. Cook until softened, about 8 to 10 minutes.
- Stir in the sage, thyme, rosemary, salt, and pepper. Cook for 1 minute until fragrant.
- In a large bowl, combine the toasted bread cubes and the cooked vegetable mixture. Toss gently to combine.
- In a separate bowl, whisk together the broth and the beaten eggs. Pour this mixture over the bread mixture. Toss lightly until the bread is evenly moistened. Do not overmix.
- Transfer the stuffing mixture to the prepared baking dish.
- Bake for 35 to 45 minutes, or until the top is golden brown and the center is heated through.
Notes
- For a crispier top, bake uncovered.
- You can prepare the entire mixture (without baking) a day ahead. Cover and refrigerate. Add 10 to 15 minutes to the baking time if baking cold.
- Use good quality, slightly stale bread for the best texture.
- Prep Time: 20 min
- Cook Time: 45 min
- Category: Side Dish
- Method: Baking
- Cuisine: American
Nutrition
- Serving Size: 1 cup
- Calories: 350
- Sugar: 4
- Sodium: 550
- Fat: 20
- Saturated Fat: 11
- Unsaturated Fat: 9
- Trans Fat: 0.5
- Carbohydrates: 35
- Fiber: 2
- Protein: 8
- Cholesterol: 75


Comments are closed.