
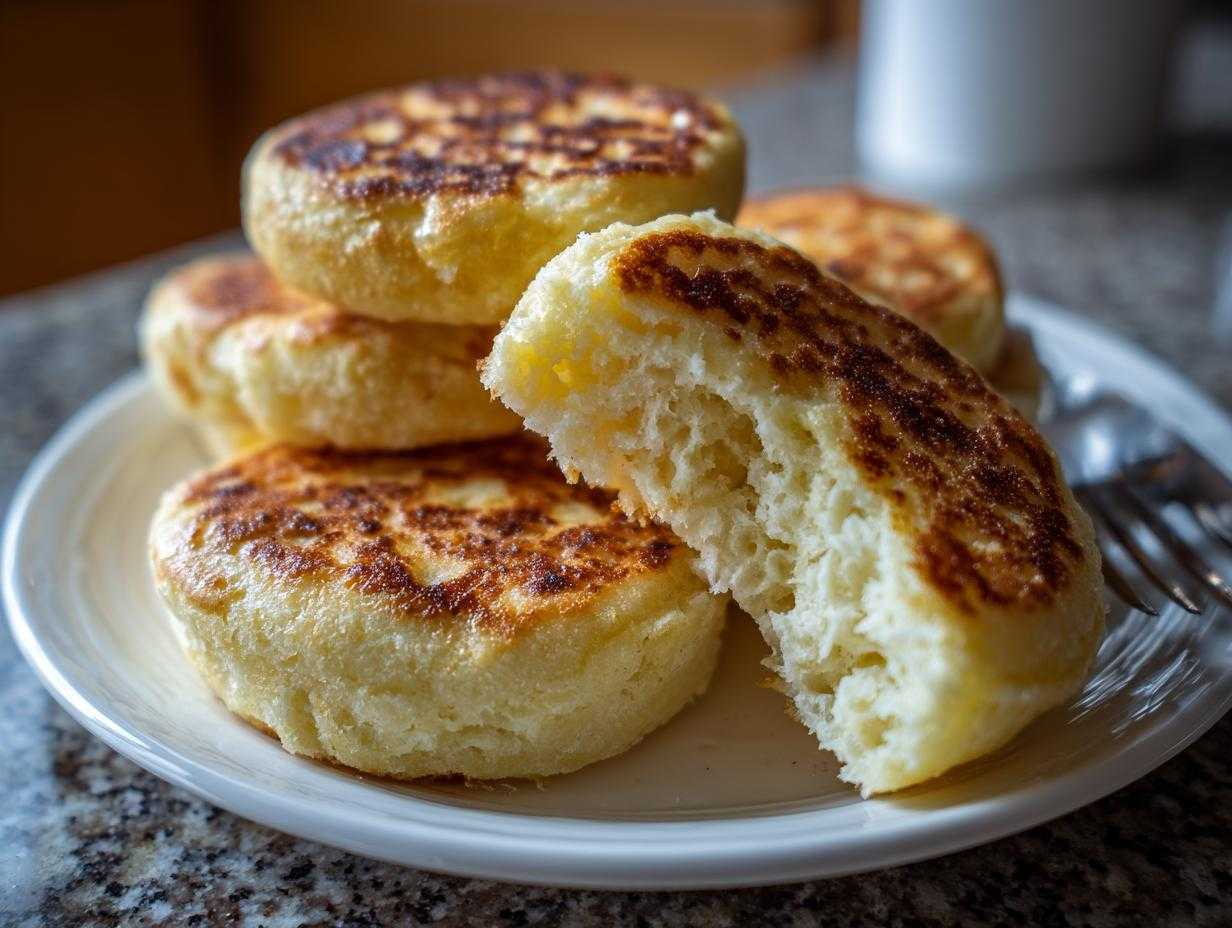
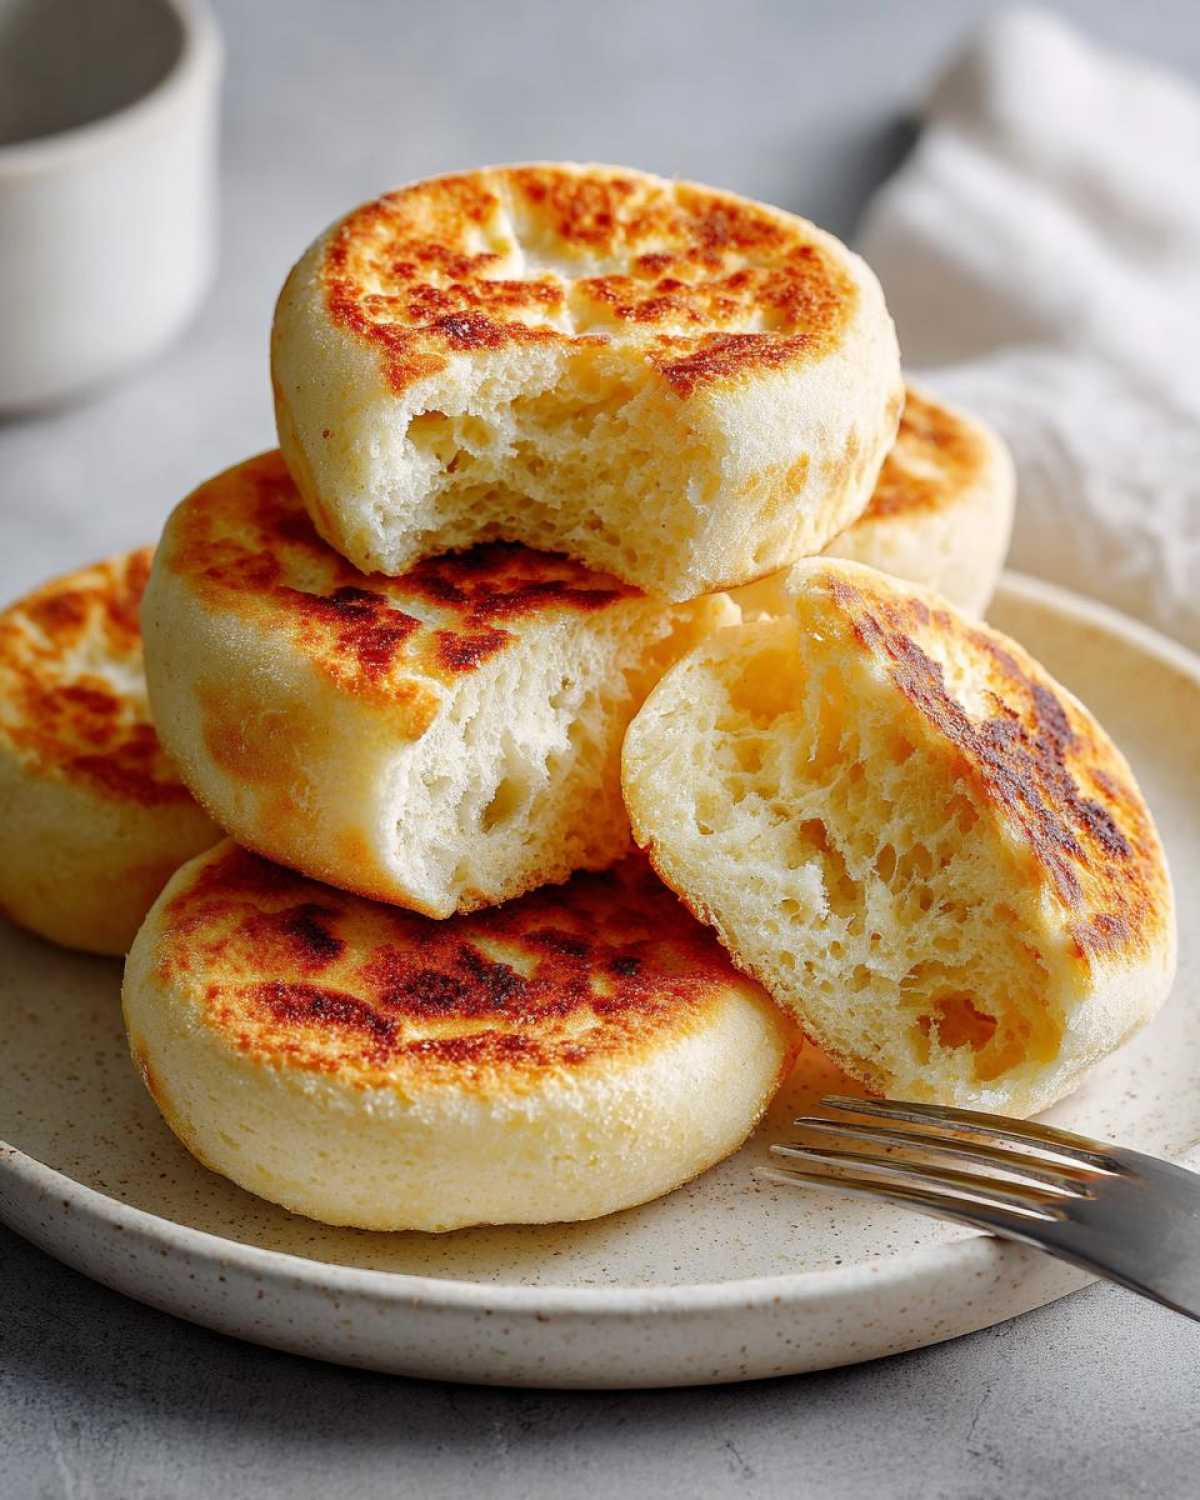
Oh, don’t even get me started on those sad, compressed little bread discs you buy at the supermarket! They promise that fluffy texture, but you always end up with something dense that just toasts up like cardboard. That never happens here, trust me. I spent what felt like a solid month tweaking every variable—the hydration, the rest time, the cooking temperature—until I nailed the absolute best homemade English muffins possible. This recipe guarantees you those open, airy interiors and those delightful, unmistakable **nooks and crannies** everyone dreams about. Forget fancy ovens; we’re getting that beautiful, rugged crust right on the stovetop!
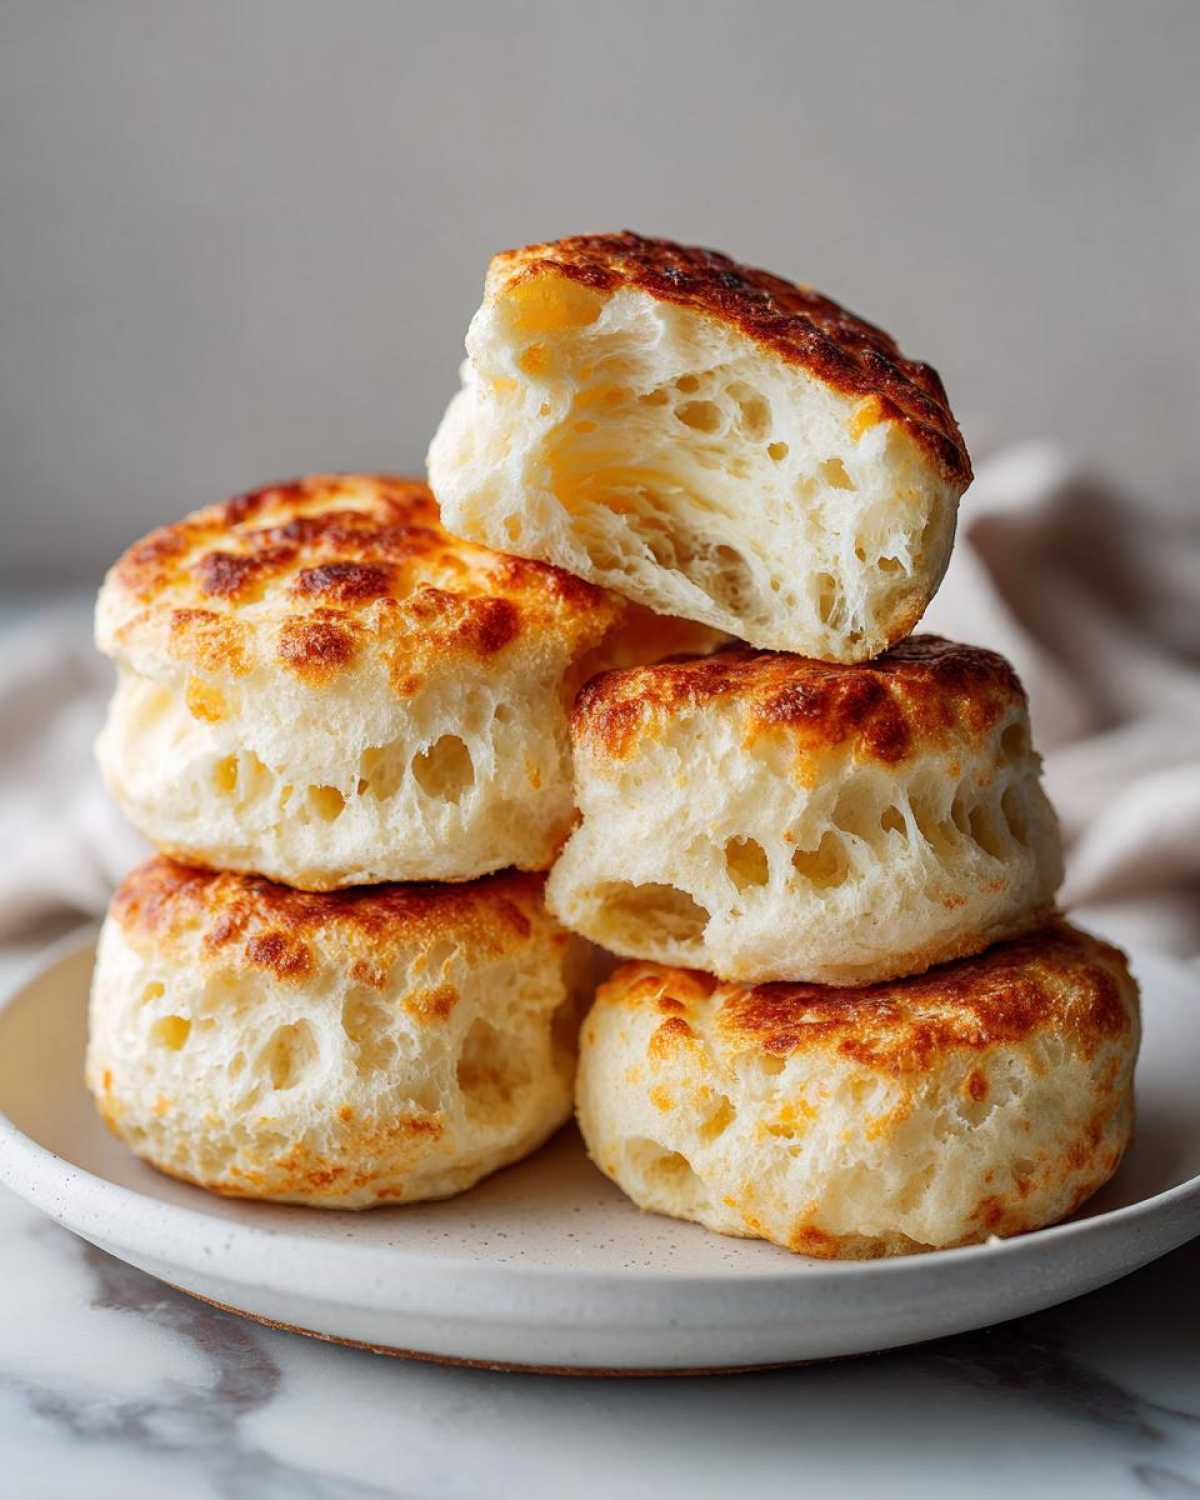
Why This is the Best Homemade English Muffins Recipe (Fluffy English Muffins)
If you’ve ever been disappointed by flat, sad rounds, this is the recipe that changes everything. I spent what felt like a solid month tweaking every variable—the hydration, the rest time, the cooking temperature—until I nailed the absolute best homemade English muffins possible! This recipe guarantees you those open, airy interiors and those delightful, unmistakable nooks and crannies everyone dreams about. We aren’t settling for anything less than perfection here.
- They are incomparably light and airy inside—the kind you need for the perfect breakfast sandwich.
- You get incredible height on these **English muffins**!
Achieving Perfect English Muffin Nooks and Crannies
It all comes down to the shaggy dough hydration and cooking them low and slow on the griddle. The dough is wetter than standard bread dough, which lets those air bubbles stretch out inside instead of collapsing when they cook.
Stovetop Cooking for Crispy Edges on Your English Muffins
We skip the oven because we want that fantastic, slightly coarse crust that only a dry, hot griddle can provide. This method gives your **English muffins** that restaurant-quality chewiness on the outside while keeping the inside totally soft.
Ingredients for Classic Homemade English Muffins
When we talk about making the easy English muffin recipe work, the ingredients matter! Don’t cheat here; precision keeps us away from flat bread. You’ll need milk that’s warm—think bathwater temperature, about 105 to 115 degrees F—so the yeast wakes up happy. Make sure that egg is room temperature, too; it incorporates much better!
- 1 cup warm milk (about 105-115 degrees F)
- 2 1/4 teaspoons active dry yeast
- 1 tablespoon granulated sugar
- 1 large egg, room temperature
- 3 tablespoons unsalted butter, melted and cooled slightly
- 1 teaspoon salt
- 3 1/2 cups all-purpose flour, plus more for dusting
- Cornmeal or semolina flour, for dusting (this gives the fantastic texture!)
Step-by-Step Instructions to Make Fluffy English Muffins From Scratch
Okay, this is where the real magic happens! While this recipe is fantastic for anyone tackling baking bread for beginners, the key is patience during the rising and cooking stages. Don’t rush anything, especially the cooking, or you’ll end up with doughy centers.
Activating Yeast and Mixing the English Muffin Dough
First things first, we wake up that yeast! Get your warm milk—seriously, check the temperature, too hot kills it—and stir in the sugar and yeast. Let it bubble happily for about five minutes. Then, whisk in the egg, the slightly cooled melted butter, and the salt. Once that’s combined, you slowly add in your flour, mixing until it looks rough and shaggy. That’s exactly what you want at this stage; don’t try to make it smooth yet!
The Rise and Kneading Process for Great English Muffins
Now, turn that shaggy mess onto a lightly floured counter. This dough is a little sticky, but resist the urge to dump in half a bag of flour! Knead it firmly for about five to seven minutes until it starts feeling smoother and elastic. It’ll still be soft, but much nicer. Toss it in an oiled bowl, cover it up, and let it sit in a warm spot for an hour to an hour and a half until it’s doubled. This first rise is crucial for those lofty **English muffins**!
Cutting, Resting, and Cooking Your English Muffins on the Griddle
Gently punch that dough down and roll it out to about half an inch thick. Use a 3-inch cutter, dust your sheet really well with cornmeal or semolina (that’s your texture secret!), and let the cut rounds rest for another 30 minutes. Here’s the part you can’t mess up: heat your cast-iron skillet over medium-low heat. Seriously, medium-low! If it’s too hot, the outside burns before the inside cooks. Cook them for 8 to 12 minutes per side until they look perfectly golden brown and dry on the surface. They cook slowly, but trust me, it’s worth the wait for perfect **English muffins**!
Expert Tips for Perfect English Muffins Every Time
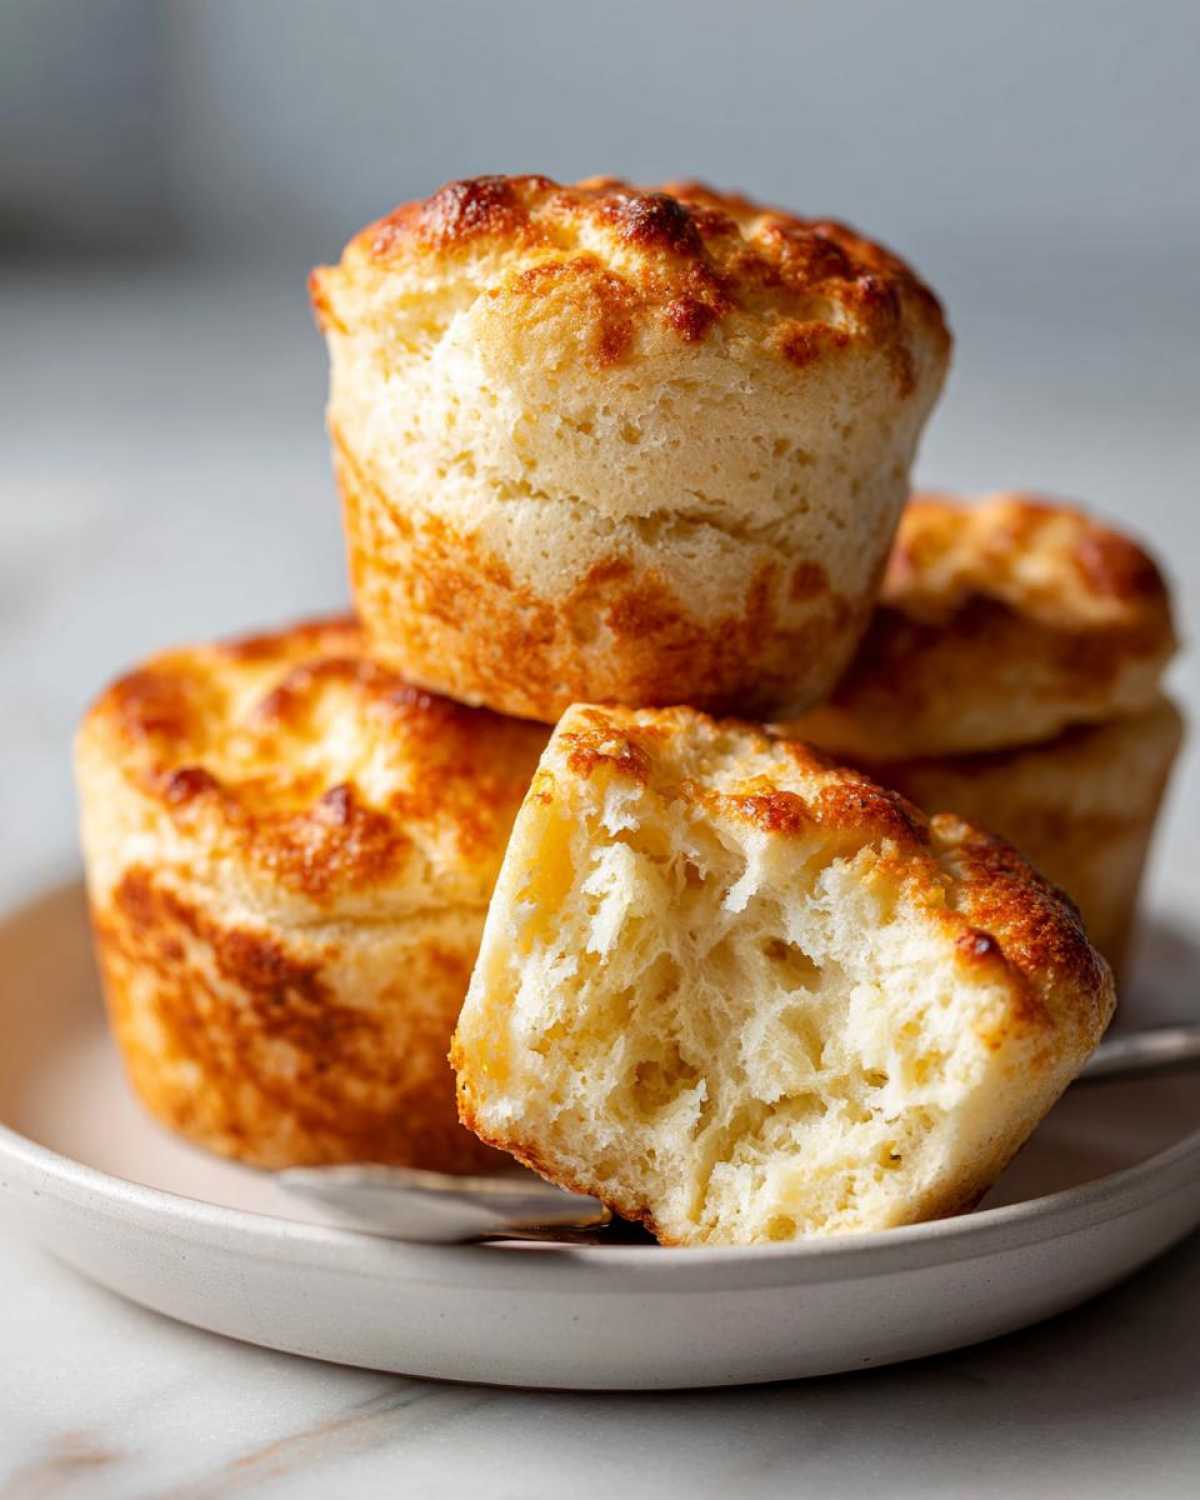
You’ve made the dough and cooked them perfectly, but let me give you a couple of insider secrets so your next batch of **English muffins** is even better than the last one. It’s all about handling them gently once they come off the griddle. We worked hard to get those beautiful textures, so we need to treat them right!
Temperature Control When Cooking English Muffins
I can’t stress this enough: low and slow wins the race for **English muffins**. If you crank the heat, you’ll get a beautiful brown color in three minutes, but the middle will still be raw and gooey. That ruins the whole point! Keep that skillet on medium-low—it should take about 10 minutes per side, minimum. Be patient; that slow cook time allows the heat to penetrate all the way to the center, making sure the inside cooks fully without scorching the cornmeal crust.
The Right Way to Split Your English Muffins
Okay, this is my number one piece of advice for maximizing those nooks and crannies. Never, ever slice your cooled **English muffins** half with a knife! A knife cuts straight across the structure, sealing up all those beautiful little holes we worked so hard to create. Instead, pick up a sturdy dinner fork, pierce the edge gently, and twist to pull the two halves apart. That fork action rips the interior open, exposing every single airy pocket for maximum butter absorption. Trust me on this one!
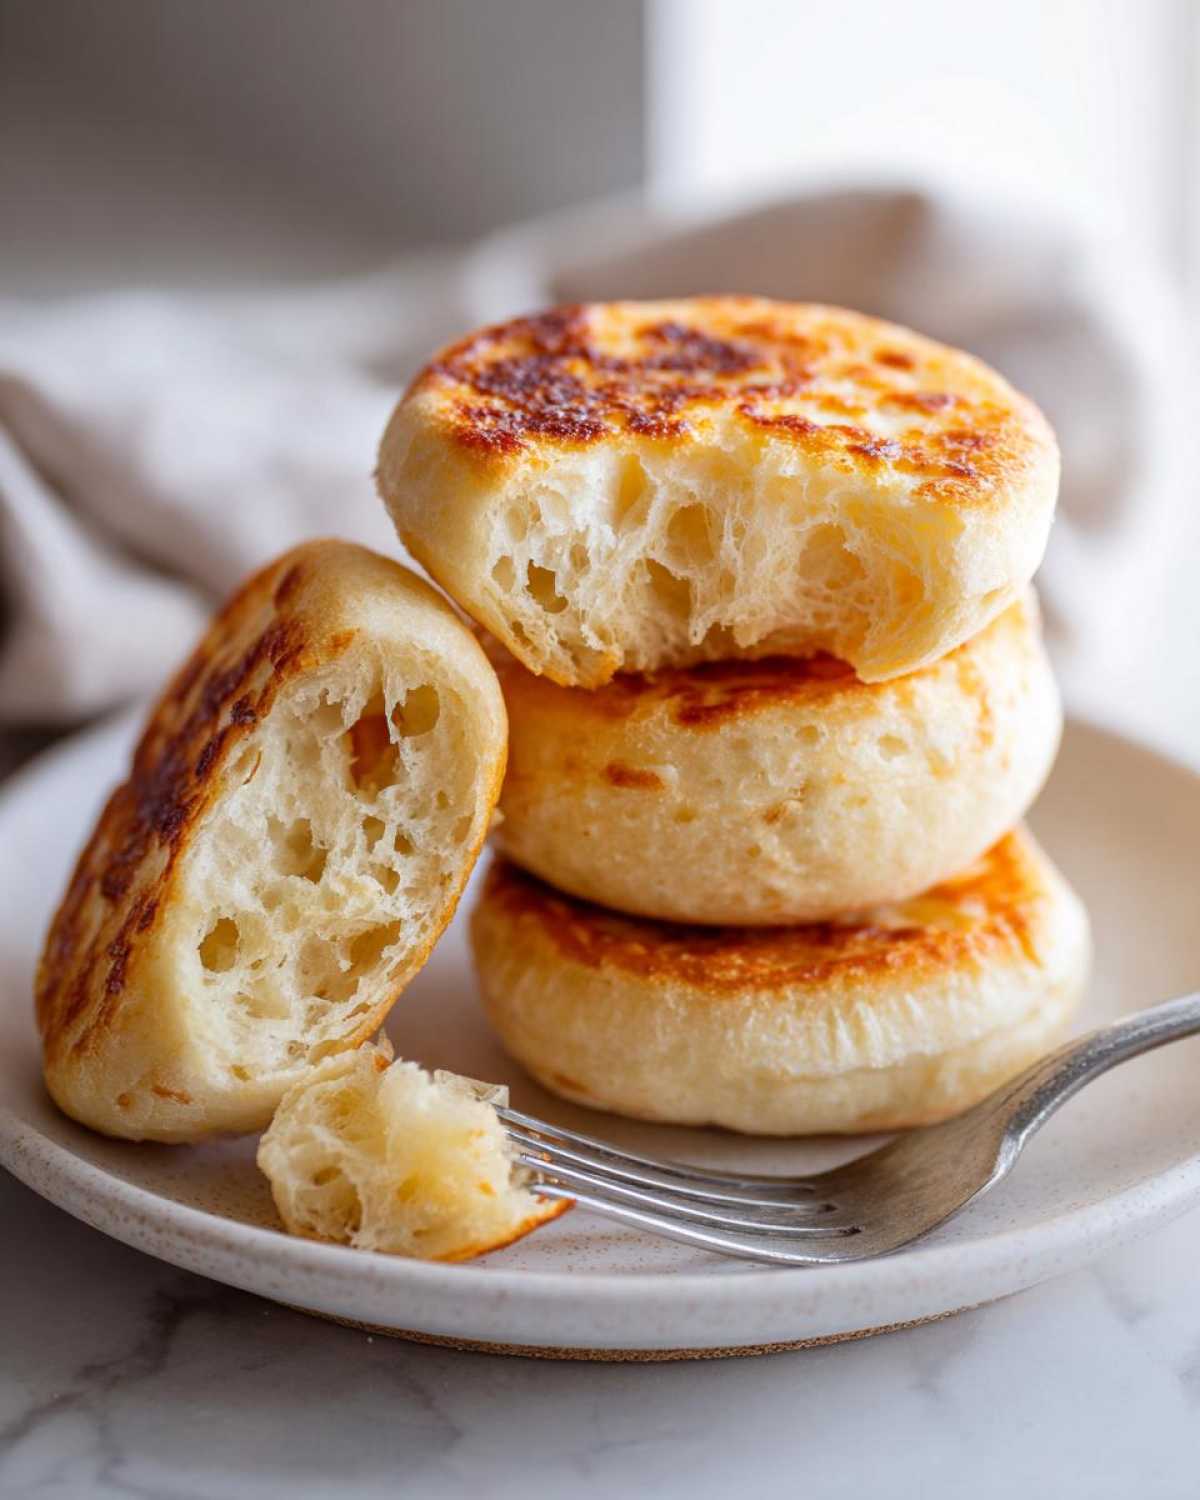
Make Ahead & Freezer Friendly Breakfast Bread (English Muffins)
Because making fresh **English muffins** is so satisfying, you are going to want to eat them all week, right? The good news is that these bake up beautifully and freeze like champions. This quality makes them absolute gold for planning freezer friendly breakfast meals!
Once your muffins are completely cooled—and I mean totally cool, room temperature is essential—you just need to get them airtight. I line them up on a small cookie sheet first, just so they aren’t touching, and pop that sheet in the freezer for about an hour. This “flash freeze” prevents them from sticking together in one giant lump!
After they’ve hardened up a bit, toss them into a heavy-duty zip-top bag or use proper freezer wraps. They will keep perfectly fine for up to three months. When you’re craving that classic toasted texture, all you have to do is pull them straight from the freezer and pop them right into your toaster. They reheat beautifully from frozen, maintaining that light, airy interior you worked so hard to achieve!
Serving Suggestions for Your Homemade English Muffins
This is the payoff! Once you’ve split those beauties open with a fork, you have the perfect canvas for any morning indulgence. Of course, the classic move is just a generous smear of butter that melts right into every single nook.
But if you’re building a serious meal, these are mandatory for homemade breakfast sandwiches. Forget soggy takeout bread! Try layering one with sharp cheddar, a fried egg, and a slice of good Canadian bacon. That slightly crispy exterior holds up perfectly to the fillings. Jam, honey, or even a savory avocado spread—it all shines on these light, fluffy **English muffins**.
Frequently Asked Questions About Making English Muffins
When you dive into making English muffins from scratch, there are always a few things folks get stuck on. Don’t worry if your first batch isn’t magazine-perfect; we’re learning the fine points of yeasted bread here!
Can I bake these English Muffins instead of using a skillet?
Oh, you totally *can* bake them, and they will turn out more like a soft roll than a traditional English muffin. Baking introduces dry heat from all sides, which means those signature rough, crispy edges won’t develop. For the real deal—the ones that need that aggressive toasting—the stovetop griddle is the non-negotiable way to go for authentic texture.
My dough didn’t rise much. What went wrong with my English Muffins?
Usually, that means your yeast was grumpy! Yeast is super sensitive. If your milk was too cold, the yeast stayed sleeping. If it was too hot—above 120°F—you probably killed it completely. Always test your water temperature first! Also, check the date on your yeast packet; old yeast is a real kitchen nightmare when you’re trying to make a lovely **yeasted breakfast bread**.
What is the best flour to use for fluffy English Muffins?
For these specific **fluffy English muffins**, I stick with standard all-purpose flour. It has the right amount of protein to give you that good structure without getting tough. You might see some recipes recommend bread flour, but I find that makes them a little too chewy. You want that tender crumb, remember?
Nutritional Information for Homemade English Muffins
Now, I always try to keep these in moderation because they are SO good toasted with butter and jam, but it’s nice to know what you’re working with! Remember, these figures are just estimates based on the ingredients I used, especially the flour and butter content. Every kitchen is a little different, of course!
This information is an estimate for one classic English muffin recipe serving:
- Serving Size: 1 muffin
- Calories: 180
- Fat: 4g (with 2g saturated fat)
- Carbohydrates: 32g
- Protein: 5g
- Sugar: 2g
- Sodium: 250mg
- Fiber: 1g
The good news is that because we aren’t adding any fatty spreads during the cooking process (since these are stovetop English muffins), you control the final fat content based on how much butter you slather on later! Enjoy responsibly!
Share Your Homemade English Muffins Success
I really hope you loved making these as much as I loved perfecting them for you! Once you’ve got those beautiful rounds cooling on the rack, I absolutely need to know how they turned out. Did you get those amazing nooks and crannies we talked about? Please, please leave me a star rating down below right next to the recipe card.
More importantly, tell me about your experience in the comments! Did you use cornmeal or semolina for dusting? Did you make them ahead of time for future breakfast? I read every single comment, and your feedback genuinely helps me improve these classic recipes.
And if you’re on social media, snap a picture of your perfect stack of toasted, jam-covered **English muffins** and tag me! Seeing your beautiful results is truly my favorite part of sharing what I cook.
Print
The Ultimate Fluffy Homemade English Muffins with Perfect Nooks and Crannies
- Total Time: 2 hr 20 min
- Yield: 10 muffins
- Diet: Vegetarian
Description
Make classic, fluffy English muffins from scratch with an open, airy interior texture perfect for toasting and breakfast sandwiches. This recipe uses a stovetop method for a crispy exterior.
Ingredients
- 1 cup warm milk (about 105-115 degrees F)
- 2 1/4 teaspoons active dry yeast
- 1 tablespoon granulated sugar
- 1 large egg, room temperature
- 3 tablespoons unsalted butter, melted
- 1 teaspoon salt
- 3 1/2 cups all-purpose flour, plus more for dusting
- Cornmeal or semolina flour, for dusting
Instructions
- In a large bowl, combine the warm milk, yeast, and sugar. Let stand for 5 minutes until foamy.
- Whisk in the egg, melted butter, and salt into the yeast mixture.
- Gradually add the flour, mixing until a shaggy dough forms.
- Turn the dough out onto a lightly floured surface. Knead for 5 to 7 minutes until the dough is smooth and elastic. It will remain slightly soft.
- Place the dough in a lightly oiled bowl, turning to coat. Cover the bowl with plastic wrap and let it rise in a warm place for 1 to 1.5 hours, or until doubled in size.
- Gently punch down the risen dough. Turn it onto a lightly floured surface and pat or roll it out to about 1/2 inch thickness.
- Use a 3-inch round cutter to cut out the muffins. Gather the scraps, gently re-knead them, and cut out remaining rounds.
- Generously dust a baking sheet or pizza peel with cornmeal or semolina flour. Place the cut rounds on the prepared surface, leaving space between them.
- Cover the rounds loosely with plastic wrap and let them rest for a second rise for 30 minutes.
- Heat a large, dry cast-iron skillet or griddle over medium-low heat. The temperature is crucial; too high, and they will burn before cooking through.
- Carefully place the muffins onto the hot, dry skillet, leaving space between them. Cook for 8 to 12 minutes per side, until golden brown and cooked through. You are looking for a dry, matte surface before flipping.
- Remove the cooked muffins and let them cool completely on a wire rack.
- To serve, split the cooled muffins using a fork (not a knife) to preserve the nooks and crannies, then toast until crisp.
Notes
- For the best nooks and crannies, use a fork to split the muffins open after toasting, rather than slicing them with a knife.
- You can freeze baked and cooled muffins. Place them in an airtight, freezer-safe bag for up to 3 months. Thaw overnight and toast directly from frozen.
- If you prefer a slightly faster rise, you can increase the yeast slightly, but watch the dough closely.
- Prep Time: 25 min
- Cook Time: 25 min
- Category: Breakfast
- Method: Stovetop Griddle
- Cuisine: American
Nutrition
- Serving Size: 1 muffin
- Calories: 180
- Sugar: 2
- Sodium: 250
- Fat: 4
- Saturated Fat: 2
- Unsaturated Fat: 2
- Trans Fat: 0
- Carbohydrates: 32
- Fiber: 1
- Protein: 5
- Cholesterol: 30


Comments are closed.