

Oh, decorating cutout cookies! It’s my absolute favorite part of the holidays, but honestly, nothing is more heartbreaking than spending hours detailing perfect little snowmen only for them to get smudged when you stack them in a tin. Right? That’s why we absolutely have to master the perfect sugar cookie icing that hardens. I spent years thinking I was doing something wrong because my pretty designs kept getting sticky or cracked! Mastering this royal icing recipe was a total game-changer for me; it moves from being a creamy mess to a flawless, durable shell in just a few hours. Trust me, once you nail this technique, your cookies will look bakery-professional, and you won’t have to worry about them sticking together when you ship them off as gifts!
Why This Royal Icing is the Best Sugar Cookie Icing That Hardens
Okay, let’s talk about the magic secret sauce that makes this recipe superior for creating sugar cookie icing that hardens so beautifully—it’s all about meringue powder. If you’ve only used powdered sugar and milk, you’ve probably been frustrated because that stuff dries sort of chalky or just stays tacky. Meringue powder changes everything because it contains dried egg whites and stabilizers.
When we whip the meringue powder properly, it builds a structure that dries rock-solid, creating a strong shell around your design. This lets you stack your decorated holiday cookies without them kissing and making a mess! It’s the absolute key to durability. I even use a similar base when I need a really sturdy gingerbread house icing.
Achieving That Perfect Glossy Cookie Icing Recipe Finish
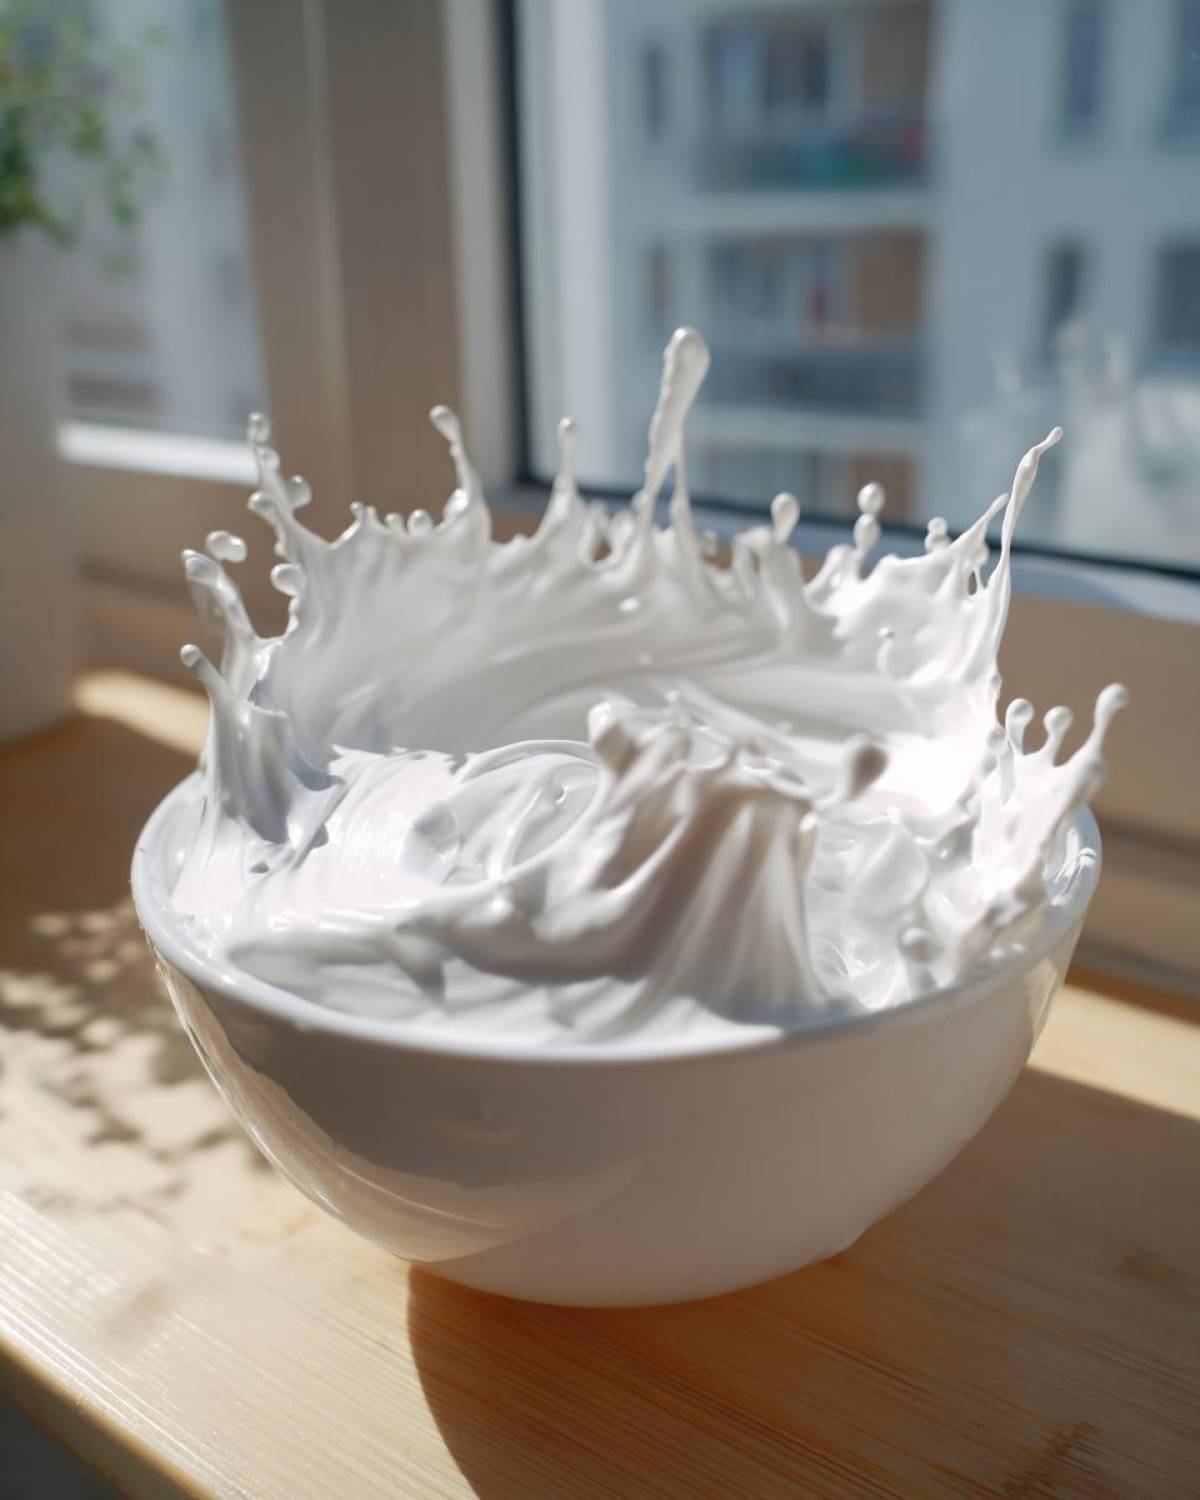
Beyond just hardening, this icing gives you that beautiful, almost porcelain-like shine. You’ll notice it as soon as you start beating the mix—it goes from dull to gloriously shiny real fast! That sheen comes from beating the mixture long enough to incorporate air, which smooths out the sugar crystals.
I always keep one eye on the bowl while the mixer runs. If you stop too early, it looks slightly dull. If you beat it until it’s incredibly smooth and takes on that high gloss, you know you’ve unlocked the perfect texture for a crisp outline and a super smooth flood layer.
Ingredients for Sugar Cookie Icing That Hardens Perfectly
When you’re aiming for that fantastic sugar cookie icing that hardens, ingredient quality and prep matter! It seems simple, but don’t skip the preparation steps—sifting the sugar is non-negotiable if you want it smooth. We need four cups of powdered sugar, which we sift first, whisked together with exactly three tablespoons of meringue powder.
Then we add just a touch of vanilla extract and start with 6 tablespoons of warm water. Remember, this recipe is about precision, so use warm water, not hot! You can always add more liquid later, but you can’t easily take it away once you’ve added too much.
Ingredient Notes and Substitutions for Hard Icing for Sugar Cookies
My recipe calls for meringue powder because it’s so friendly to beginners, and it guarantees a reliable, hard set. If you don’t have meringue powder and want to use real egg whites, you can, but you’ll need to be much stricter about freshness and pasteurization—it gets a little scary sometimes!
For extra shine and chewiness, some bakers sneak in a teaspoon of light corn syrup. I usually stick to the base recipe because I love that crisp, hard shell it gives me, but you might try that if you want a slightly less brittle finish. Just remember, for the *hardest* set, keep the liquid minimal!
You can find a great article on a similar dries firm icing recipe if you need alternatives for ingredient sourcing.
Step-by-Step Instructions for Royal Icing Recipe for Cookies That Dries Hard
Okay, now for the fun, physical part! Getting this sugar cookie icing that hardens right isn’t just about throwing things in a bowl. You’ve got your sifted sugar and meringue powder ready to go. Add your vanilla and your initial 6 tablespoons of warm water. Start mixing low, just until everything is incorporated—we don’t want a flour cloud poofing up across the kitchen, trust me!
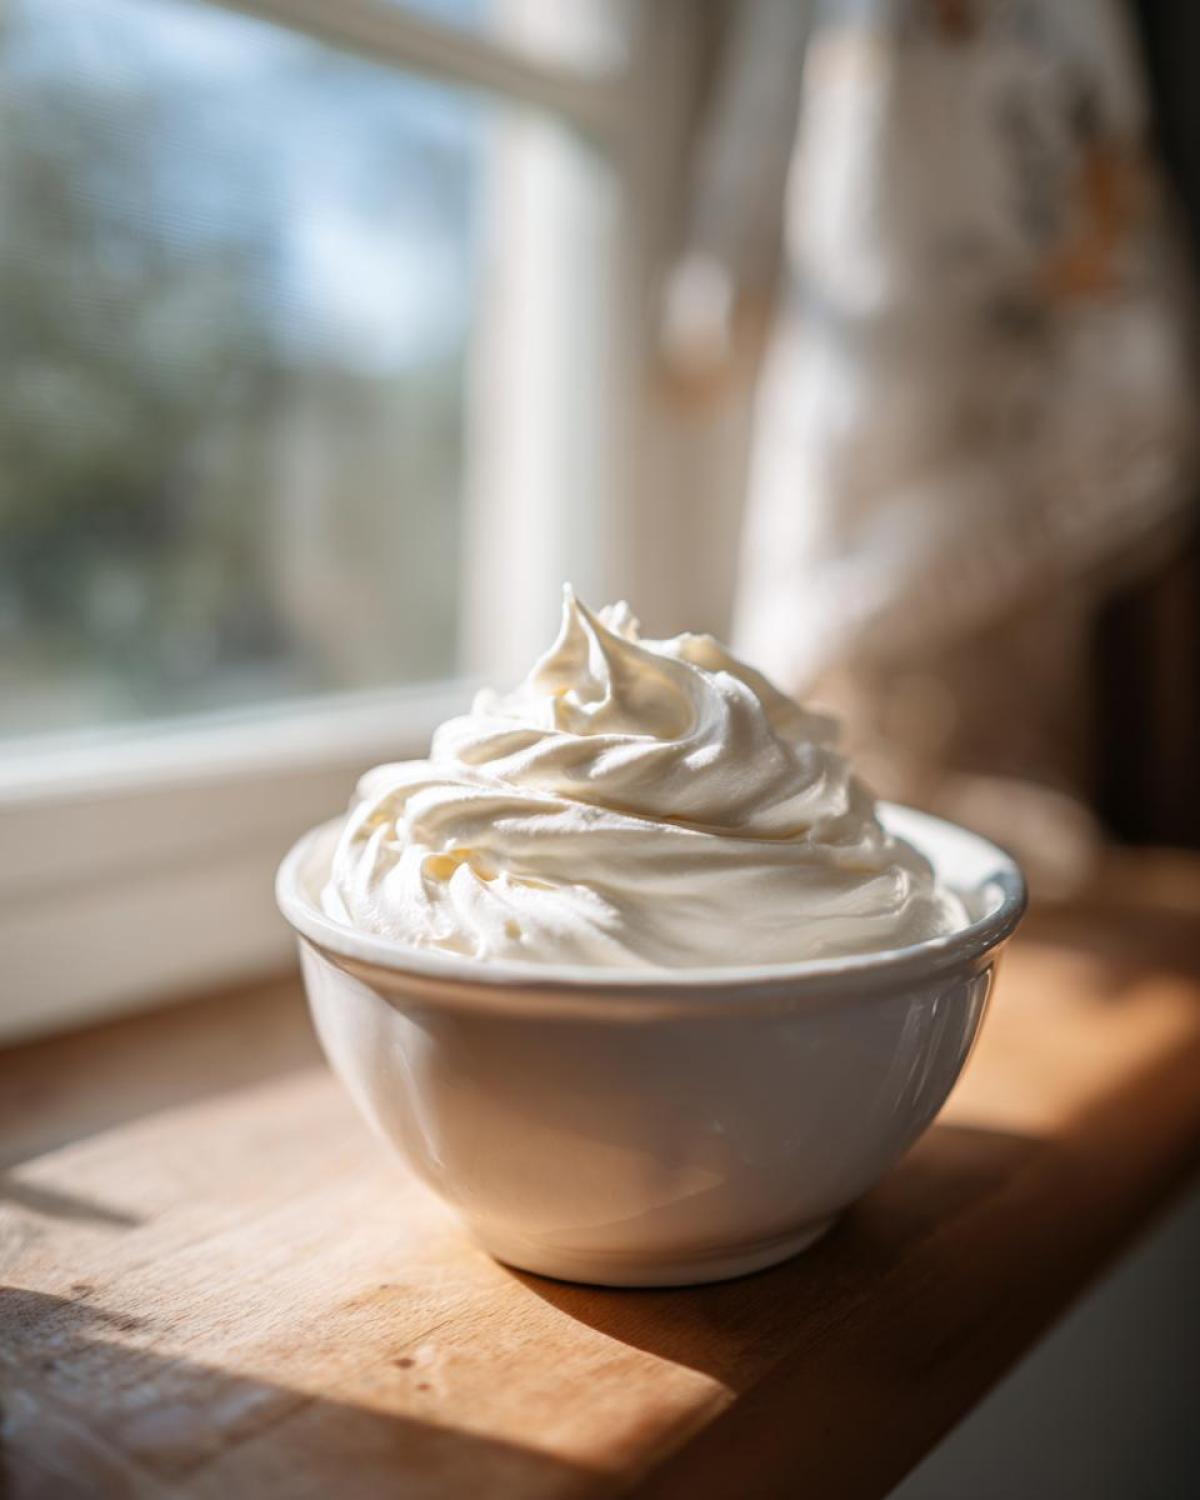
The real work starts when you crank that mixer up to medium-high. You need to beat this stuff for a solid 5 to 7 minutes. Seriously, set a timer! This long whipping time is exactly what incorporates enough air to create those stiff peaks. When it’s done mixing, it should look glossy, smooth, and hold its shape stiffly when you lift the whisk. That stiffness is what ensures it dries hard later!

Cookie Icing Consistency Guide: Stiff vs. Flooding
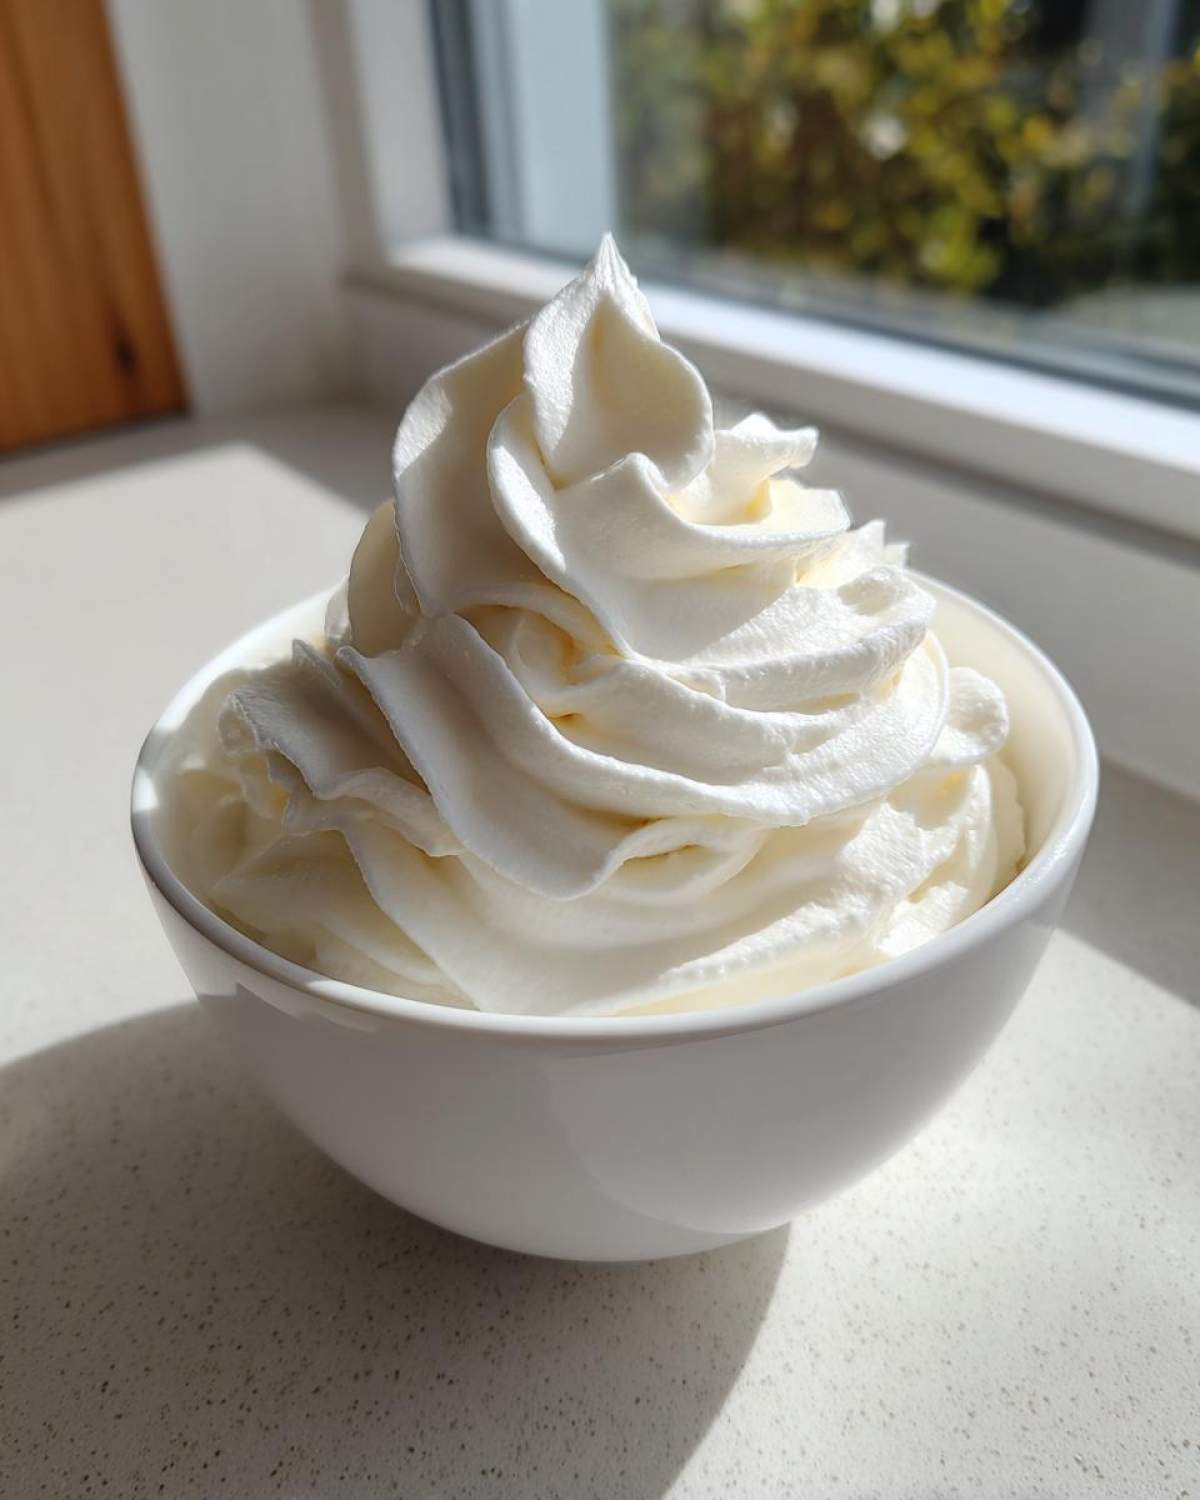
This is where most people get tripped up, but it’s easy once you know the secret! For outlining your beautiful designs—the stuff you need to hold its shape perfectly—you want that stiff consistency right after you finish whipping. If it’s too thick, add water just a teaspoon at a time.
Now, for filling in those outlines (which we call flooding), you need it thinner. To test for the perfect flood consistency, pick up some icing on a spoon and drizzle it back into the bowl. If the ribbon mark disappears back into the main batch in about 10 seconds, you’re golden! If it takes longer, add a tiny bit more water. It’s all about that gentle flow. If you’re coloring it, do it now, mixing gently so you don’t knock out all that precious air we just whipped in!
Drying Time for Stackable Cookie Icing Instructions
Once the icing is on your beautiful, completely cooled cookies, you have to have patience. This is crucial for any **hard icing for sugar cookies**. You can’t rush the drying. Spread your cookies out on a cooling rack or a cookie sheet lined with parchment paper. Make sure they are uncovered so the air can circulate around them.
If the air is dry, you might be able to stack them carefully after about 4 to 6 hours. But honestly? If these are for gifting or piling into a tin like I plan to do, I just leave them out overnight. By morning, they will be totally set, hard, and ready for packaging without a single smudge in sight!
If you need quick tips on how to get that initial piping done easily, definitely check out this guide on easy stiff icing for cut out cookies.
Tips for Success with Powdered Sugar Icing That Dries Hard
Even with the perfect formula, a few little tricks can take your sugar cookie icing that hardens from good to absolutely flawless! My biggest battle early on was dealing with tiny air bubbles popping up right on the surface, ruining my smooth flood layer. It drives me nuts!
If you notice bubbles forming while you mix, don’t panic! Gently tap the bowl a few times right on the counter before you start decorating. It sounds silly, but it releases those trapped pockets of air. Also, when you’re coloring the icing later, try to mix gently so you don’t whip new air in there!
Now, about storage—this is important for any powdered sugar icing that dries hard. Never, ever put leftover royal icing in the fridge. Seriously, don’t do it! It makes the icing weep moisture when it comes back to room temperature, and your hard shell will get soggy. Store any extras in an airtight container right on the counter for up to two days. For more guaranteed success, you might want to bookmark this handy guide on a no-fail cookie icing recipe for future reference!
Troubleshooting Common Issues with Sugar Cookie Icing That Hardens
Even when you follow the rules, sometimes cookies are just tricky, right? Don’t worry if your first batch of the sugar cookie icing that hardens doesn’t turn out absolutely perfect. I’ve made every single one of these mistakes over the years! The most common complaint I hear is, “Why won’t my icing harden?”
Nine times out of ten, if your icing is refusing to set firm, it means somewhere along the line, you added just a little too much liquid. Humidity plays a role too, especially if it’s raining outside! If the icing stays soft and peels off when you touch it hours later, try scraping that batch back into the mixer and whipping in just a tablespoon of sifted powdered sugar at a time until it stiffens up again. Alternatively, if the icing cracks while drying, it was likely too stiff to begin with, or you iced the cookies when they were still warm from the oven—oops!
Why Is My Icing Too Gritty?
Nothing ruins the beautiful, glossy look faster than grit, and trust me, I’ve had gritty icing! This almost always means you skipped sifting the powdered sugar. Those little clumps of dry sugar just won’t dissolve into the wet ingredients, no matter how long you beat it. If your icing feels grainy on your fingertip test, stop mixing, grab your sifter, and gently re-sift the mixture right over the bowl. Then, give it a quick final mix on low speed. It sounds like backtracking, but it saves the whole batch!
Dealing with Icing That Cracks While Drying
If you check back in an hour and see spidery cracks forming across your beautifully flooded cookies, that’s a sign of tension in the icing layer. This usually means the icing was mixed way too stiffly, or you added too much meringue powder relative to the sugar. When it tries to shrink as it dries but doesn’t have enough give, it cracks!
For the best results next time, make sure you nail that flooding consistency—the 10-second ribbon test is your best friend! If you notice small cracks appearing on a batch you’ve already iced, you can sometimes patch it up once it’s a little firm by applying a second, thinner coat of icing right over the top. It blends surprisingly well, especially if you look at the guide for smooth drying cookie icing after the first disaster.
Serving Suggestions for Your Beautifully Decorated Cookies
Now that you have this incredible, durable sugar cookie icing that hardens, the possibilities are literally endless! Because this royal icing dries so firm and glossy, it really elevates whatever base you put it on. You absolutely have to try it on classic sugar cookies, especially around Christmas. That crackle finish on a crisp, buttery cookie is just unbeatable for stacking in tins for neighbors or coworkers.
But don’t stop there! This icing is fantastic for making those pretty, detailed iced designs on gingerbread cookies, too, since it locks everything in place. I even used a thinner version of this recipe when doing a fun, colorful geometric pattern on a giant, soft sugar cookie base. If you’re looking for a great base recipe to show off your newly hardened icing skills, you should totally check out the recipe for a fruit pizza sugar cookie—imagine topping a giant, soft cookie with this gorgeous, hard-set glaze!
Since this base recipe doesn’t require baking after icing, it’s the ultimate tool for making gorgeous, detailed cookies meant for gifting or even using as edible cookie favors at parties. Just make sure those cookies are totally cool before you start outlining, or you’ll end up with runny puddles instead of crisp edges!
Frequently Asked Questions About Durable Cookie Frosting Tutorial
I gathered some of the most common questions I always get asked about this **royal icing recipe for cookies that dries hard**. You guys are always asking if you can use it on gingerbread, and yes, you totally can! Since this icing dries firm and strong, it’s perfect for gluing pieces of gingerbread houses together or creating thick trim on holiday cookies. It’s so sturdy, which is why it’s the best hard icing for sugar cookies.
Another big one is storage! How long does this stuff actually last? As long as you keep it airtight and at room temperature, it stays good for quite a while—usually about two weeks, especially if you used meringue powder. I wouldn’t use it past that, though, because the texture can start to change a little bit.
Can I leave this icing uncovered overnight?
You can leave it uncovered while it’s drying on the cookies—this is actually necessary for that hard shell to form! But if you have leftover icing in a bowl, absolutely cover it tightly with plastic wrap pressed right onto the surface. Otherwise, the top layer will skin over and become unusable. You want that smooth, beautiful finish, not a crusty mess!
What is the difference between this and simple powdered sugar icing that dries hard?
That’s a great question, and it digs into the real chemistry of baking! A simple icing made just with powdered sugar and milk or lemon juice usually dries somewhat hard, yes, but it often remains brittle or slightly soft underneath, meaning it shatters easily or still feels a tiny bit tender. This recipe includes meringue powder, which creates the protein structure that leads to that true, shatter-resistant, **glossy cookie icing recipe** finish you see in bakeries.
If you’re serious about bakery-level results, checking out this guide on bakery style sugar cookie icing might give you some extra professional context!
How do I prevent air bubbles when mixing for a smooth drying cookie icing?
I mentioned tapping the bowl, but here’s a bit more detail! When you’re mixing, especially on high speed, the mixer blade churns air into the icing. This is great for making it stiff, but bad for detail work. Once you’ve reached your final thinning for flooding consistency, stop the mixer. Wait about five minutes, and you’ll see little bubbles rise to the surface. Gently pop those bubbles with the tip of a butter knife or a small toothpick. Do this a couple of times, and your surface will be incredibly smooth!
Storage & Reheating Instructions for Leftover Sugar Cookie Icing That Hardens
This is so important if you want to save your leftovers! To keep your **sugar cookie icing that hardens** ready for your next batch, you must store it correctly. Please, please do not put it in the fridge; I learned that lesson the hard way, and it leads to weeping! Instead, scoop any leftover icing into a truly airtight container and press a piece of plastic wrap right against the surface before sealing the lid.
It stays fresh at room temperature–out of direct sunlight–for about two weeks. And just to be clear, since this isn’t a buttercream, you can’t reheat it to soften it up again. If it gets too firm later, you just thin it with a teaspoon of water and re-whip it very gently!
Estimated Nutritional Data for This Hard Icing Recipe
So, here’s the deal with nutrition when it comes to our beautiful, shell-like royal icing. While this icing is all about turning a simple powdered sugar glaze into something truly special, it’s definitely a treat, not a health food! I pulled together the estimates based on the recipe yields, but always remember that these numbers are just a starting point.
Since the final consistency depends on how much liquid *you* add—and we all know I sometimes get distracted and add an extra half teaspoon of water—the exact mineral and calorie count can shift slightly! But for general planning, especially if you’re making these for a school event or need to log something, here are the approximate figures per serving (which we decided was about 1/4 cup of icing).
- Serving Size: 1/4 cup icing
- Calories: 180
- Sugar: 45 grams (Yep, it’s sweet!)
- Sodium: 5 mg
- Fat: 0 grams
- Carbohydrates: 45 grams
- Protein: 1 gram
As you can see, it’s mostly sugar from the powdered sugar, which is what gives us that amazing structure when it dries hard! Enjoy these gorgeous cookies guilt-free, knowing you used the most stunning, durable icing possible!
Print
Foolproof Royal Icing Recipe: The Sugar Cookie Icing That Hardens Perfectly Every Time
- Total Time: 15 min
- Yield: Covers approximately 3 dozen medium cookies
- Diet: Vegetarian
Description
This recipe provides instructions for making royal icing that dries hard and firm, creating a durable, glossy finish perfect for decorating, stacking, and gifting sugar cookies.
Ingredients
- 4 cups powdered sugar, sifted
- 3 tablespoons meringue powder
- 1/2 teaspoon vanilla extract
- 6 to 8 tablespoons warm water
Instructions
- Sift the powdered sugar into a large bowl.
- Add the meringue powder to the sifted sugar and whisk to combine thoroughly.
- Add the vanilla extract and 6 tablespoons of warm water to the dry ingredients.
- Mix on low speed with an electric mixer until just combined.
- Increase the speed to medium-high and beat for 5 to 7 minutes until the icing is smooth, glossy, and holds stiff peaks. This is your stiff consistency icing.
- If the icing is too thick, add the remaining water, one teaspoon at a time, until you reach the desired consistency.
- For outlining, use the stiff consistency. For flooding, thin the icing further by adding water, one teaspoon at a time, until it flows off a spoon in a ribbon that disappears back into the surface in about 10 seconds.
- Color the icing using gel food coloring, if desired, mixing well to incorporate.
- Apply the icing to cooled cookies. Let the icing dry completely at room temperature, uncovered, for several hours or overnight until it is hard to the touch.
Notes
- For a very hard, glossy finish, use the minimum amount of liquid required for your desired thickness.
- If you need to store leftover icing, place it in an airtight container at room temperature for up to two days. Do not refrigerate, as this can cause the icing to weep.
- If the icing develops air bubbles during mixing, gently tap the bowl on the counter a few times to release them before using.
- Prep Time: 15 min
- Cook Time: 0 min
- Category: Dessert Component
- Method: Mixing
- Cuisine: American
Nutrition
- Serving Size: 1/4 cup icing
- Calories: 180
- Sugar: 45
- Sodium: 5
- Fat: 0
- Saturated Fat: 0
- Unsaturated Fat: 0
- Trans Fat: 0
- Carbohydrates: 45
- Fiber: 0
- Protein: 1
- Cholesterol: 0


Comments are closed.