

Skeleton Bone Breadsticks: A Spooky Halloween Delight
Get ready for some Halloween fun! These Skeleton Bone Breadsticks are a total blast. They look so cool. Plus, they’re super easy to whip up. Your guests will love them. Kids especially go wild for these. They’re perfect for any Halloween party. Let’s make some festive treats together!
Why You’ll Love These Skeleton Bone Breadsticks
These breadsticks are a winner for so many reasons. They’re incredibly fun for kids. They make baking a spooky adventure. Plus, they’re really simple to make. You won’t spend hours in the kitchen. They’re the perfect addition to your Halloween spread. Everyone will ask for the recipe!
My Personal Touch: A Taste of Tradition for Halloween
Growing up in Italy, Halloween wasn’t a huge thing. But my grandmother always loved making fun shapes. She’d make little bread animals. I remember her hands, dusted with flour. She’d laugh as we tried to guess what it was. This year, I wanted to bring that same joy. Making these skeleton bone breadsticks feels like a nod to her. It’s about creating happy memories. It’s family fun in every bite. This recipe is my way of sharing that magic with you.
Gathering Your Skeleton Bone Breadsticks Ingredients
Let’s get our kitchen ready. We need a few simple things for these fun treats. Don’t worry, they are all easy to find. Having everything ready makes baking a breeze. This recipe is straightforward. It’s perfect for a busy Halloween season. You’ll be amazed at how quickly these come together. Let’s gather our supplies.
Essential Dry Ingredients for Skeleton Bone Breadsticks
First, we need our dry goods. You’ll need 3 cups of all-purpose flour. This is the base for our dough. Make sure your flour is fresh. Salt is also key. Just 1 teaspoon of salt is perfect. It adds flavor. It also helps control the yeast. For a little extra flair, you can have sesame seeds or poppy seeds ready. These are optional. They add a nice crunch. They also look pretty on top.
The Wet Ingredients for Your Skeleton Bone Breadsticks
Now for the wet ingredients. These wake up our dough. We start with the yeast. Use 2 1/4 teaspoons of active dry yeast. It needs a little sugar too. Just 1 teaspoon of granulated sugar. Mix these with 1 cup of warm water. The water should be between 105-115°F. It feels warm, not hot. Let this sit for 5-10 minutes. You’ll see it get foamy. That means your yeast is alive! Then, add 2 tablespoons of olive oil. Olive oil makes the dough tender. It adds a lovely richness too.
For the Perfect Skeleton Bone Breadsticks Finish
To get that beautiful golden color, we’ll use an egg wash. Just beat one large egg. Brush this gently over the shaped breadsticks. This gives them a lovely sheen. It also helps seeds stick. If you’re using seeds, sprinkle them on now. Sesame seeds or poppy seeds work well. They add a little texture. They also look like little bones. This final step makes them extra special.
Crafting Your Skeleton Bone Breadsticks: Step-by-Step
Now for the fun part! We’ll turn simple ingredients into spooky delights. Follow these steps closely. They are easy to manage. You’ll have amazing breadsticks soon.
Activating the Yeast for Skeleton Bone Breadsticks
First, let’s wake up our yeast. Grab a small bowl. Pour in 1 cup of warm water. The water should be 105-115°F. It should feel warm to your touch. Add 2 1/4 teaspoons of active dry yeast. Sprinkle in 1 teaspoon of sugar. Give it a gentle stir. Let this mixture sit for 5 to 10 minutes. You’ll see it get nice and foamy. This is your sign. It means the yeast is alive and ready to work its magic.
Mixing and Kneading Your Skeleton Bone Breadstick Dough
In a big bowl, whisk together 3 cups of all-purpose flour and 1 teaspoon of salt. This is our dry base. Now, pour in the olive oil and the foamy yeast mixture. Mix everything together until a shaggy dough forms. It might seem a bit messy at first. Turn the dough onto a clean, lightly floured surface. Start kneading. Do this for about 5 to 7 minutes. You want the dough to feel smooth and elastic. It should spring back a little when you poke it.
The First Rise: Letting Your Skeleton Bone Breadsticks Dough Rest
Lightly oil a clean bowl. Place your kneaded dough inside. Turn it over so the top is also lightly oiled. This prevents drying. Cover the bowl tightly with plastic wrap. Find a warm spot in your kitchen. Let the dough rest there for about 1 hour. It should double in size. This rise is crucial. It gives the breadsticks their lovely texture.
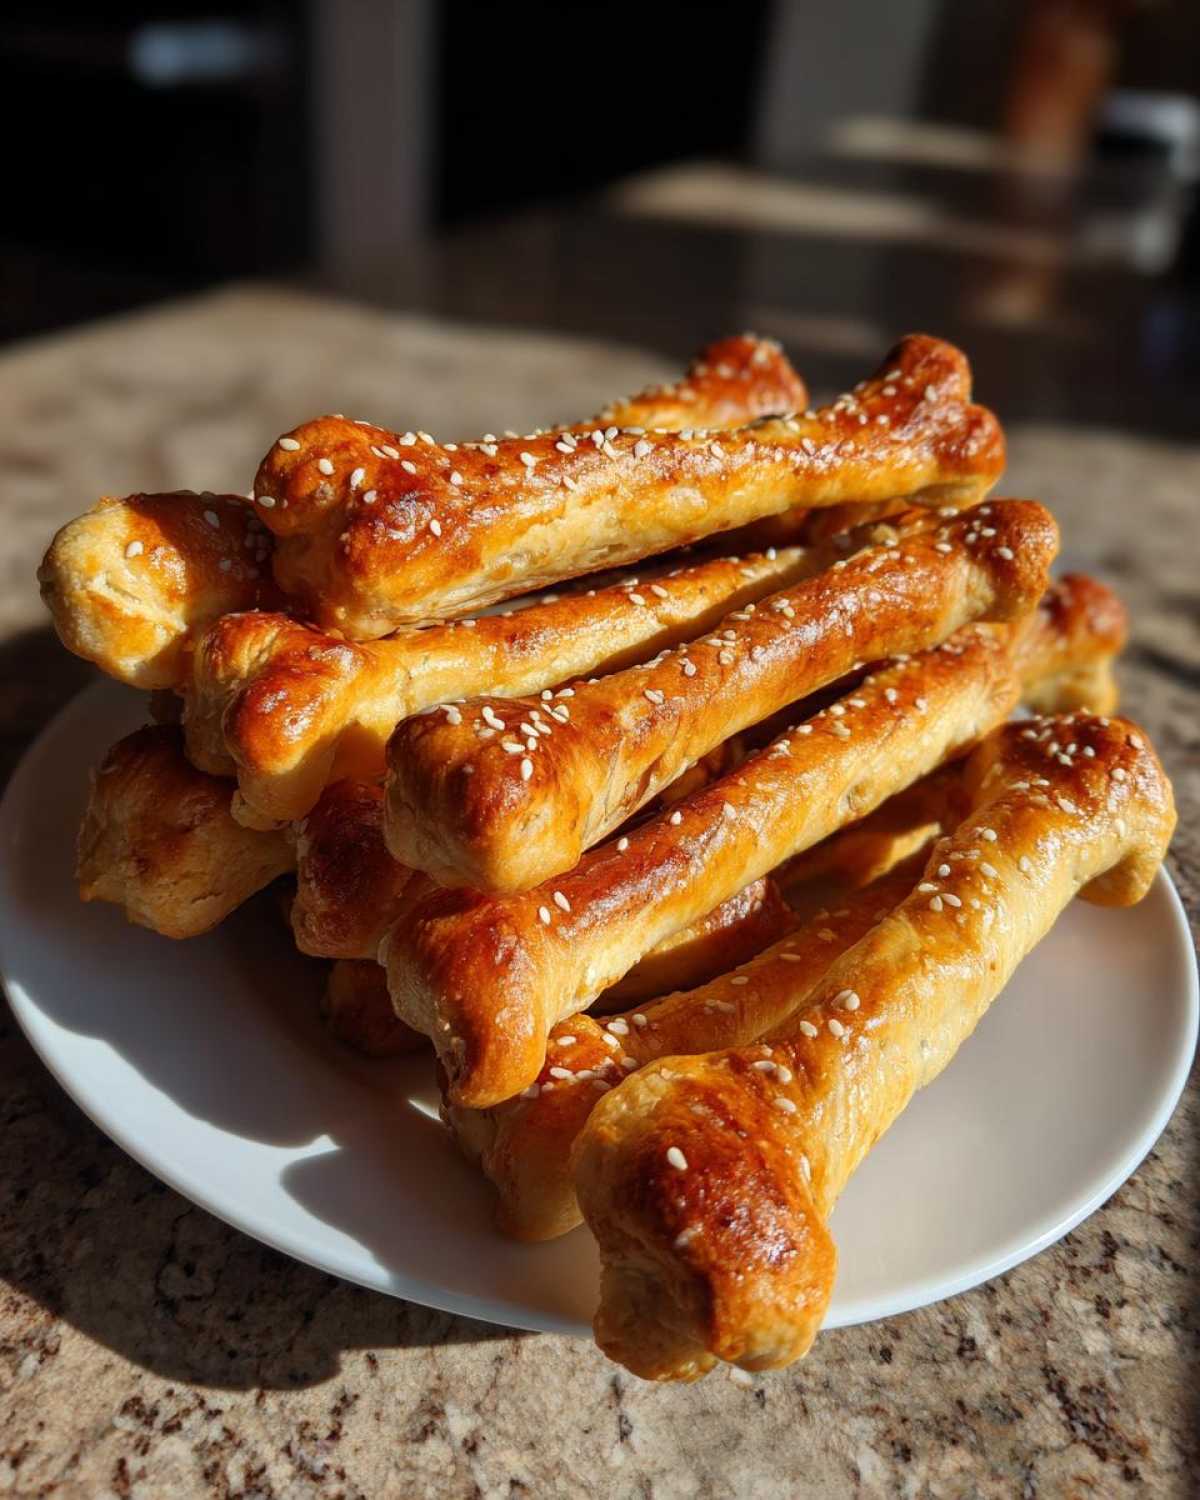
Shaping the Skeleton Bone Breadsticks
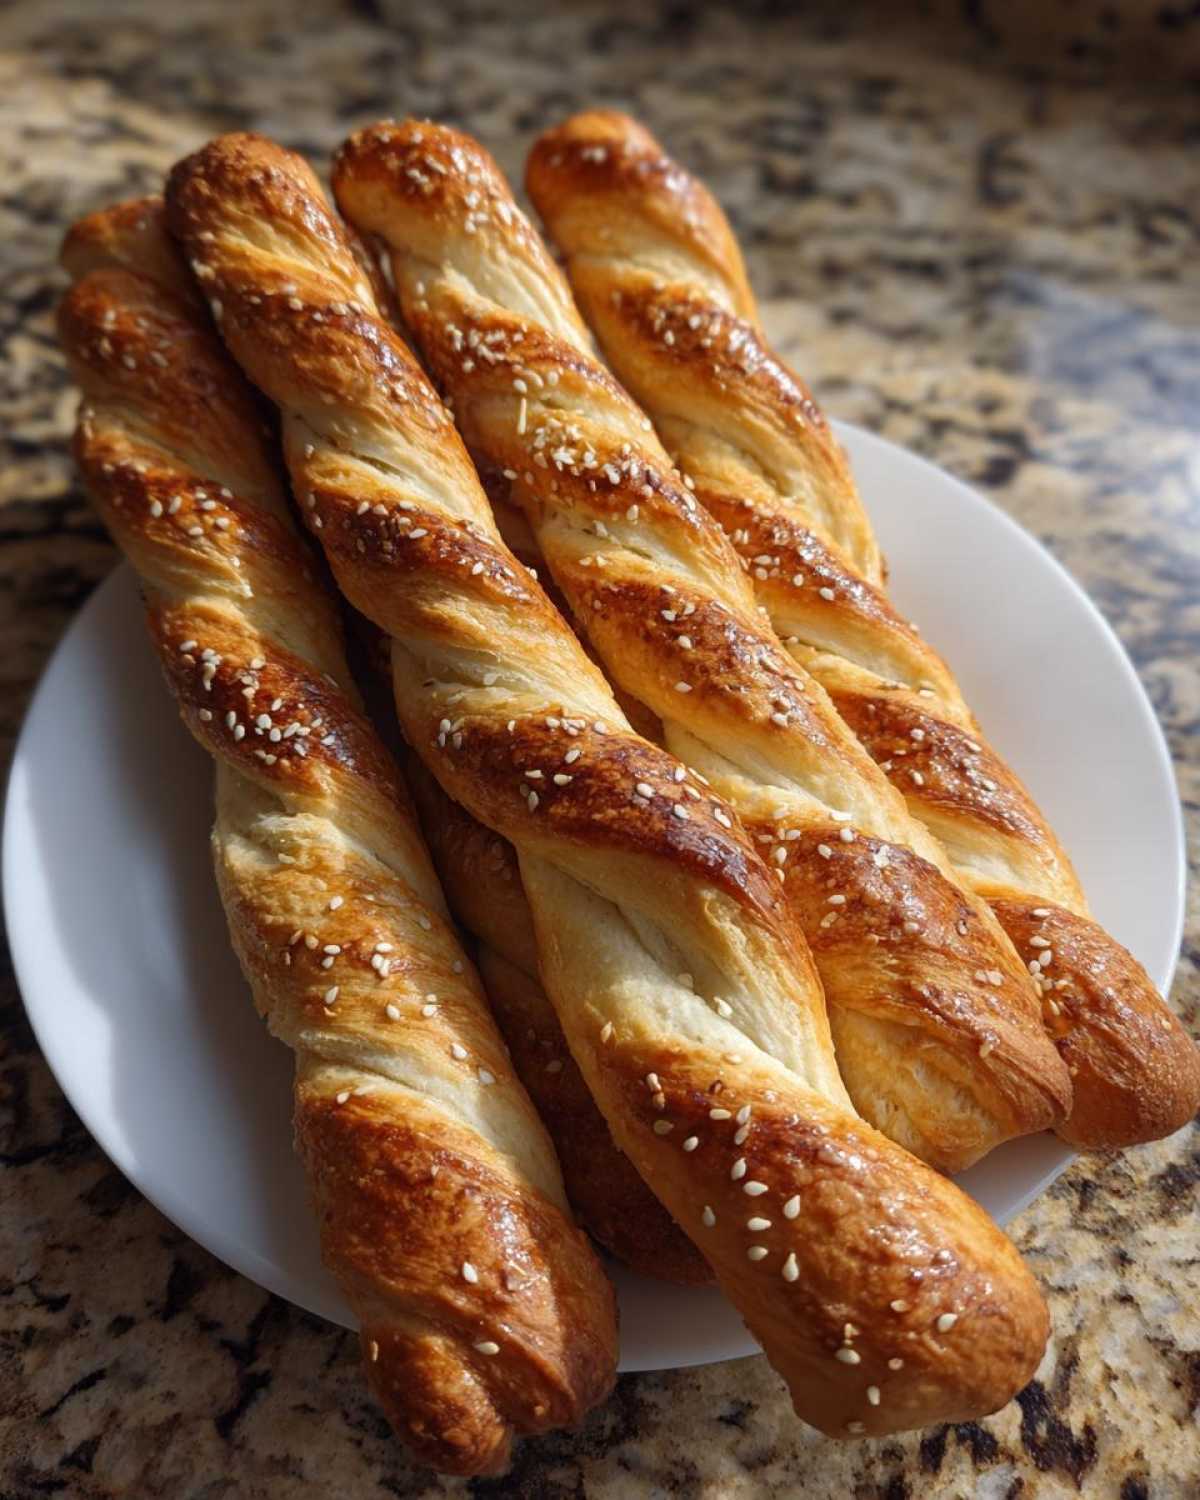
Once the dough has risen, gently punch it down. This releases the air. Divide the dough into equal pieces. Aim for around 12 to 16 portions. Take one piece. Roll it into a long, thin rope. Make it about 8-10 inches long. Now, shape it like a bone. Taper both ends. You can gently curve the middle a bit. Place the shaped breadsticks onto your prepared baking sheets. Leave a little space between them.

The Second Rest and Preparing for Baking
Cover the shaped breadsticks loosely with plastic wrap. Let them rest again. This second rest takes about 15 to 20 minutes. It helps them puff up a bit more. While they rest, preheat your oven. Set it to 400°F (200°C). Line your baking sheets with parchment paper. This stops sticking. It also makes cleanup super easy.
Baking Your Skeleton Bone Breadsticks to Golden Perfection
Now, get your egg wash ready. Beat one large egg in a small bowl. Gently brush this over the top of each breadstick. This gives them a beautiful golden color. It also helps seeds stick. If you’re using seeds, sprinkle them on now. Sesame seeds or poppy seeds look great. Bake the breadsticks for 12 to 15 minutes. Watch them closely. They should be golden brown. They should also be cooked through. Let them cool slightly before serving.

Tips for Perfect Skeleton Bone Breadsticks Every Time
Making these spooky treats is fun. A few little tips make them even better. You want perfect results every time. Let’s talk about getting them just right. Follow these simple guides.
Flavor Variations for Your Skeleton Bone Breadsticks
Want to jazz up your breadsticks? It’s easy! Add a pinch of garlic powder to the dough. Italian seasoning also works wonders. Just a teaspoon adds so much flavor. It makes them savory and delicious. These little additions elevate the taste. Your guests will be asking for more!
Serving Your Spooky Skeleton Bone Breadsticks
These breadsticks are best served warm. They are perfect for dipping. Try them with a marinara sauce. Garlic butter is another great option. The warm, soft breadstick is lovely. Dipping adds extra flavor. They are a hit at any Halloween gathering. Kids and adults both adore them.
Frequently Asked Questions About Skeleton Bone Breadsticks
Have a few questions about these spooky treats? I’ve got answers for you! Making fun Halloween food should be stress-free. Let’s clear up any confusion.
Can I make these Skeleton Bone Breadsticks ahead of time?
Yes, you absolutely can! You can prepare the dough and let it rise. Then, cover and refrigerate it overnight. Just let it sit at room temperature for about 30 minutes before shaping. You can also shape the breadsticks and place them on the baking sheet. Cover them well and refrigerate. Bake them when you’re ready. They might need a few extra minutes in the oven.
What if my dough doesn’t rise?
Don’t panic if your dough seems flat! First, check your yeast. Is it fresh? Old yeast won’t activate. Also, double-check your water temperature. If it was too hot, it killed the yeast. If it was too cool, it didn’t wake it up. Try again with fresh yeast and the right water temp. A warm place is best for rising. Near a preheating oven works well.
Are these Skeleton Bone Breadsticks vegetarian?
Yes, these bone-shaped breadsticks are vegetarian! The dough itself contains no meat products. The egg wash is also vegetarian. So, you can enjoy these festive treats without worry. They are a great option for a crowd with different dietary needs. Enjoy your spooky baking!
Understanding the Nutrition of Skeleton Bone Breadsticks
Here’s a little note on nutrition. The values are estimates, of course. They can change based on your ingredients. Different brands might vary slightly too. Enjoy these fun treats!
Share Your Skeleton Bone Breadsticks Creations!
I truly hope you enjoy making these skeleton bone breadsticks. Did you try them? I’d love to see your spooky creations! Share your photos and experiences in the comments below. Tell me how they turned out for you. Your feedback inspires me so much!
Print
Gourmet Skeleton Bone Breadsticks: 12 amazing spooky treats
- Total Time: 1 hour 35 minutes
- Yield: 12-16 breadsticks
- Diet: Vegetarian
Description
Create fun and spooky Skeleton Bone Breadsticks for a quick Halloween treat. These easy-to-make breadsticks are shaped like bones and perfect for parties.
Ingredients
- 2 1/4 teaspoons active dry yeast
- 1 teaspoon granulated sugar
- 1 cup warm water (105-115°F)
- 3 cups all-purpose flour
- 1 teaspoon salt
- 2 tablespoons olive oil
- 1 egg, beaten (for egg wash)
- Sesame seeds or poppy seeds (optional, for garnish)
Instructions
- In a small bowl, combine the warm water, yeast, and sugar. Let it sit for 5-10 minutes until foamy.
- In a large bowl, whisk together the flour and salt.
- Add the olive oil and the yeast mixture to the flour mixture.
- Mix until a shaggy dough forms.
- Turn the dough out onto a lightly floured surface and knead for 5-7 minutes until smooth and elastic.
- Place the dough in a lightly oiled bowl, cover with plastic wrap, and let it rise in a warm place for about 1 hour, or until doubled in size.
- Preheat your oven to 400°F (200°C). Line baking sheets with parchment paper.
- Punch down the dough and divide it into equal portions.
- Roll each portion into a long, thin rope.
- Shape each rope into a bone shape, tapering the ends.
- Place the shaped breadsticks on the prepared baking sheets.
- Cover the breadsticks loosely with plastic wrap and let them rest for 15-20 minutes.
- Brush the breadsticks with the beaten egg wash.
- Sprinkle with sesame seeds or poppy seeds if desired.
- Bake for 12-15 minutes, or until golden brown and cooked through.
- Let cool slightly before serving.
Notes
- For a crispier breadstick, bake for a couple of extra minutes.
- Serve warm with your favorite marinara or garlic butter for dipping.
- You can add a pinch of garlic powder or Italian seasoning to the dough for extra flavor.
- Prep Time: 20 minutes
- Cook Time: 15 minutes
- Category: Appetizer
- Method: Baking
- Cuisine: American
Nutrition
- Serving Size: 1 breadstick
- Calories: 150
- Sugar: 2g
- Sodium: 200mg
- Fat: 4g
- Saturated Fat: 1g
- Unsaturated Fat: 3g
- Trans Fat: 0g
- Carbohydrates: 25g
- Fiber: 1g
- Protein: 4g
- Cholesterol: 10mg


Comments are closed.