

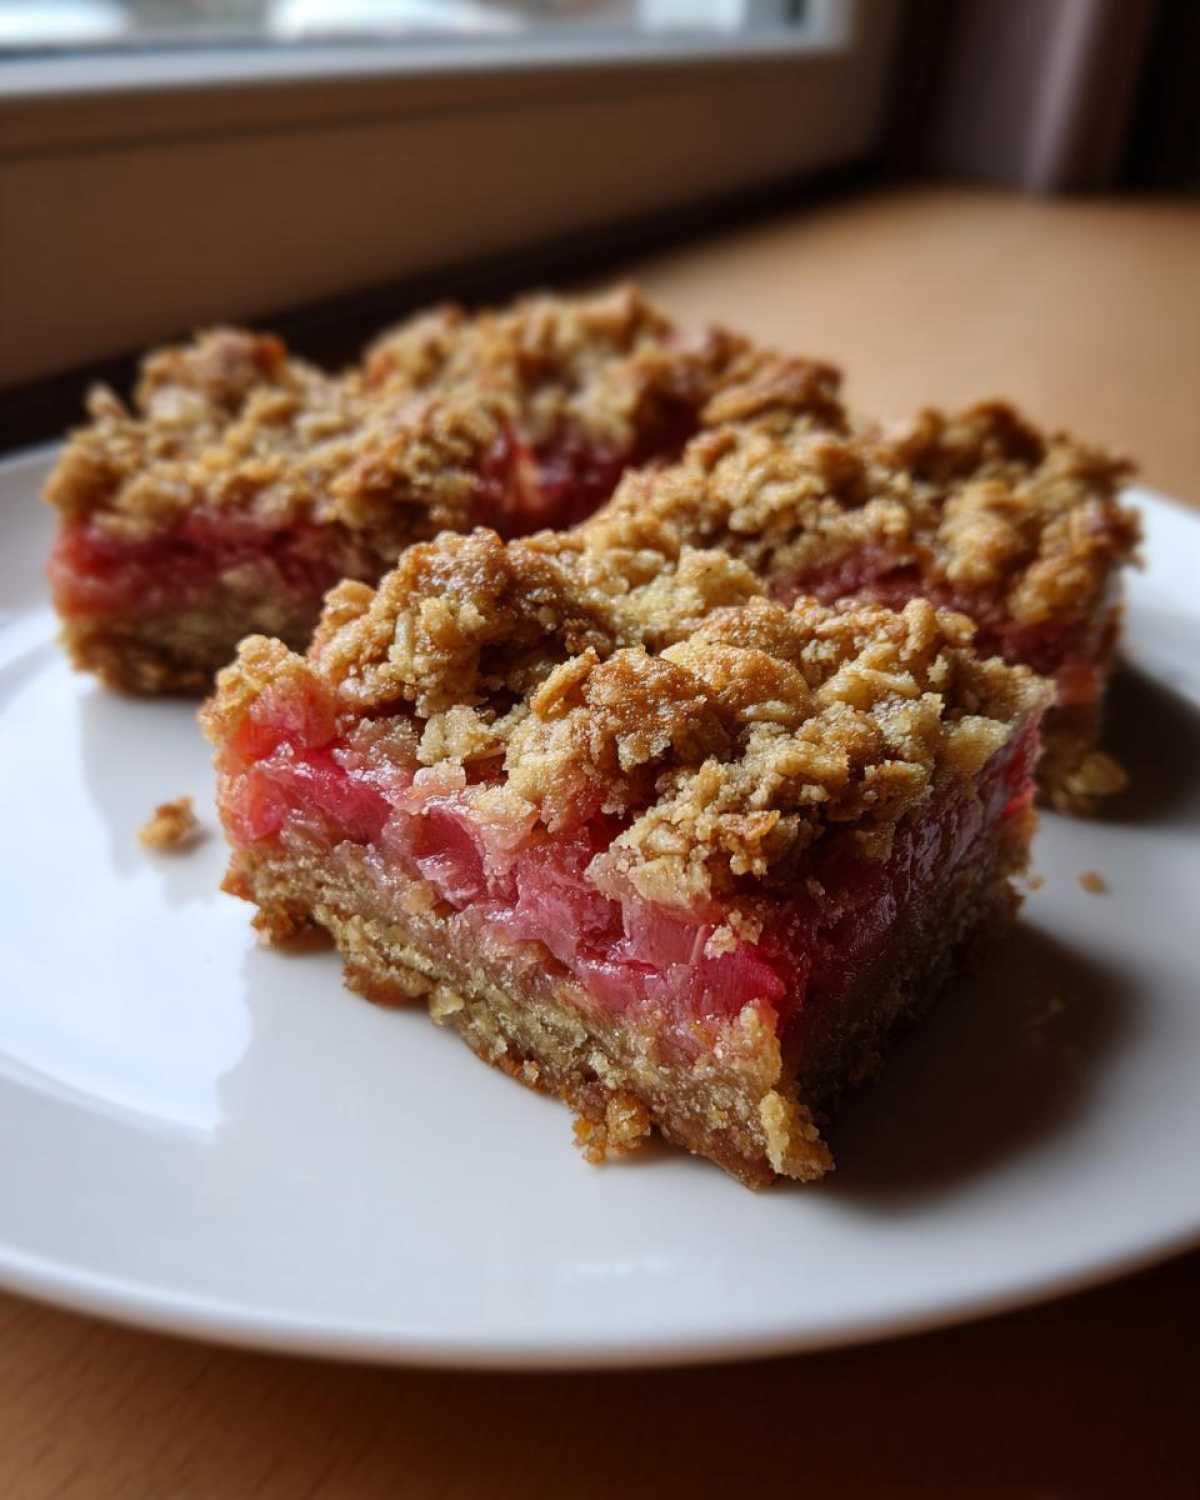
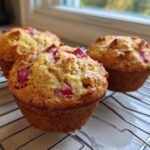
Oh my gosh, when spring finally hits and that first haul of shocking pink rhubarb shows up at the market, you know it’s time to bake! Forget fussy pies; I live for something you can grab right out of the pan. These **Rhubarb Oat Bars** are truly my go-to—they hit that absolute perfect note where the tart fruit filling meets this buttery, insanely chewy oat base and topping. Trust me when I say this recipe is foolproof.
I’ve tried everything the internet throws at you, but the secret sauce here is using just enough cornstarch to manage the rhubarb’s legendary liquid output. It keeps the bottom from getting soggy, which is my biggest pet peeve with every other fruit bar recipe out there. We’re going for texture—a tender, hearty chew, not a sad, grainy crumble. These bars deliver every single time, making them my absolute favorite spring bake to bring around!
Why You Will Love These Rhubarb Oat Bars
I swear, if you only make one spring dessert this year, make it these. They just hit all the wonderful notes! I know you are going to adore them for so many reasons:
- They are incredibly simple—truly an easy rhubarb oat bars recipe that requires zero fancy skills.
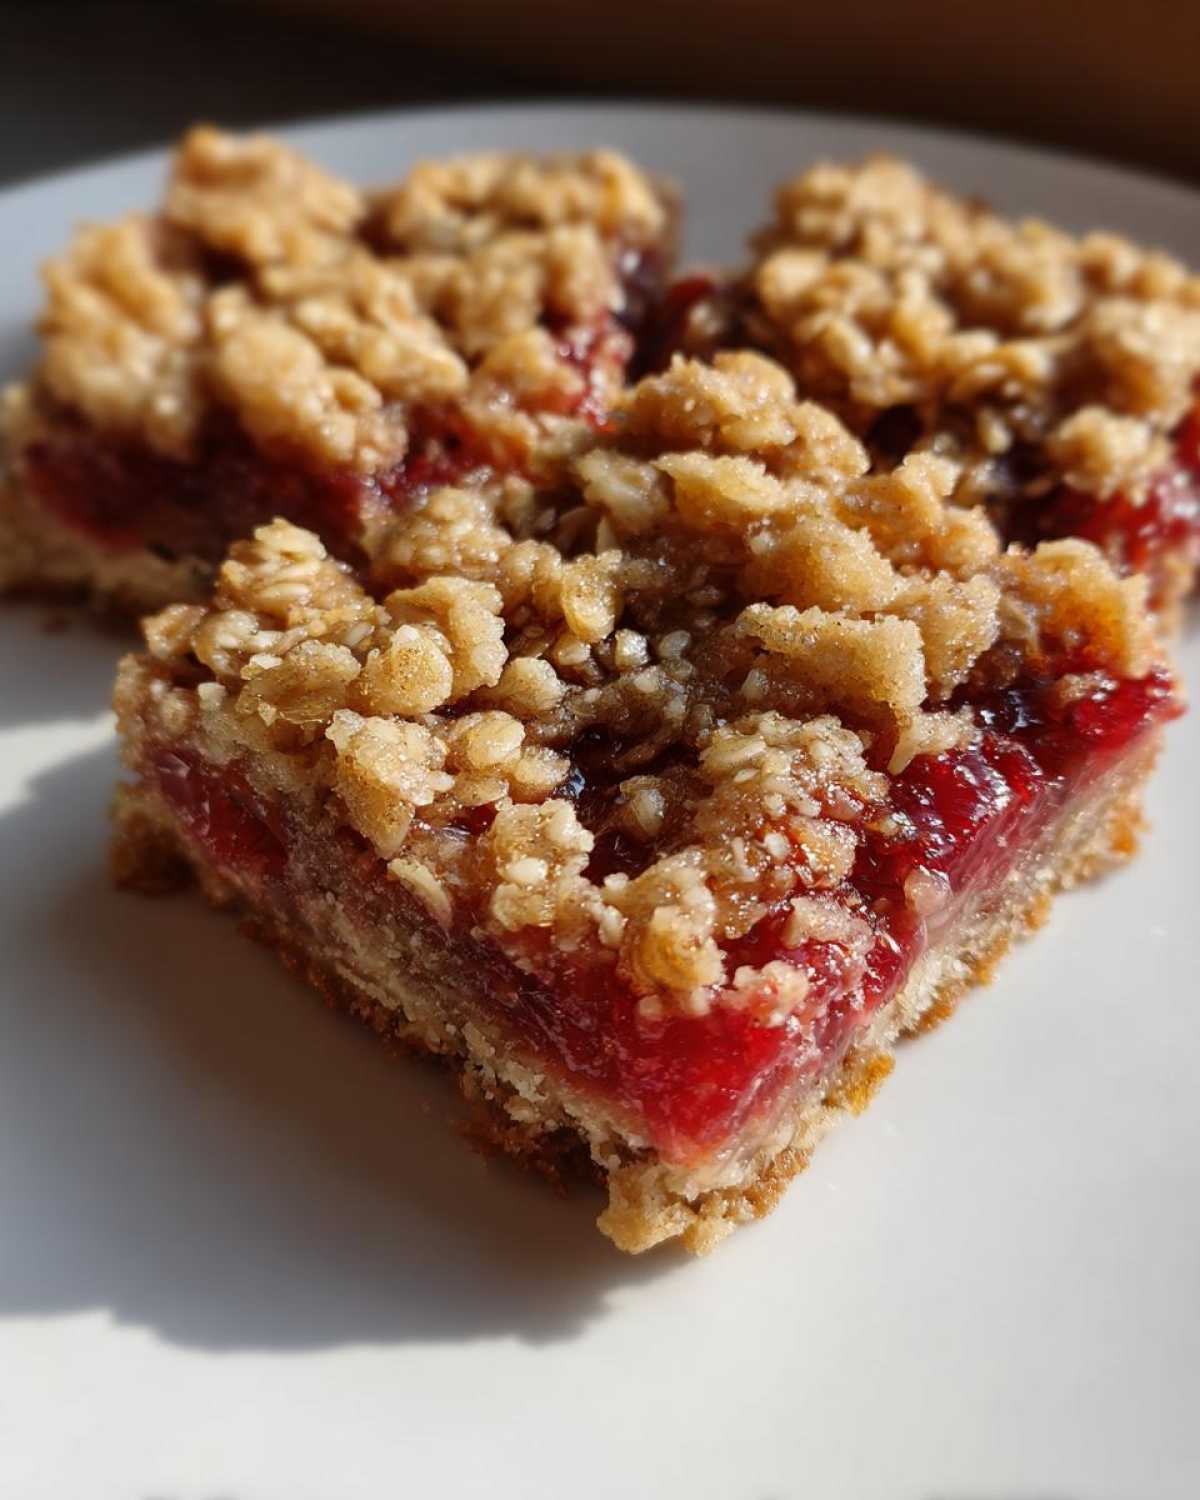
- The texture is perfection: a truly chewy baked oat bars base that holds up beautifully.
- That filling is perfectly sweet-and-tangy—zero bland fruit filling here!
- They pack up wonderfully, making them ideal for picnics or lunchboxes.
- They use simple pantry staples alongside that fresh, bright rhubarb flavor.
Honestly, they are my favorite thing to toss together when I have a big bag of rhubarb staring me down. You won’t regret it!
Essential Ingredients for Perfect Rhubarb Oat Bars
Alright, let’s talk about what makes this recipe sing. When you’re gathering your supplies for these Rhubarb Oat Bars, pay attention to the details, because that’s where the magic happens! I’ve listed everything out below so you can make sure you’ve got the right stuff before your oven even thinks about preheating.
- 1 1/2 cups all-purpose flour
- 1 cup rolled oats
- 1/2 cup packed light brown sugar
- 1/2 teaspoon baking soda
- 1/4 teaspoon salt
- 1/2 cup (1 stick) cold unsalted butter, cut into pieces (for the base)
- 1 large egg
- 1 teaspoon vanilla extract
- 3 cups chopped fresh rhubarb (about 1 inch pieces)
- 1/2 cup granulated sugar (for filling)
- 2 tablespoons cornstarch
- 1 teaspoon ground ginger
- 1/4 cup cold butter, cut into small pieces (for topping)
- 1/4 cup rolled oats (for topping)
- 1/4 cup packed light brown sugar (for topping)
Now, listen closely to this one tip that makes all the difference to the texture: You HAVE to use old-fashioned rolled oats! Quick oats dissolve too much and you end up with a paste rather than that lovely, hearty chew we are aiming for in our base and crumble topping. That texture is non-negotiable for the best oat bar texture!
Ingredient Notes and Substitutions for Rhubarb Oat Bars
Because everyone’s pantry is different, I want to make sure you feel confident substituting where you need to. If you’re going gluten-free, swapping that all-purpose flour out for a good 1-to-1 baking blend works like a charm. Remember, rhubarb varies hugely in its tartness from year to year, so don’t be afraid to bump that filling sugar up to 2/3 cup if your rhubarb is looking particularly mouth-puckering sharp. These Rhubarb Oat Bars are super adaptable, but the base butter really needs to stay cold to keep everything nice and crumbly!
Equipment Needed for Your Rhubarb Oat Bars
Before you even think about chopping that first stalk of rhubarb, let’s make sure your kitchen is set up for success. I always find that if I have everything ready to go, the actual baking part feels like a breeze! You don’t need much fancy gear, thankfully.
For these Rhubarb Oat Bars, you’ll want:
- An 8×8 inch square baking pan. This size is crucial for getting that perfect thickness, so don’t try to cram it into a 9×9!
- Parchment paper. This is my secret weapon for easy cleanup—make sure you leave an overhang on two sides so you can lift the whole slab out later.
- A large mixing bowl for your base.
- A smaller bowl for mixing that tart rhubarb filling.
- A pastry blender or two sturdy forks. If you have a stand mixer, great, but I usually just use my hands or the blender to cut that cold butter in.
- A silicone spatula or offset spatula for pressing the base and smoothing the filling.
That’s honestly it! Having your pan lined and your tools out means you can focus entirely on getting that perfect crumbly texture. You’ll be amazed how fast this comes together once you’re prepped!
Step-by-Step Instructions for Easy Rhubarb Oat Bars
Okay, this is the fun part! Knowing how to make rhubarb bars that stay chewy and delicious is all about timing the butter and layering correctly. I always tell everyone to look at this recipe in three parts: the base, the filling, and the topping crumb. Get those three textures right, and you win the baking lottery. Pay close attention to how we use the butter for the base versus the topping—they need to be handled differently! I’ve linked to a fantastic recipe later on if you ever want to try incorporating brown butter—wow, what a flavor boost! Check out this great brown butter crisp recipe for inspiration.
Preparing the Base and Topping for Rhubarb Oat Bars
First, get that oven humming at 350°F (175°C), and make sure that 8×8 pan is lined like a champion so you can lift those beautiful Rhubarb Oat Bars right out later. In a big bowl, mix your flour, oats, brown sugar, soda, and salt. Now, use your pastry blender—or just your fingertips if you get too warm—to cut in that cold butter until it looks like coarse sand. Stir in the egg and vanilla until it *just* comes together. Don’t over-mix this base, or it’ll lose its chew!
While the base is chilling slightly in the pan, mix up that tart filling—just toss the rhubarb with its sugar, cornstarch, and ginger in a separate bowl. For the topping, grab a clean, small bowl and use your fingers to mix the remaining cold butter chunks, oats, and brown sugar until you have a nice, shaggy crumble ready to go.
Assembling and Baking Your Rustic Fruit Crumble Squares
Now we build! Press that bottom mixture firmly and evenly into your prepared pan. You really want it compact so it doesn’t fall apart when you cut it. Next, pour that gorgeous, coated rhubarb filling right over the top and spread it out gently. Don’t worry if you squish the oat layer a bit; it’s supposed to be firm.
This is where the texture really defines itself: sprinkle that final topping evenly over the fruit. We want full coverage! Pop it into the oven for about 40 to 45 minutes. You are looking for the edges to start getting a deep golden brown, and you should see the fruit filling bubbling up slightly underneath that crumble. These rustic fruit crumble squares need to cool completely—and I mean completely—before you try to cut them cleanly. Patience is key here; cutting them warm results in a gooey mess!

Tips for Achieving the Best Rhubarb Oat Bars Texture
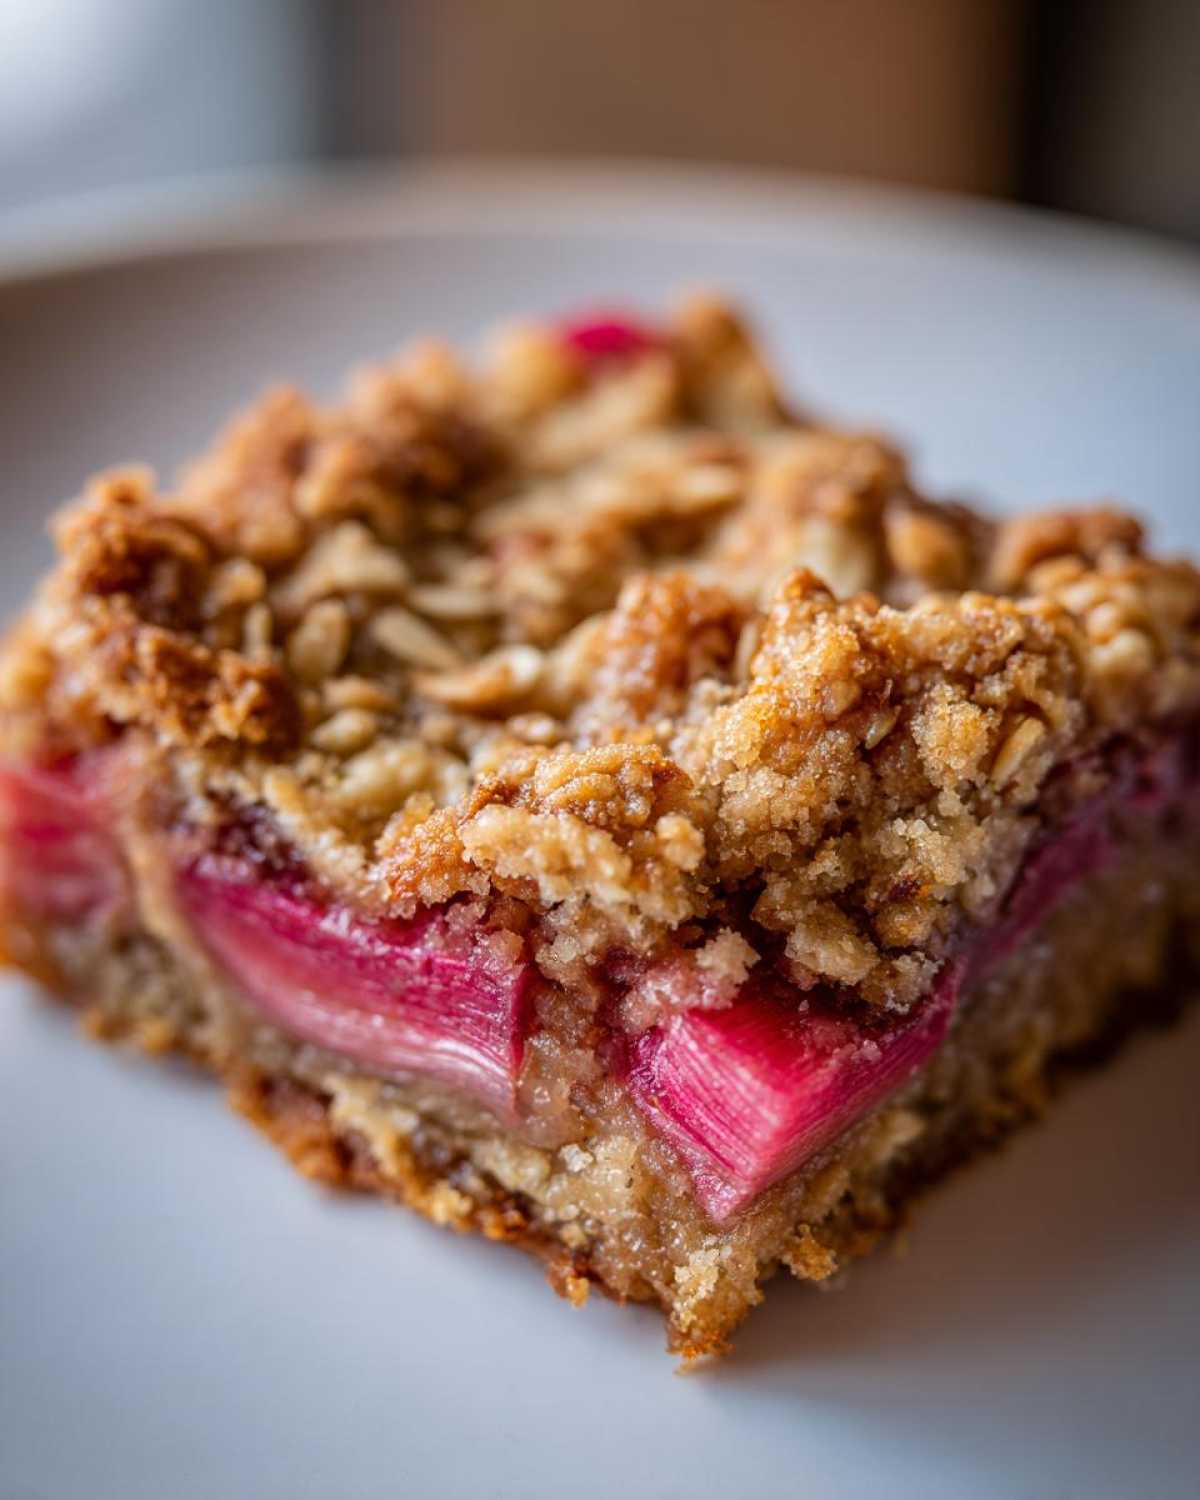
Getting that perfect, satisfying texture in these bars is what separates them from every other sad, dry bake out there. Remember, we are aiming for chewy on the bottom and crisp on top, not just a pile of loose crumbs. The biggest factor for the best oat bar texture usually comes down to temperature and moisture control.
Here are the few things I learned through trial and error that you absolutely must follow:
- Keep that base butter COLD: When you are cutting the butter into the base ingredients, work fast! If the butter melts even slightly, you get a greasy, dense bar instead of a nice, shortbread-like foundation. If your kitchen is hot, seriously, pop your flour mix in the freezer for five minutes first.
- Don’t skip the cornstarch: This isn’t just filler; it’s the moisture police! Rhubarb releases so much water when it heats up. That cornstarch grabs onto that liquid and turns it into a thick, jammy layer that won’t soak the base. It’s essential for a non-soggy bottom.
- The Egg Rule: While the recipe calls for an egg, I used to skip bringing it to room temperature. Now, I pull it out while I’m chopping the rhubarb. A slightly warmer egg incorporates much better into the base mixture without chilling down the butter, ensuring smoother blending.
- Patience for Cooling: I know, I know, the pull of warm, sweet-and-tangy fruit is strong. But you *must* wait for them to cool fully on the rack. If you slice them warm, the base crumbles apart and you lose that perfect structural integrity. Wait an hour, then slice!
Serving Suggestions for Your Sweet and Tangy Rhubarb Treats
Okay, now that you’ve waited what feels like a lifetime for these babies to cool, it’s time to serve them up! Honestly, these sweet and tangy rhubarb treats are wonderful all on their own, straight from the pan. They’re hearty enough to be a midday snack, but they absolutely shine when dressed up a little for dessert.
My absolute favorite way to serve them, especially when they are just perfectly set, is with a generous scoop of good quality vanilla bean ice cream. The creamy cold against the room-temperature, tart rhubarb filling? Heaven! If ice cream feels too much, a dollop of freshly whipped cream is just lovely. Oh, and if you’re feeling ambitious, you could whip up a drizzle using some cream cheese frosting like this incredible recipe I love—just thin it out a bit so it drizzles nicely over the oat topping. Don’t forget a hot cup of coffee for the morning after; they make the best breakfast treat!
Make Ahead and Storage for Your Rhubarb Oat Bars
One of the best things about these bars is that they are fantastic as a make ahead rhubarb dessert! Seriously, don’t even think about cutting these while they are warm—I know I promised patience earlier, but it bears repeating. They need to cool completely, which takes a few hours on the counter, before you can get nice, clean slices. Once cooled, I usually just keep them right there in the baking pan, covered tightly with plastic wrap, at room temperature for about three days. They stay wonderfully chewy!
If you need them to last longer, you can totally freeze them! Cut them into squares first, layer them between sheets of wax paper in a freezer-safe container, and they’ll keep beautifully for up to three months. Thaw them out on the counter, and they taste almost instantly as though they were just pulled from the oven.
Frequently Asked Questions About Rhubarb Oat Bars
I always get so many questions about these bars once people try them because they are just so addictive! Don’t worry if you’re wondering about swaps or freezing; I’ve tested all these scenarios myself. Here are the most common things people ask me about making the absolute best batch of Rhubarb Oat Bars.
Can I use frozen rhubarb instead of fresh?
Yes, you absolutely can, especially if you get a great deal on frozen rhubarb! The key here is that frozen fruit releases a ton more liquid than fresh. If you use frozen rhubarb, I strongly suggest skipping the extra liquid and adding an extra tablespoon of cornstarch to your filling mixture. Toss it straight from the freezer into the sugar and cornstarch—don’t thaw it first, or you’ll get soup!
What’s the best nut to add to these oat bars?
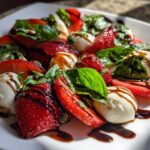
I love adding nuts, but since the recipe is so perfectly balanced without them, I treat them as an optional mix-in. If you are going to add them, pecans or toasted walnuts are just heavenly with that tart rhubarb. If you decide to toss some in, chop them coarsely and mix them right into the topping mixture with the last bit of butter and oats. It adds a gorgeous crunch! If you’re looking for more inspiration on pairing fruit flavors, you might like the combinations in this easy strawberry spinach pasta salad, which uses similar bright components.
Can I make these bars vegan or dairy-free?
You totally can! It’s super easy to adapt this recipe. For the dairy, just swap out the butter for a high-quality, plant-based baking stick (the stick kind, not the tub spread) that you can cut up cold. That works perfectly for both the base and the topping. Since the recipe only calls for one egg, you can substitute it with an egg replacer designed for binding, or use about two tablespoons of unsweetened applesauce. These make fantastic dairy-free squares!
How do I keep these bars from sticking to the bottom when I cut them?
If you followed the instructions and left those parchment paper ‘slings’ hanging over the sides of your 8×8 pan, you should be able to lift the entire cooled slab straight out. That’s the #1 trick! If you skip the parchment sling, you have to be patient and let them cool completely, then try using a very thin metal spatula around the edges before lifting. Remember, a slightly warm bar will always fight you!
Nutritional Estimates for Rhubarb Oat Bars
So, while these aren’t exactly ‘diet’ food—we are using real butter and brown sugar because they taste amazing, after all!—I wanted to give you a rough idea of what’s in one of these glorious squares. Please remember these numbers are just my best guess based on the ingredients listed. Your actual results will change depending on how tart your rhubarb is, the brand of butter you choose, or if you decide to sneak in those pecans!
This data is calculated assuming 16 equal squares are cut from the full 8×8 pan. When you’re planning meals, think of these as a wonderfully satisfying treat!
- Serving Size: 1 square
- Calories: Around 240
- Sugar: Roughly 18g
- Fat: About 12g
- Carbohydrates: 32g
- Protein: 3g
They do offer a little bit of fiber, which is nice, but mostly they are pure, delicious comfort you earned after wrestling with that spring harvest! Enjoy them!
Print
Classic Rhubarb Oat Crumble Bars
- Total Time: 65 min
- Yield: 16 squares
- Diet: Vegetarian
Description
A recipe for chewy oat bars with a tart rhubarb filling and a buttery crumble topping.
Ingredients
- 1 1/2 cups all-purpose flour
- 1 cup rolled oats
- 1/2 cup packed light brown sugar
- 1/2 teaspoon baking soda
- 1/4 teaspoon salt
- 1/2 cup (1 stick) cold unsalted butter, cut into pieces
- 1 large egg
- 1 teaspoon vanilla extract
- 3 cups chopped fresh rhubarb (about 1 inch pieces)
- 1/2 cup granulated sugar (for filling)
- 2 tablespoons cornstarch
- 1 teaspoon ground ginger
- 1/4 cup cold butter, cut into small pieces (for topping)
- 1/4 cup rolled oats (for topping)
- 1/4 cup packed light brown sugar (for topping)
Instructions
- Preheat your oven to 350°F (175°C). Line an 8×8 inch baking pan with parchment paper, leaving an overhang on two sides for easy removal.
- In a large bowl, combine the flour, 1 cup rolled oats, 1/2 cup brown sugar, baking soda, and salt for the base.
- Cut in the 1/2 cup cold butter using a pastry blender or your fingers until the mixture resembles coarse crumbs.
- Stir in the egg and vanilla extract until just combined. Press this mixture evenly into the bottom of the prepared pan to form the base.
- In a separate bowl, toss the chopped rhubarb with the granulated sugar, cornstarch, and ginger until the rhubarb is coated.
- Spread the rhubarb filling evenly over the oat base.
- In a small bowl, combine the remaining 1/4 cup oats, 1/4 cup brown sugar, and 1/4 cup cold butter. Use your fingers to mix until crumbly. Sprinkle this topping evenly over the rhubarb layer.
- Bake for 40 to 45 minutes, or until the topping is golden brown and the filling is bubbly.
- Let the bars cool completely in the pan on a wire rack before lifting out and cutting into squares.
Notes
- Use old-fashioned rolled oats for the best chewy texture in the base and topping.
- If your rhubarb is very tart, you may increase the filling sugar to 2/3 cup.
- For a gluten-free version, substitute the all-purpose flour with a 1-to-1 gluten-free baking blend.
- Prep Time: 20 min
- Cook Time: 45 min
- Category: Dessert
- Method: Baking
- Cuisine: American
Nutrition
- Serving Size: 1 square
- Calories: 240
- Sugar: 18g
- Sodium: 110mg
- Fat: 12g
- Saturated Fat: 7g
- Unsaturated Fat: 5g
- Trans Fat: 0g
- Carbohydrates: 32g
- Fiber: 2g
- Protein: 3g
- Cholesterol: 40mg
Comments are closed.