

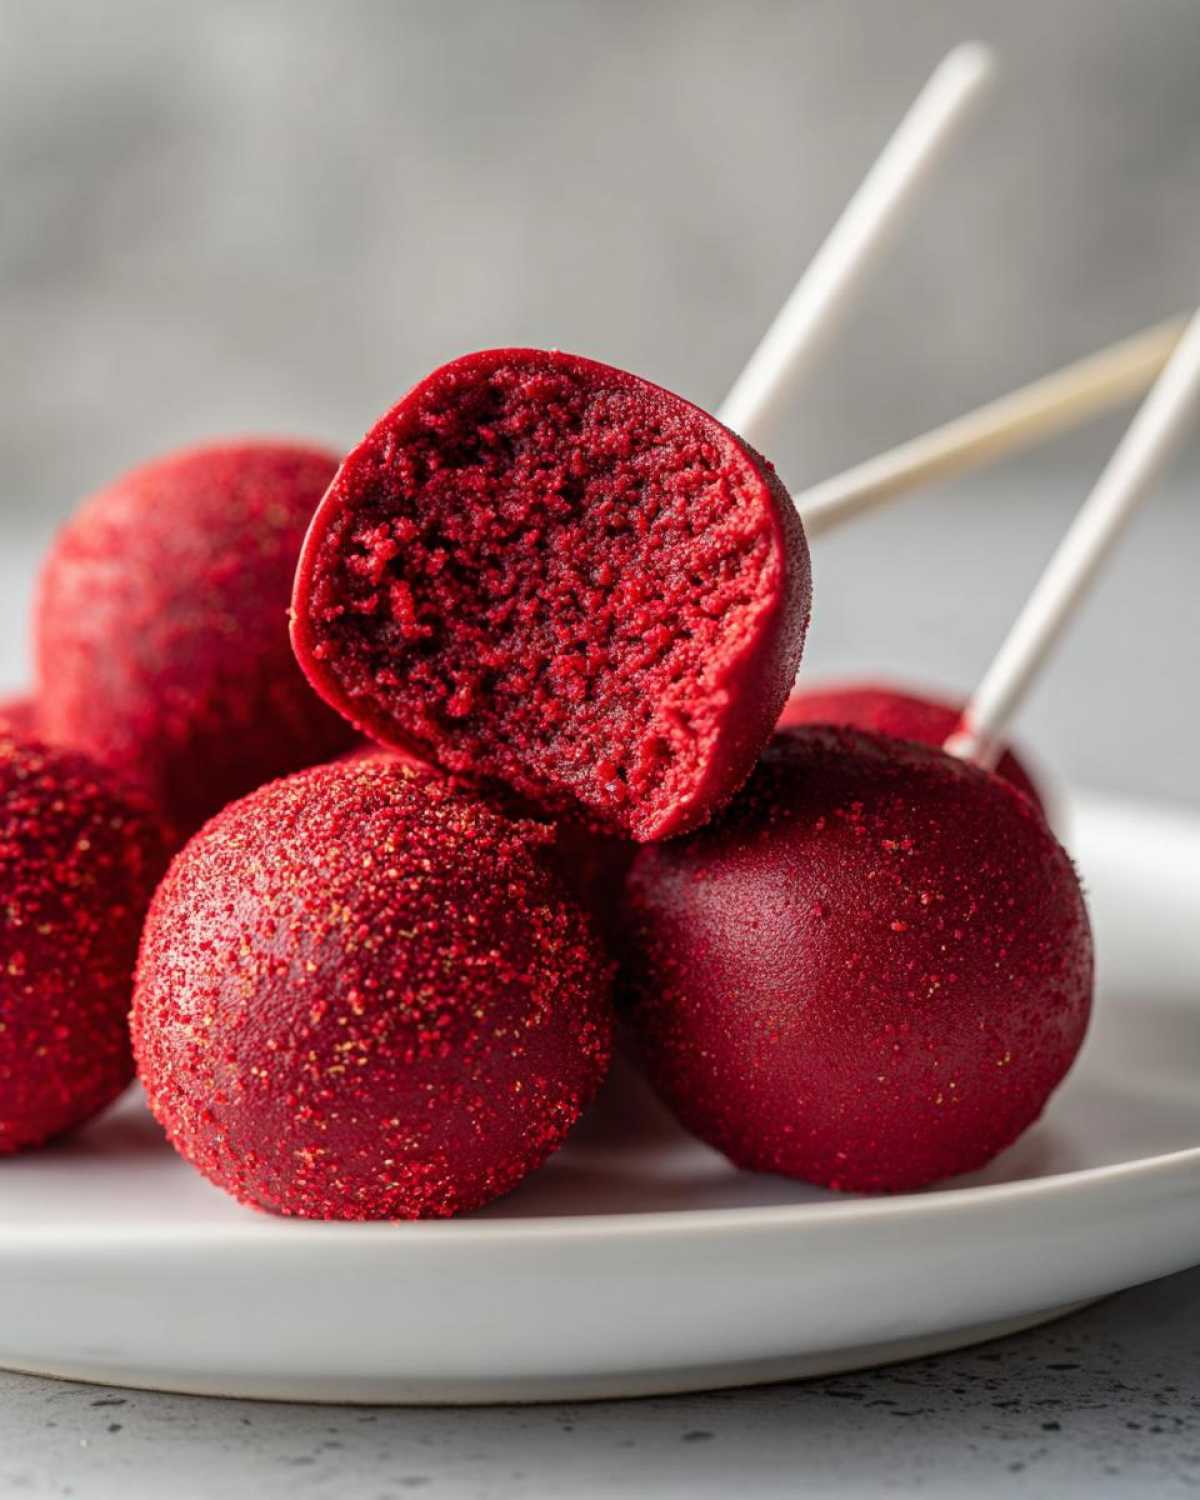
Indulge in Delightful Red Velvet Cake Pops
There’s something truly magical about a bite-sized treat. They’re perfect for little hands. They make parties extra special. I’ve always loved creating desserts that bring smiles. My kitchen is my happy place. It’s where memories are made. These Red Velvet Cake Pops are no exception. They’re a burst of flavor. They look so festive too. Making them is a joy. Sharing them is even better. They’re a guaranteed crowd-pleaser.
Why You’ll Love These Red Velvet Cake Pops
You’ll adore these treats for so many reasons.
- They’re incredibly easy to make.
- The red velvet flavor is simply divine.
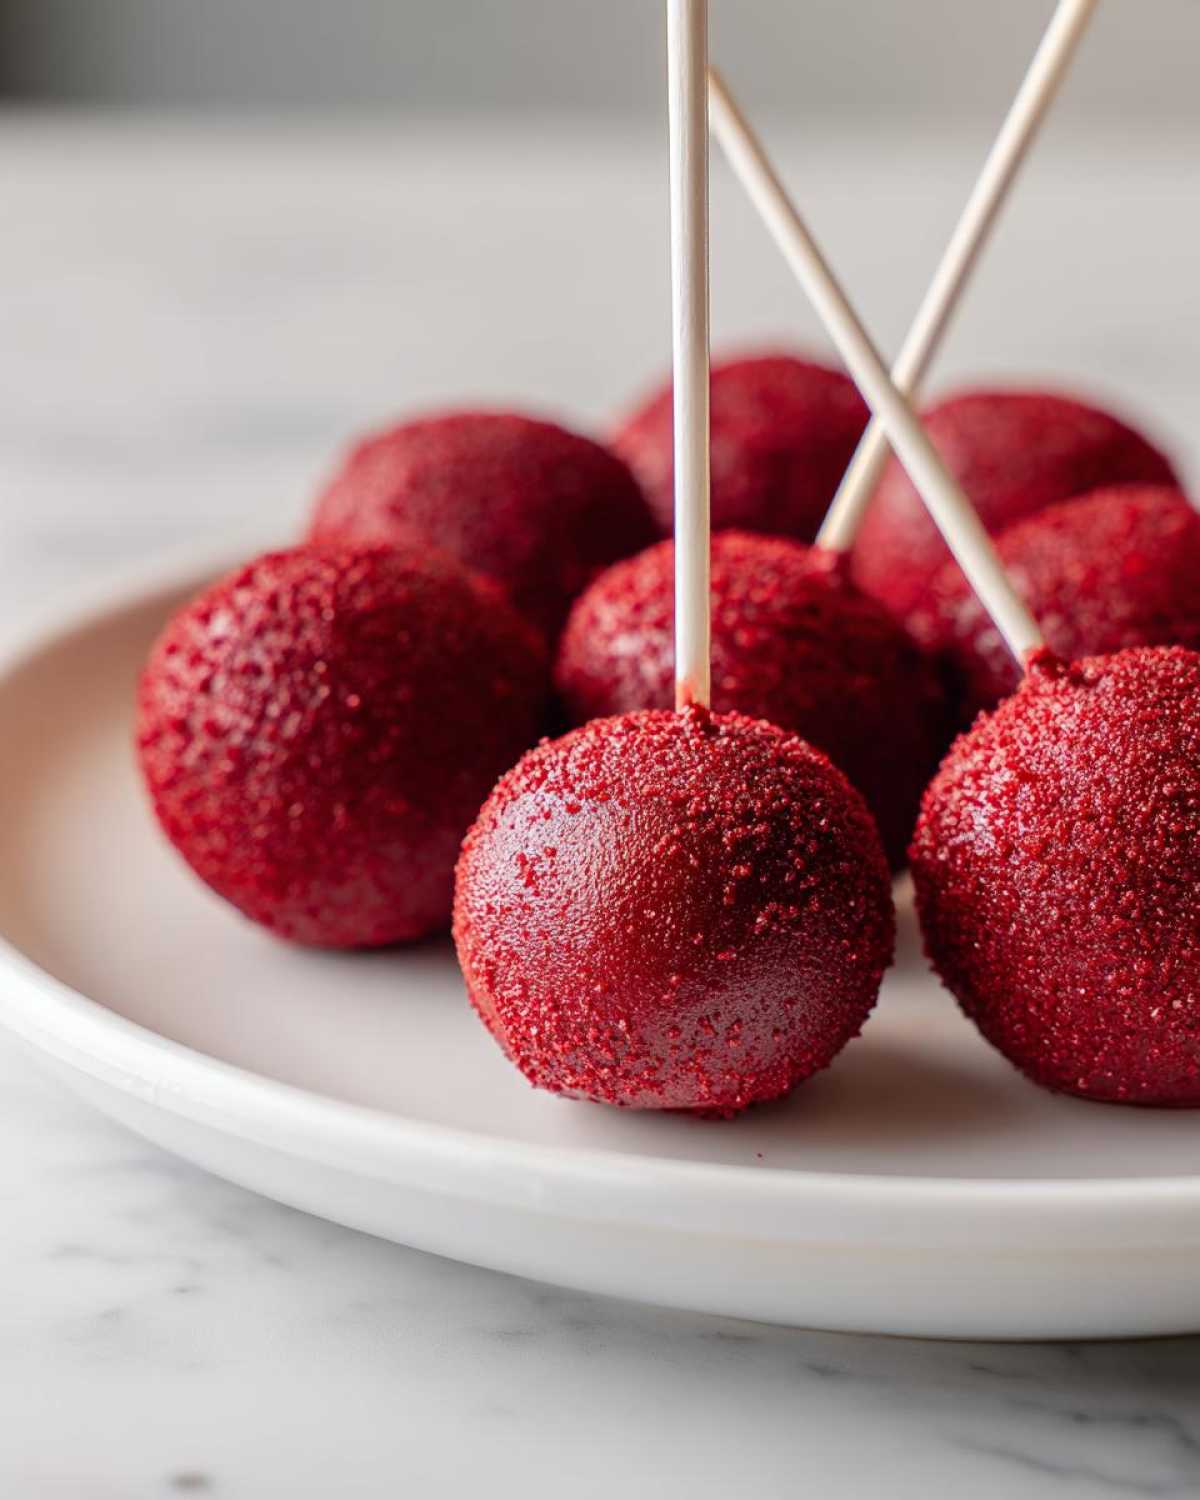
- They look so pretty on any dessert table.
- They’re portion-controlled perfection.
- Kids and adults alike go crazy for them.
They are the ultimate party favor. Your guests will rave about them.
A Taste of Tradition: My Red Velvet Cake Pops Journey
I remember the first time I made these. It was for my nephew’s birthday. He’s turning five. He absolutely adored red velvet. I wanted something unique. Something fun for his little friends. These Red Velvet Cake Pops were a huge hit. Seeing his eyes light up was priceless. It reminded me of my own childhood. My grandmother’s kitchen was my playground. She taught me the love of baking. These pops carry that same warmth. They’re more than just a dessert. They’re a little piece of my heart. Baking them always brings me joy. I hope they bring you joy too.
Gather Your Ingredients for Perfect Red Velvet Cake Pops
Let’s get everything ready. Baking success starts here. Having all your items prepped makes it easy. You’ll need a few key things. These ensure your Red Velvet Cake Pops are amazing. Don’t skip any steps here. It’s crucial for a great outcome. I always lay mine out first. It makes the process so smooth.
Essential Ingredients for Red Velvet Cake Pops
- One box (15.25 oz) red velvet cake mix.
- One and a quarter cups water.
- Half a cup vegetable oil.
- Three large eggs.
- One 16 oz container cream cheese frosting.
- Twelve ounces red candy melts.
- A quarter cup white candy melts, if you like.
- Twenty-four lollipop sticks.
- Sprinkles are optional for fun.
Ingredient Notes and Substitutions for Red Velvet Cake Pops
Using cream cheese frosting is key. It adds that classic tang. It also helps the crumbs bind. You can use a different frosting. Just make sure it’s thick. For candy melts, any brand works. If you can’t find red, use chocolate. Then add red food coloring. You can dust with cocoa powder too. For gluten-free, use a GF cake mix. Check the box for instructions. Always use firm frosting. It helps the balls hold shape. This makes dipping much easier.
Crafting Your Delicious Red Velvet Cake Pops
Now for the fun part! This is where the magic truly happens. We’ll turn simple ingredients into edible art. Follow these steps closely. Your Red Velvet Cake Pops will be stunning. I love this part of the process. It’s so satisfying.
Preparing the Cake Base for Red Velvet Cake Pops
First, preheat your oven. Check the cake mix box for temps. Grease and flour two round cake pans. In a big bowl, mix the cake mix. Add water, oil, and eggs. Beat it well for two minutes. Pour the batter evenly into pans. Bake until a skewer comes out clean. Let cakes cool in pans for 10 minutes. Then, flip them onto a rack. Let them cool completely. Once cool, crumble the cakes. Put crumbs in a large bowl. Add the cream cheese frosting. Mix it all together well. The mix should hold its shape. This is your cake pop dough.
Shaping and Freezing Your Red Velvet Cake Pops
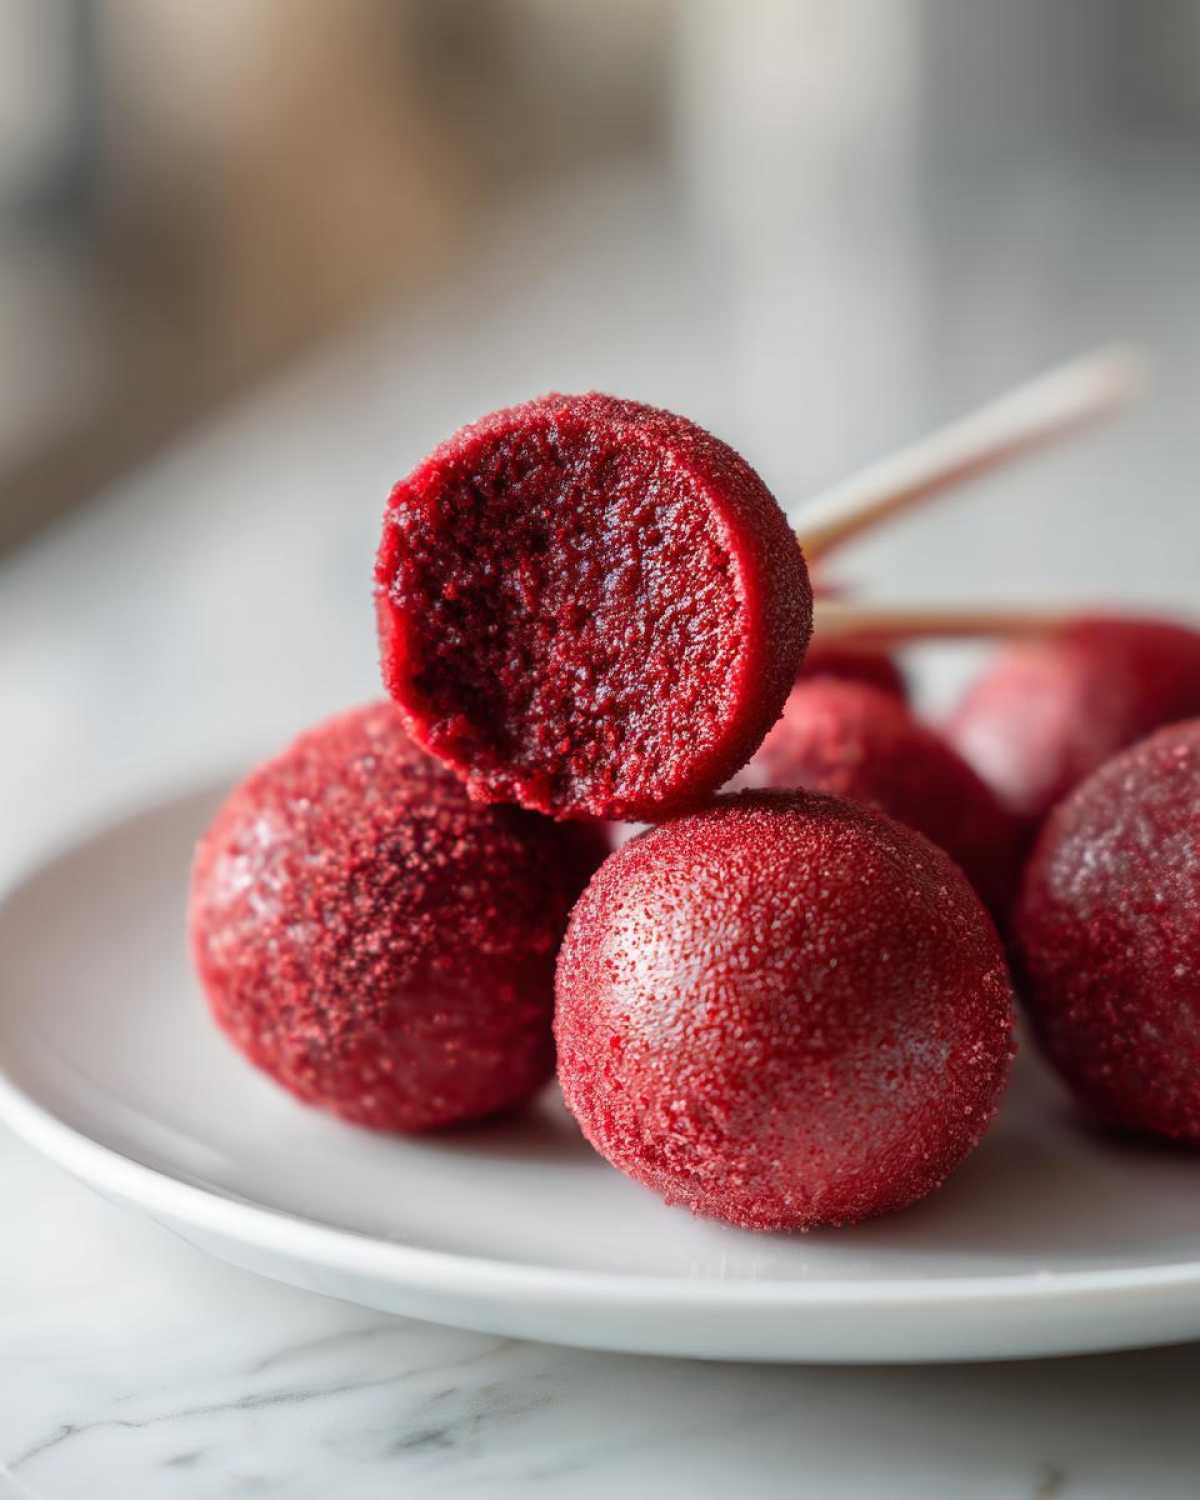
Now, roll the dough. Make 1-inch balls. You should get around 24. Place balls on a parchment-lined sheet. Pop them in the freezer. Freeze for 15 to 20 minutes. They need to be firm. This step is super important. It stops the balls from breaking. It makes dipping so much easier. Trust me on this one. Firm balls are the secret. They hold their shape perfectly. This ensures neat coatings.
Dipping and Decorating Your Red Velvet Cake Pops
Melt the red candy melts. Use a microwave-safe bowl. Heat in 30-second bursts. Stir between each burst. Keep going until smooth. A double boiler works too. Dip the stick tip in melted candy. Insert it halfway into a frozen ball. Then, dip the whole ball. Coat it evenly. Tap off extra candy. Place it back on the parchment. Want more flair? Melt white candy melts. Drizzle them over the pops. Add sprinkles right away. Make them pretty. Let them set fully. Your Red Velvet Cake Pops are almost ready!
Tips for Perfect Red Velvet Cake Pops Every Time
Want your Red Velvet Cake Pops to be showstoppers? I’ve learned a few tricks over the years. These little tips make a big difference. They help you get that professional look. And they make the whole process smoother. Don’t worry if your first batch isn’t perfect. Baking is a journey. My own kitchen has seen its share of wobbles. But these tips will guide you. They ensure your cake pops are delightful. They’ll be a hit at any gathering.
Troubleshooting Common Red Velvet Cake Pop Issues
Is your candy melting too fast? Try a double boiler. Or use shorter bursts in the microwave. If cake balls fall off sticks, use more melted candy to secure them. For uneven coatings, dip quickly. Swirl gently. Then let excess drip off. A slightly thicker candy melt mixture helps. Don’t overheat the candy melts. This makes them seize up. Patience is key for smooth Red Velvet Cake Pops.

Frequently Asked Questions About Red Velvet Cake Pops
Got some questions about making these yummy treats? I get it! It’s always good to have a little extra guidance. Here are some common things people ask me about these Red Velvet Cake Pops. I hope these answers help you out.
Do I have to use cream cheese frosting?
While cream cheese frosting is classic, you can use buttercream too. Just make sure it’s a thick, stable frosting. It needs to bind the cake crumbs well. This helps them hold their shape. Using a thicker frosting is key for these cake pops.
Can I make these cake pops ahead of time?
Yes, you absolutely can! Once they are fully set, store them in an airtight container. Keep them at room temperature. They usually stay fresh for about a week. This makes them perfect for party prep. You can make them a few days in advance.
What’s the best way to store leftover Red Velvet Cake Pops?
Store them in an airtight container. Place a layer of parchment paper between them. This stops them from sticking together. Keep them in a cool, dry place. Avoid direct sunlight or heat. They’ll stay delicious for many days.
Can I use a different cake flavor?
Of course! While these are Red Velvet Cake Pops, you can totally experiment. Chocolate or vanilla cake mixes work wonderfully. Just follow the same steps. You might need to adjust frosting amounts slightly. Have fun with different flavors!
Enjoying and Storing Your Red Velvet Cake Pops
You’ve made them! Now it’s time to enjoy these little gems. They are perfect for any occasion. Think birthdays, holidays, or just because. Your Red Velvet Cake Pops will be a hit. They look so pretty when served. Proper storage keeps them tasting great. It’s easy to keep them fresh.
Serving Suggestions for Red Velvet Cake Pops
Arrange them on a tiered stand. Use them as edible party favors. Place one in each guest’s goodie bag. They also look lovely tucked into a floral arrangement. They are a sweet surprise for everyone.
Storing and Reheating Your Red Velvet Cake Pops
Store cooled cake pops in an airtight container. Put parchment paper between layers. Keep them at room temperature. Avoid heat and direct sun. They should last about a week. Reheating isn’t usually needed. If they seem a bit stale, a gentle microwave zap works. Just a few seconds will do.
A Note on Nutrition for Red Velvet Cake Pops
When you’re whipping up these delightful Red Velvet Cake Pops, remember that exact nutritional information can vary a bit. It really depends on the specific brands you use for your cake mix and frosting. Also, the amount of candy melts and sprinkles can change things too. Because of these variations, I don’t provide precise nutritional values. My focus is on the joy and deliciousness these treats bring. You know, the simple pleasure of creating something special. It’s all about the taste and the smiles they create.
Print
Amazing Red Velvet Cake Pops: 5 Simple Steps
- Total Time: 1 hour 30 minutes
- Yield: 24 cake pops
- Diet: Vegetarian
Description
Create delightful Red Velvet Cake Pops, a festive treat perfect for parties and celebrations. These bite-sized delights offer a burst of classic red velvet flavor in a fun, pop-able format.
Ingredients
- 1 box (15.25 oz) red velvet cake mix
- 1-1/4 cups water
- 1/2 cup vegetable oil
- 3 large eggs
- 1 (16 oz) container cream cheese frosting
- 12 oz red candy melts
- 1/4 cup white candy melts (optional, for drizzling)
- 24 lollipop sticks
- Sprinkles (optional, for decorating)
Instructions
- Preheat your oven according to the cake mix package directions. Prepare two 8-inch round cake pans by greasing and flouring them.
- In a large bowl, combine the red velvet cake mix, water, vegetable oil, and eggs. Beat with an electric mixer on medium speed for 2 minutes, or until well combined.
- Pour the batter evenly into the prepared cake pans.
- Bake for the time recommended on the cake mix package, or until a wooden skewer inserted into the center comes out clean.
- Let the cakes cool in the pans for 10 minutes, then invert them onto a wire rack to cool completely.
- Once the cakes are completely cool, crumble them into a large bowl.
- Add the cream cheese frosting to the crumbled cake and mix until thoroughly combined. The mixture should be moist enough to hold its shape.
- Roll the cake mixture into 1-inch balls. You should get about 24 cake balls.
- Place the cake balls on a baking sheet lined with parchment paper and freeze for about 15-20 minutes, or until firm.
- Melt the red candy melts in a microwave-safe bowl in 30-second intervals, stirring after each, until smooth. Alternatively, use a double boiler.
- Dip the tip of a lollipop stick into the melted red candy melts and insert it about halfway into a frozen cake ball.
- Dip the entire cake ball into the melted red candy melts, ensuring it is fully coated. Tap off any excess.
- Place the coated cake pop back on the parchment-lined baking sheet.
- If desired, melt the white candy melts and drizzle them over the cake pops. Add sprinkles immediately after drizzling, before the candy sets.
- Allow the cake pops to set completely.
Notes
- For best results, ensure the cake balls are firm before dipping.
- You can adjust the amount of frosting added to the cake crumbs to achieve your desired consistency.
- Get creative with decorations! Use different colored candy melts or various sprinkles.
- Prep Time: 30 minutes
- Cook Time: 30 minutes
- Category: Desserts
- Method: Baking and Dipping
- Cuisine: American
Nutrition
- Serving Size: 1 cake pop


Comments are closed.