
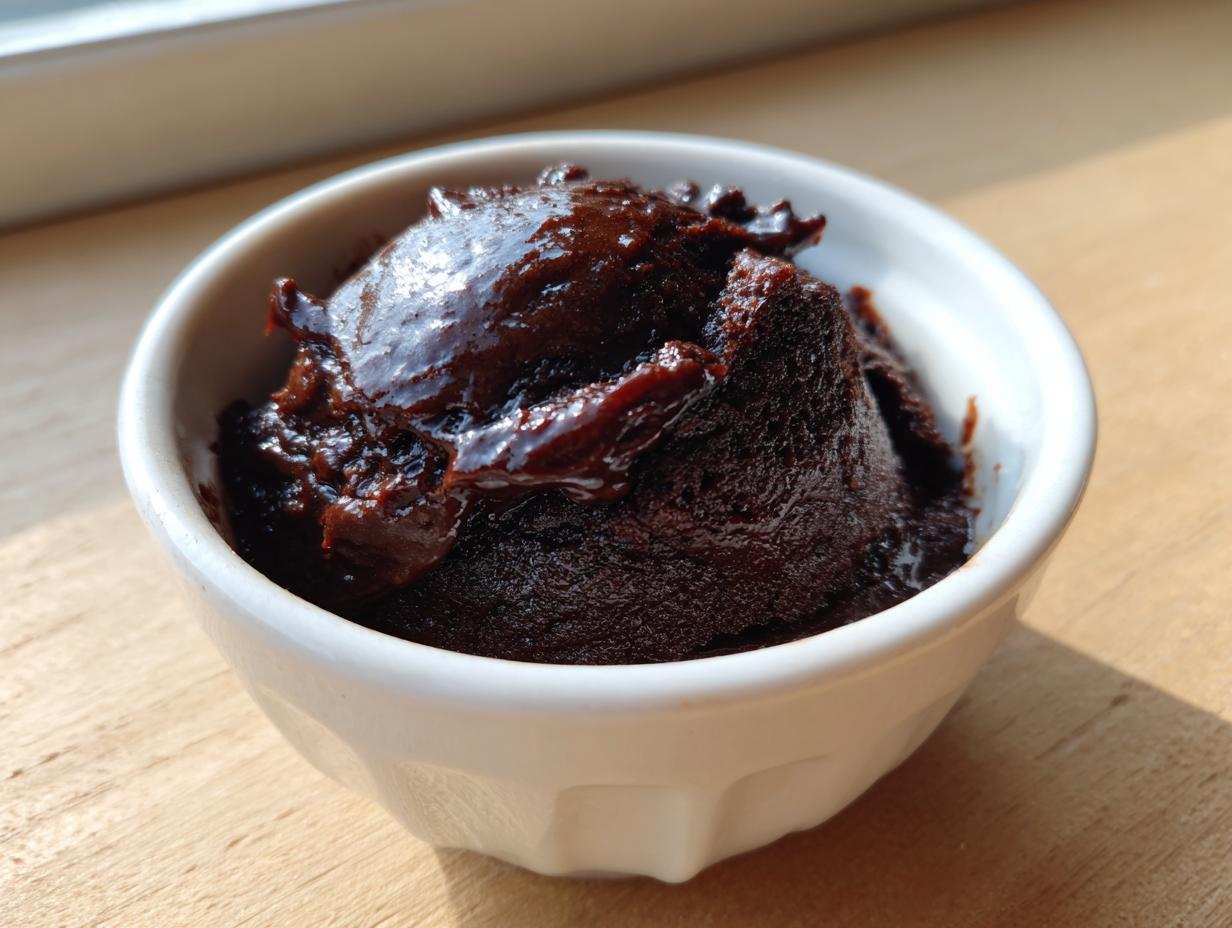
Listen, I know there are a million ways to get instant chocolate dessert gratification—shake a box, add milk, done. But trust me, you will never go back once you try my ultimate creamy homemade chocolate pudding recipe from scratch. I spent an entire rainy weekend trying to nail this because my mom’s boxed pudding memories just weren’t cutting it; they were always a little grainy, a little sad.
I needed that deep, dark, rich chocolate flavor that only comes from real cocoa handled right. This version is decadent, it’s so quick to make on the stovetop, and the texture? Oh man, it’s velvety, silky smooth perfection. This is the best homemade chocolate pudding I have ever made, period. It’s the comfort food dessert everybody deserves!
Why This Homemade Chocolate Pudding Recipe Beats Boxed Mixes
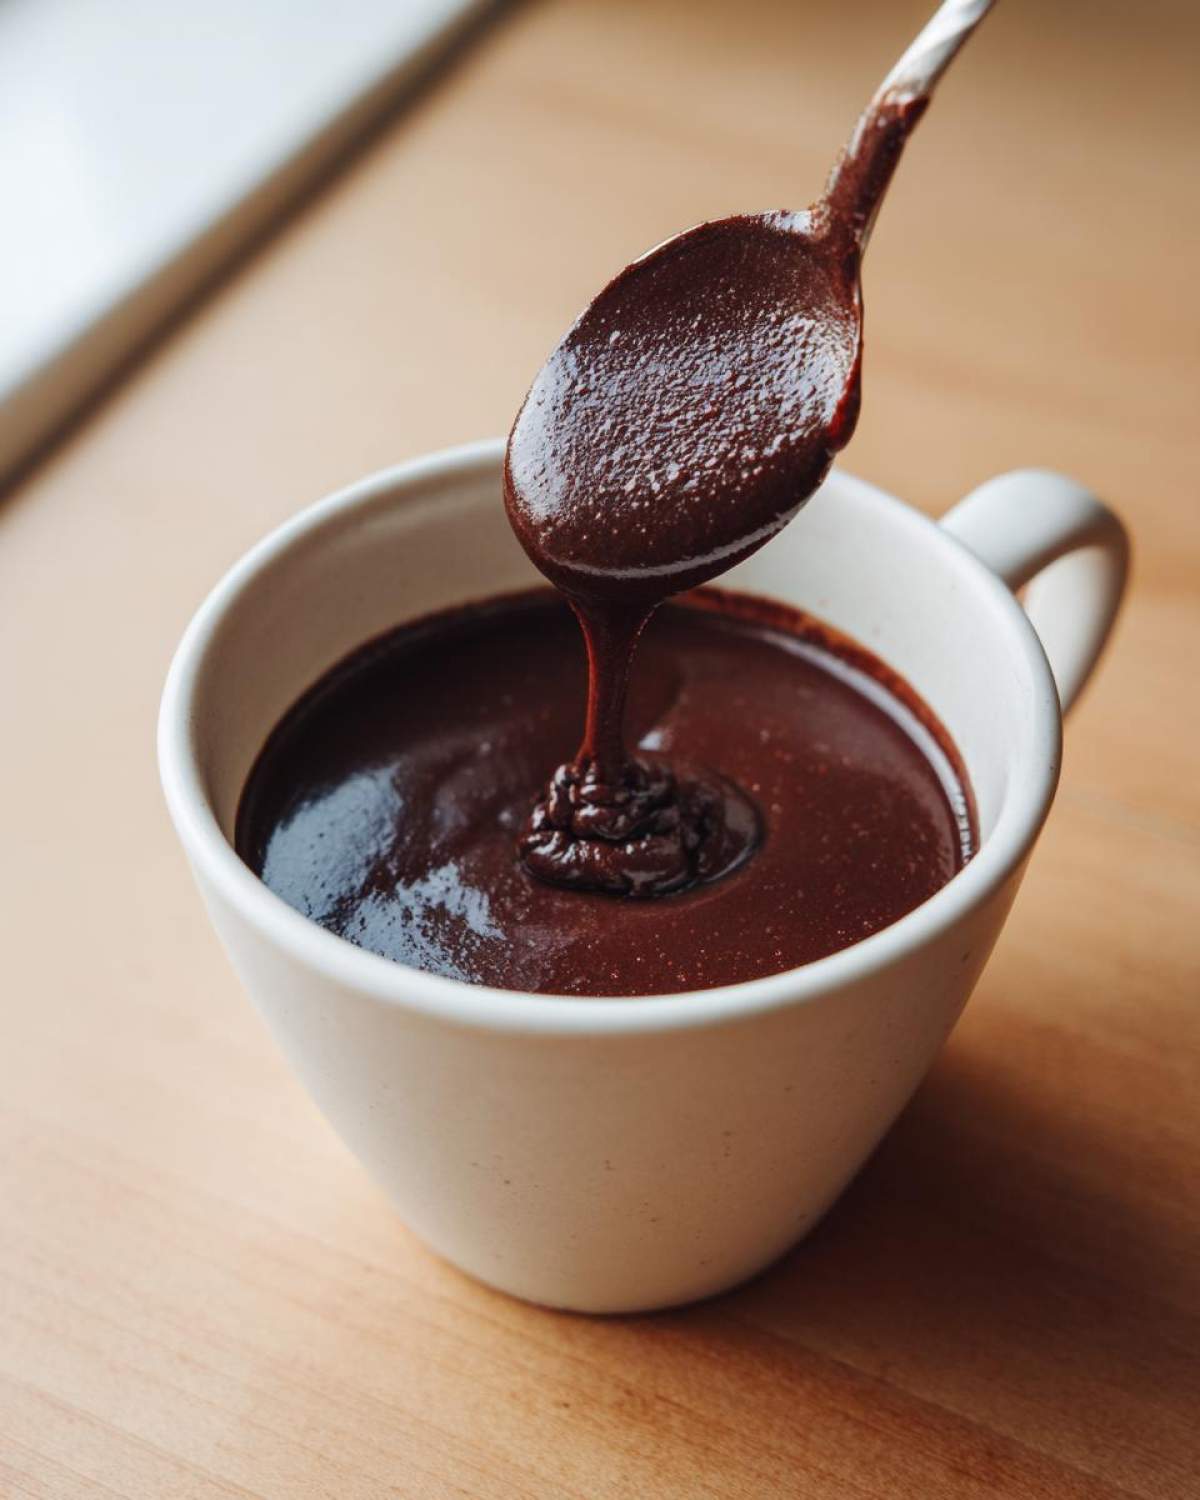
Seriously, ditch those dusty brown boxes. When you make this chocolate pudding recipe from scratch, you’re treating yourself to something entirely different. The main difference is the texture—forget that gritty feeling sometimes left by powder mixes! This stovetop pudding sets up beautifully creamy thanks to the careful use of cornstarch and egg yolks.
We get that deep, intense chocolate flavor because we use real Dutch-process cocoa powder. It makes such a difference! It’s wonderfully rich, hitting that perfect decadent chocolate treat note every single time. Honestly, this is the best homemade chocolate pudding, and you get the huge bonus of knowing exactly what went into your quick homemade dessert while enjoying that classic chocolate pudding vibe.
- Texture is King: This yields a truly silky smooth pudding, not grainy like those shelf-stable versions.
- Deeper Flavor: Using Dutch-process cocoa gives you a richer, darker chocolate punch.
- The Satisfaction Factor: Making this dessert from scratch using pantry staple desserts ingredients just feels right.
You need to try this if you want that classic comfort food dessert experience elevated. You can find a few more tips on alternatives over here: The best creamy, easy chocolate pudding basics.
Ingredients for the Ultimate Creamy Homemade Chocolate Pudding
When we talk about making the best homemade chocolate pudding, the ingredients list has to be spot-on. No funny business here! We’re keeping things simple, hitting those pantry staple desserts notes, but every component needs to be exactly what I say. You’ll need quality stuff for that silky smooth pudding finish.
- 2 cups whole milk (Go for whole milk, trust me on this for creaminess!)
- 1/2 cup granulated sugar
- 1/4 cup unsweetened Dutch-process cocoa powder (It gives that deep color we love.)
- 2 tablespoons cornstarch (Our main setting agent!)
- 1/4 teaspoon salt
- 2 large egg yolks (Make sure they are separated; we don’t need the whites here.)
- 2 tablespoons unsalted butter, cut into pieces (Room temp isn’t necessary, but cutting it small helps.)
- 1 teaspoon vanilla extract
How to Prepare Rich Chocolate Dessert: Step-by-Step Instructions
Putting this easy stovetop pudding together is fun, but you need to pay attention when the heat is on! We are aiming for that velvety chocolate pudding texture, and the secret is being gentle when introducing the heat, especially with those eggs. Follow these steps exactly, and you won’t end up with scrambled bits instead of your creamy chocolate dessert. You’ll spend about 15 minutes actively cooking, which is nothing for this classic chocolate pudding payoff. But don’t walk away from the stove!
Learning this easy stovetop pudding method from scratch is so rewarding. You can check out some general tips for getting your stovetop desserts just right here: Easy Stovetop Cooking Secrets.
Combining Dry Ingredients and Milk for Smooth Homemade Chocolate Pudding
First things first, grab your saucepan—a heavy bottom one is my favorite so it distributes the heat evenly. Whisk everything dry together: the sugar, the cocoa powder, the cornstarch, and the salt. You have to whisk them until they look completely uniform. If you skip this, you’ll have pockets of cornstarch floating later. THEN, stream in your whole milk slowly while whisking non-stop until it’s perfectly liquid and smooth. No ugly lumps allowed!
Cooking and Tempering Eggs for Perfect Creamy Chocolate Pudding
Now, turn the heat on medium. You must stir constantly with a whisk! Don’t scrape the bottom with a spoon; the whisk keeps everything moving through the whole pot. You’re looking for it to get thick enough to coat the back of a spoon and start bubbling around the edges—that means it’s hit the right temperature to activate that cornstarch thickener.
While that’s happening, lightly beat your egg yolks in a small bowl. This next part is the make-or-break moment for keeping your dessert silky smooth: tempering. Take about half a cup of that hot milk mixture and slowly drizzle it into your egg yolks while whisking the yolks like crazy. If you dump it fast, the eggs will scramble! You are just warming them up gradually so they play nice with the rest of the hot liquid. Once they are successfully warmed up, pour that tempered yolk mixture right back into the saucepan.
Keep cooking and stirring for another minute or two until it comes to a full, rolling boil and gets super thick and glossy. Seriously, watch it boil! Then take it OFF the heat immediately.
Finishing and Chilling Your Homemade Chocolate Pudding
Once it’s safely off the burner, stir in the butter pieces until they melt completely—this adds amazing richness and mouthfeel. Then swirl in the vanilla extract. Pour your rich chocolate dessert into your individual serving bowls or one large dish. Now for the second most important tip after constant stirring: plastic wrap! You need to press a piece of plastic wrap directly down onto the surface of the pudding in every container. This traps the steam and is the absolute best trick to make sure you have that perfect, skin-free, silky smooth pudding later when it chills for at least three hours!
Tips for the Best Homemade Chocolate Pudding Success
Okay, you nailed the cooking part, but a few little tricks can take this homemade chocolate pudding from great to absolutely unforgettable. Remember how I said this is the recipe for velvety chocolate pudding? Well, these tips are how we ensure that happens every time, no exceptions.
If you really want to push the richness factor—and if you know me, you know I always want more chocolate—I highly recommend folding in an ounce of finely chopped bittersweet chocolate right at the very end when you add the butter. It melts instantly and deepens that deep chocolate flavor so much! It just makes this whole dessert feel more decadent.
Also, don’t rush the chill time. Patience is key with any great stovetop pudding. If you’re aiming for that super neat slice or serving it in deeper dishes, you need that full three hours, minimum, to let the cornstarch and yolks completely lock everything into that perfect texture. If you want to know how to make some truly amazing egg-free chocolate desserts, check out this genius mousse recipe for comparison! Here’s that velvety 5-ingredient mousse recipe.
- Always use the plastic wrap trick; no skin means a better experience.
- Taste and adjust salt right before you take it off the heat; a tiny pinch brightens the cocoa immensely.
- For a fancy topping, whip some heavy cream until soft peaks form and fold in a little more vanilla extract.
It’s these minor additions that really show off when you make your dessert from scratch—way better than anything you mix from a box!
Ingredient Notes and Substitutions for Your Homemade Chocolate Pudding
You know, when you’re making a classic chocolate pudding recipe from scratch, the ingredients whisper secrets about the final texture. The milk choice is a big deal! I specified whole milk because those extra milk fats give you that luxurious, deeply comforting mouthfeel we’re aiming for. If you use 2% milk, it’s certainly fine for an easy chocolate pudding, but it will set up slightly lighter and won’t feel quite as decadent.
And let’s talk cocoa. I insist on Dutch-process cocoa powder here. Why? Because it’s been treated to reduce its acidity, which gives us that gorgeously dark color and a smoother, less bitter edge to the chocolate flavor. Natural cocoa is sharper. For this rich chocolate dessert though, where we want silky smooth pudding, Dutch-process is the way to go. See? It’s these little choices, the things you don’t get on a box label, that make this dessert from scratch so much better!
Serving Suggestions for Decadent Chocolate Treat Presentations
Eating this homemade chocolate pudding straight from the container with a big spoon is totally acceptable—I do it all the time! But if you’re making this decadent chocolate treat for company, you can dress it up so easily. Since our pudding is so thick and creamy, it holds its shape beautifully.
For individual servings, try layering it! Alternate spoonfuls of the chilled pudding with crushed shortbread or some raspberries in a clear glass for a gorgeous parfait effect. You can even use this as a divine filling in pre-made tart shells. If you want some inspiration for impressive-looking layered desserts that still feel simple, check out these ideas: Make-Ahead Chocolate Parfaits. A dollop of fresh whipped cream and a sprinkle of sea salt on top makes any presentation instantly special!
Storage and Reheating Instructions for Homemade Chocolate Pudding
Once your silky smooth pudding is perfectly chilled, it will keep beautifully in the fridge for about four days. Remember that plastic wrap trick? Keep it pressed right against the surface! If you try to reheat this decadent chocolate treat, be warned: the texture will likely break down and become thin again because of the cornstarch.
Honestly, this homemade chocolate pudding is truly best served cold, straight from the refrigerator. You don’t want to mess with that perfect set! If you accidentally made too much, just keep it covered tightly, and it’ll be ready for an easy afternoon snack tomorrow.
Frequently Asked Questions About Making Chocolate Pudding from Scratch
You know, when you’re diving into making a chocolate pudding recipe from scratch, sometimes little questions pop up that aren’t covered in the main steps. That’s totally normal when moving beyond those easy chocolate pudding boxed mixes! Here are the things folks ask me most often about getting that classic, rich texture right every time.
Can I make this homemade chocolate pudding without eggs?
Yes, you technically can, but I strongly advise against it if you want that signature richness! The egg yolks are what give this classic chocolate pudding body and that beautiful custardy mouthfeel. If you absolutely must skip them—maybe due to an allergy—you’ll need to compensate by adding about one extra tablespoon of cornstarch to ensure it sets up correctly, but its texture won’t be quite as velvety or rich. It’ll be more like a thick sauce than a dense dessert.
Why did my chocolate pudding turn out lumpy?
Lumps are the enemy of silky smooth pudding! Almost always, lumps happen because the dry ingredients weren’t whisked together thoroughly before the milk went in, leaving little dry pockets of cornstarch that clump up when heated. Sometimes, if you don’t pour the tempering liquid in slowly enough when adding eggs, you get tiny cooked egg clumps instead. If you notice lumps forming during cooking, whisk like crazy right over the flame for a good minute—sometimes the heat can smooth them out, but catching them early by whisking the dry stuff first is the real trick to this easy chocolate pudding.
If you ever want to try a different kind of thickener for stovetop cooking, I wrote a bit about how I handle my no-yeast bread dough here, which also relies on precise hydration: Soft Homemade Naan Bread.
Estimated Nutrition for This Classic Chocolate Pudding Recipe
Now, let’s talk about the numbers. Since this is a truly rich chocolate dessert, it’s not exactly a diet food, but it’s homemade, so it’s better! These figures are just estimates for one serving based on the ingredients listed above, so take them as a general guide when enjoying your classic chocolate pudding.
- Serving Size: 1 serving
- Calories: 285
- Sugar: 30g
- Fat: 10g
- Protein: 7g
- Carbohydrates: 45g
Honestly, the best part of making this dessert from scratch is realizing those numbers look way better than the stuff you get in a plastic tray at the store!
Print
The Ultimate Creamy Homemade Chocolate Pudding from Scratch: Rich, Quick, and Better Than Boxed
- Total Time: 4 hours 25 min
- Yield: 4 servings
- Diet: Vegetarian
Description
Make rich, velvety homemade chocolate pudding from scratch using simple ingredients. This easy stovetop recipe yields a silky smooth, decadent chocolate dessert that surpasses any boxed mix.
Ingredients
- 2 cups whole milk
- 1/2 cup granulated sugar
- 1/4 cup unsweetened Dutch-process cocoa powder
- 2 tablespoons cornstarch
- 1/4 teaspoon salt
- 2 large egg yolks
- 2 tablespoons unsalted butter, cut into pieces
- 1 teaspoon vanilla extract
Instructions
- In a medium saucepan, whisk together the sugar, cocoa powder, cornstarch, and salt until combined.
- Gradually whisk in the whole milk until the mixture is smooth and no lumps remain.
- Place the saucepan over medium heat. Cook, stirring constantly with a whisk, until the mixture thickens significantly and begins to bubble around the edges. This takes about 6 to 8 minutes.
- In a small bowl, lightly whisk the egg yolks.
- Temper the yolks: Slowly pour about 1/2 cup of the hot milk mixture into the egg yolks while whisking the yolks constantly. This prevents the eggs from scrambling.
- Pour the tempered yolk mixture back into the saucepan with the remaining hot milk mixture.
- Continue to cook over medium heat, stirring constantly, for 1 to 2 minutes until the pudding comes to a full boil and is very thick. Do not stop stirring.
- Remove the saucepan from the heat. Stir in the butter pieces and vanilla extract until the butter is fully melted and incorporated.
- Pour the pudding into individual serving bowls or a single larger dish.
- Press plastic wrap directly onto the surface of the pudding in each bowl to prevent a skin from forming.
- Chill in the refrigerator for at least 3 hours, or until completely cold and set.
Notes
- For an extra rich flavor, substitute 1 ounce of finely chopped bittersweet chocolate for 1 tablespoon of the cocoa powder. Add it with the butter at the end.
- If you prefer a lighter texture, you can use 2% milk, but whole milk provides the creamiest result.
- This recipe is naturally gluten-free since it uses cornstarch as the thickener.
- Prep Time: 10 min
- Cook Time: 15 min
- Category: Dessert
- Method: Stovetop
- Cuisine: American
Nutrition
- Serving Size: 1 serving
- Calories: 285
- Sugar: 30
- Sodium: 150
- Fat: 10
- Saturated Fat: 6
- Unsaturated Fat: 4
- Trans Fat: 0
- Carbohydrates: 45
- Fiber: 2
- Protein: 7
- Cholesterol: 75


Comments are closed.