

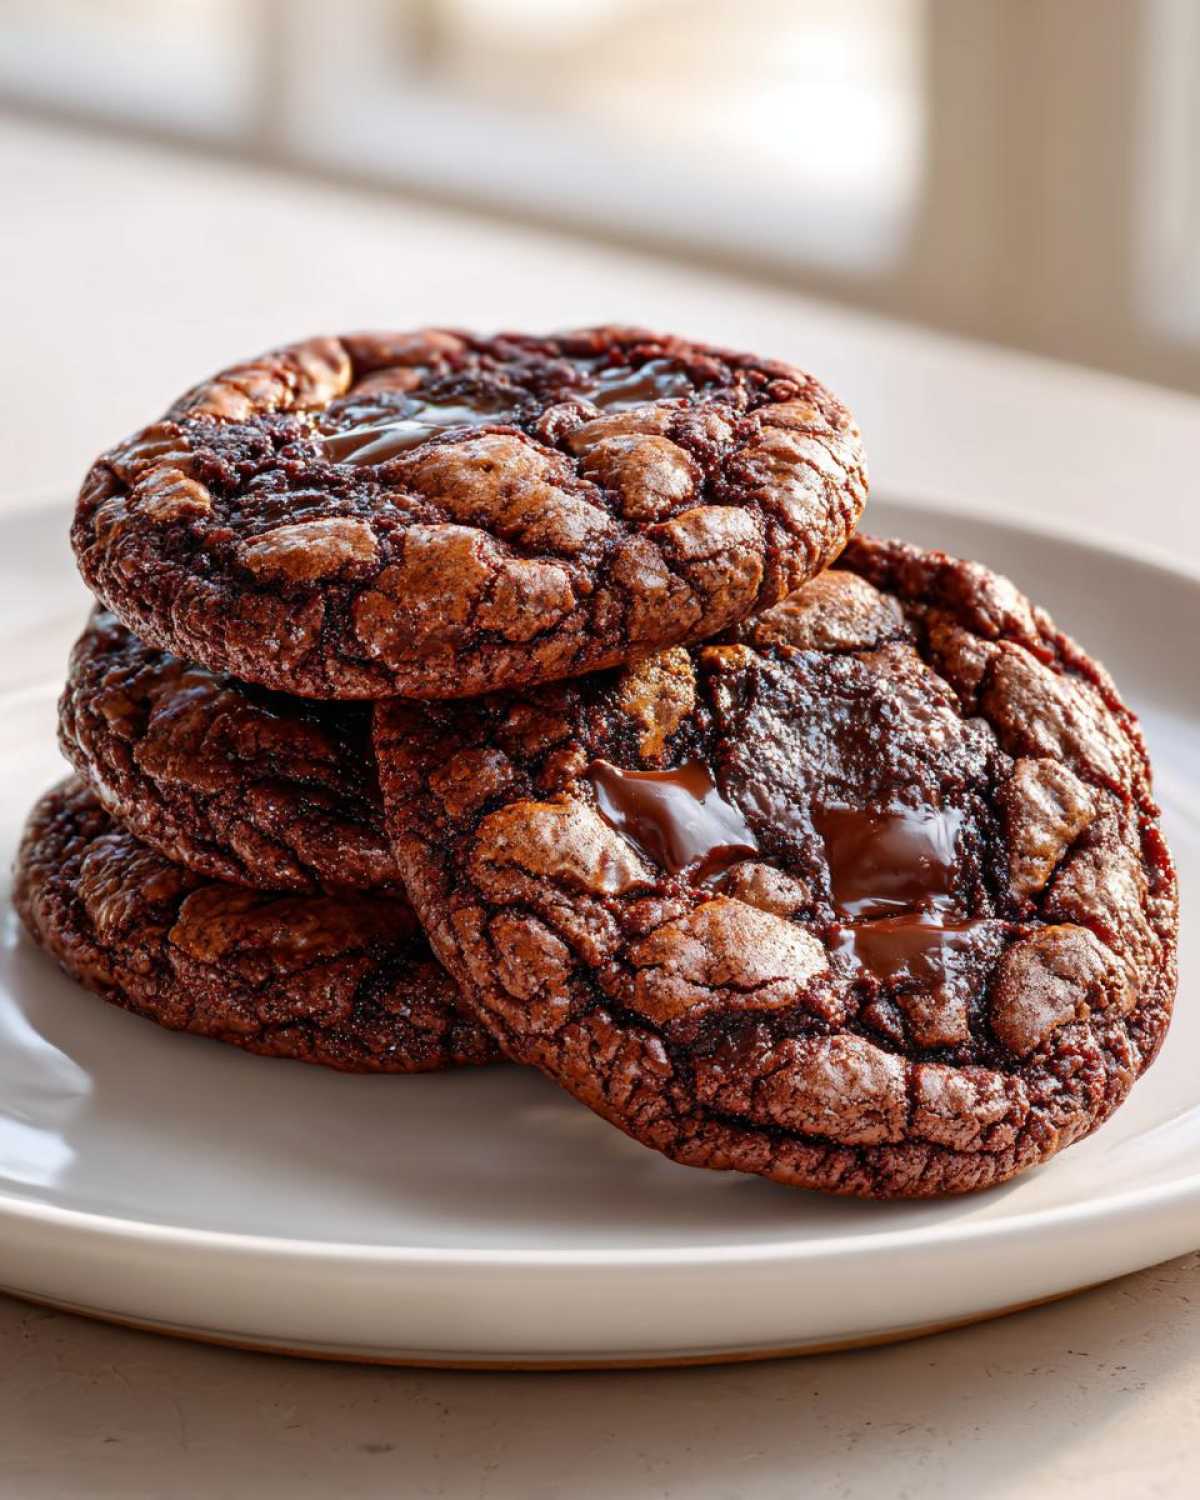
If you think you’ve mastered the classic chocolate chip cookie, wait until you try this version. Seriously, this is where baking gets GOURMET. We’re not talking about your standard drop cookie here; we’re diving headfirst into the rich, warm, nutty world of the **brown butter chocolate chip cookies**. They have this incredible caramelized depth that you just cannot get any other way.
I used to be terrified of browning butter. I thought I’d accidentally scorch the whole batch, ending up with bitter clumps instead of liquid gold. But once I figured out the visual cues—watching for that foam to subside and smelling that sweet, toasted aroma—everything changed. Trust me, this technique delivers the ultimate cookie experience: a perfectly chewy center that begs for a tall glass of milk, encased by slightly crispy, caramelized edges. Getting these exactly right took me months of testing, but now I have the foolproof method down pat, and I promise, you’re going to want to make the upgrade to your baking routine today.
It’s the difference between a good cookie and one you hide from your spouse. For even more tried-and-true tips, check out my general ultimate chocolate chip cookie recipe, but stick with me here for the brown butter magic!

The Secret to the Best brown butter chocolate chip cookies: Browning the Butter
Look, standard melted butter cookies are fine, but they are just leaving so much flavor on the table! We need to coax out the goodness hidden inside that butter. Browning it takes just a few extra minutes, but it unlocks a seriously deep, nutty, almost toffee-like caramelized flavor that makes these **brown butter chocolate chip cookies** legendary. It’s the secret weapon against boring batches!
The biggest hurdle people face is burning it, turning that beautiful amber liquid into black sludge. We don’t want bitter cookies; we want toasted perfection. My number one tip here is simple: use a light-colored, wide saucepan. You need to see those milk solids hitting the bottom of the pan so you can stop the cooking right at the perfect moment.
Step-by-Step: How to Brown Butter for Cookies
Melt that whole cup of butter over medium heat. Watch closely! It will melt, then it will start to foam and bubble like crazy—that’s the water evaporating. Once the bubbling calms down, you’re almost there. Keep swirling, and you’ll see little flecks start to form at the bottom. That nutty smell is your signal! Pull it off the heat immediately when those bits look golden brown, not dark brown.
Crucial Cooling Step for brown butter chocolate chip cookies
This step is non-negotiable if you want that perfect chewy center. You cannot just pour hot brown butter straight into your sugar bowl; it will melt all the air bubbles you need for structure. You need to let that beautiful **brown butter chocolate chip cookies** base cool right on the counter for about 30 minutes. We’re aiming for a texture slightly softer than store-bought peanut butter—shiny, mostly liquid, but definitely not hot. Resist the urge to stick it in the freezer; slow and steady cooling builds the best base for our **brown butter chocolate chip cookies**.
Gathering Ingredients for Gourmet brown butter chocolate chip cookies
Okay, now that we’ve mastered the nutty base, we need the rest of the crew together. When you’re making **brown butter chocolate chip cookies**, every ingredient matters because that toasty butter flavor needs backup, not competition. You need two kinds of sugar because it gives us that textural complexity—the dark brown sugar keeps things moist and adds a hint of molasses depth, while the granulated sugar helps with those crisp edges.
Make sure your eggs are at room temperature; it helps them incorporate smoothly into the cooled butter mixture. Don’t skimp on the vanilla either; it really helps bridge the gap between the chocolate and the browned butter flavor. When you grab your flour, whisk it quickly with the baking soda and salt before adding it in. Quality ingredients make these cookies feel incredibly gourmet, just like you bought them from a fancy bakery near your favorite cookie shop!
Here is what you’ll need:
- 1 cup (2 sticks) unsalted butter (which we already browned and cooled!)
- 1 cup packed light brown sugar
- 1/2 cup granulated sugar
- 2 large eggs, room temperature, don’t forget!
- 1 tablespoon vanilla extract
- 2 1/4 cups all-purpose flour
- 1 teaspoon baking soda
- 1/2 teaspoon salt
- 1 1/2 cups semi-sweet chocolate chips (I like a mix, personally!)
- Flaky sea salt, for topping (This is optional, but trust me, it’s worth the upgrade.)
Mixing the Dough for Chewy brown butter cookies
Now that our brown butter has cooled down to that perfect, almost-set stage, it’s time to build the dough structure! This is where we lock in that spectacular flavor we worked so hard to create. You’re going to use your stand mixer or a handheld one for this part. Cream that cooled brown butter with both sugars until it gets light and fluffy. It won’t get quite as pale as using soft, room-temperature butter, but you are still creating those vital air pockets. That’s what gives us the foundation for the **chewy brown butter cookies** we love.
Next, toss in your eggs one at a time, beating well after each addition so it fully emulsifies. Don’t forget that vanilla! When you bring in the dry ingredients—your flour, baking soda, and salt—you have to switch gears. Remember what I always say about cookie dough? Overmixing equals tough cookies, which is the opposite of what we want here! We are aiming for a chewy center, not a hockey puck.
Mix the dry stuff in slowly, just until you see the last streaks of flour disappear. Then, gently fold in those chocolate chips. If you want to see my thoughts on the absolute best way to get that chewiness, this chewy cookie guide has a few extra pointers, but the key here is really in the next step!
The Importance of Chilling Dough for deep flavor chocolate chip cookies
If you are tempted to scoop and bake these **brown butter chocolate chip cookies** right away, please, for the love of nutty flavor, don’t! You absolutely must chill this dough. Chilling is non-negotiable; it forces the flour to fully hydrate, which stops those cookies from spreading into thin pancakes and truly develops the depth of flavor from the toasted butter. I demand a minimum of two hours in the fridge, but genuinely, if you can wait 24 hours, you’ll be rewarded with the most amazing **caramelized flavor cookies** you’ve ever tasted.
I’ve let dough balls sit in the fridge for up to three days, and honestly, that’s when they turn into true **crispy edge soft center cookies**. It’s a waiting game that builds my confidence in every batch I bake!
Baking Your Bakery style chocolate chip cookies
Alright, the dough is chilled, the oven is finally preheated to 375 degrees Fahrenheit—time to bring these babies to life! Because we need those **bakery style chocolate chip cookies** to hold their shape just long enough, using parchment paper on your baking sheets is a lifesaver. It keeps the bottoms from scorching while still allowing the edges to crisp up beautifully.
I pull my dough out right before I start scooping. You want rounded tablespoons—don’t flatten the dough balls! We want that beautiful dome shape for a thick, chewy interior. Space them out, give them breathing room—about two inches apart—because brown butter cookies definitely like to spread a little bit, even after chilling. If you want a gourmet look, sprinkle a tiny pinch of flaky sea salt right on top of each dough ball before it heads into the heat.
Now for the magic moment! Bake them for 10 to 12 minutes. That window is crucial for achieving that perfect texture. You are looking for a golden brown edge, but—and this is important—the middle should still look slightly puffy and underdone. If they look perfectly baked in the oven, they will be hard cookies once they cool. We are aiming for an underbaked center in the oven so we get those irresistible **brown butter chocolate chip cookies** that are soft when they finally cool down.
If you’re curious about achieving that perfect dome, I have some extra tips in my guide on getting bakery style cookies at home.
Cooling and Setting the brown butter chocolate chip cookies
Do not dive right in when they come out of the oven! Seriously, you need patience here. Let the cookies rest right there on the hot baking sheet for a full five minutes. This resting period is vital because it allows the residual heat to finish setting the center just enough so they won’t crumble when you try to move them. This is the final stage that locks in the chewy texture of our **brown butter chocolate chip cookies**.
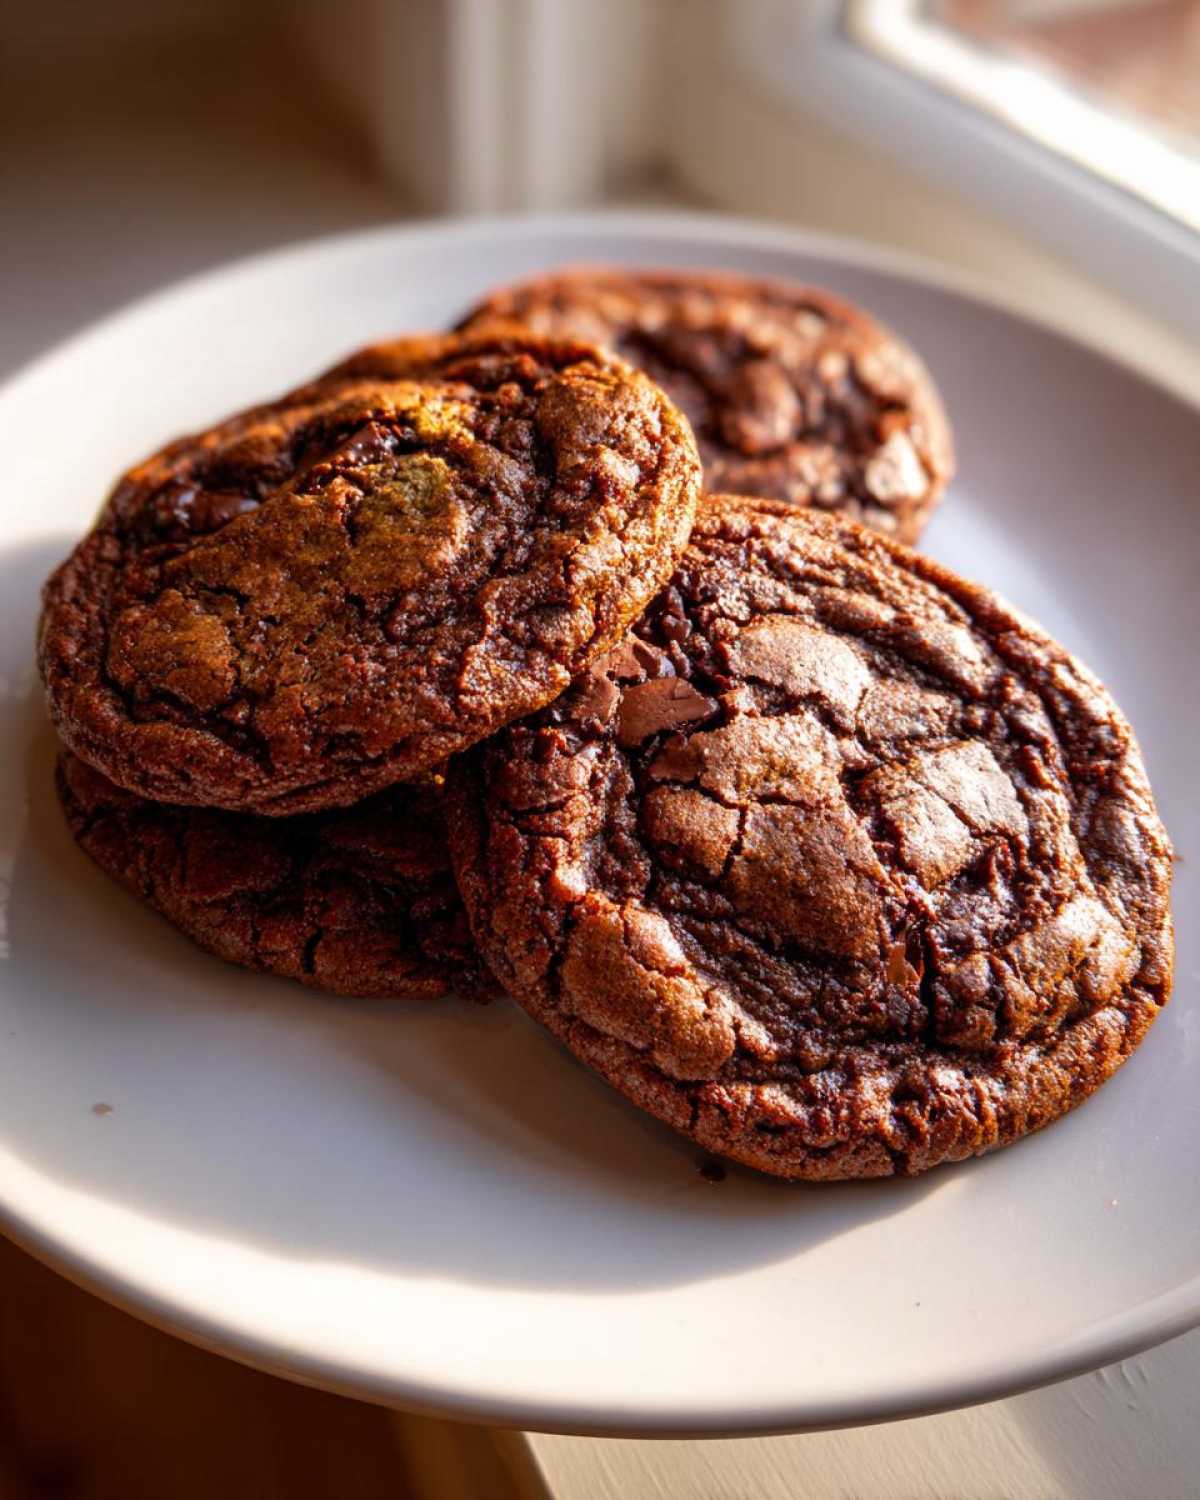
After five minutes, gently nudge them onto a wire rack using a thin spatula. They should slide off gracefully now. Let them cool completely on that rack—that’s when they solidify into that perfect balance: crispy edges giving way to a deeply flavored, gooey center. Enjoy that nutty perfection!

Tips for Perfect brown butter chocolate chip cookies Texture
We’ve done the hard part by browning that butter, but these last few tweaks are what separate a good cookie from an amazing one. Remember that chilling isn’t just for flavor; it’s structure insurance! If your dough is too warm, those **brown butter chocolate chip cookies** will spread thin. If you forgot to chill, try freezing the scooped dough balls for 15 minutes before baking—that shock helps them set up faster.
For that coveted **crispy edge soft center cookies** look, I have a trick I learned watching a pastry chef years ago. Right around minute eight in the oven, go over and gently tap the baking sheet sharply against the counter once or twice. It sounds crazy, but this gentle jarring forces the center dough to collapse slightly, creating those wonderful ripples and an even chewier middle. Don’t flatten the dough balls beforehand, that can lead to pancakes! Focus on trusting the process; the chilling and the cooling of the butter are truly the biggest texture wins for these **brown butter chocolate chip cookies**.
Variations for brown butter chocolate chip cookies
Part of the fun of baking is making the recipe completely yours, right? While I stand by this classic formula for the ultimate **brown butter chocolate chip cookies**, I always encourage people to experiment. After all, the base flavor is so rich and deep, it handles other additions beautifully. If you love texture, you absolutely have to try adding some toasted pecans. Toasting them first wakes up their flavor, and when mixed in with the dough, they offer the perfect, hearty crunch against that gooey center.
You should also feel free to swap up your chocolate situation. Semi-sweet is my go-to because it balances the sweetness from the brown sugar, but this is a great recipe to use up those fancy chocolate bars you’ve been hoarding. Try chunks of dark chocolate for a deeper, more intense bite, or mix in some milk chocolate chips if you want things sweeter and gooier!
And if you skipped the sea salt topping earlier, I really urge you to reconsider the salt. A sprinkle of flaky sea salt on top of these **brown butter chocolate chip cookies** right before they go in the oven is a game-changer. It doesn’t make them salty; it just amplifies all those nutty, toasted, caramelized notes we worked so hard for. For more creative ways to twist a classic, I’ve got some fun ideas over on my cake mix cookie variations page, but for now, just enjoy the versatility of this browned butter base!
Storage and Reheating for these brown butter chocolate chip cookies
You know you’ve made something truly special when you’re actively trying to keep them from disappearing too fast! These **brown butter chocolate chip cookies** are decadent, and you’ll want to make sure they stay perfect for days, even though they probably won’t last that long. Once they are completely cool—and I mean totally cool, not even warm to the touch—store them in a truly airtight container.
If you have a container that lets the air in, the edges will soften up too much, and you’ll lose that lovely contrast between the crisp exterior and the chewy center. If you store them layered, put a piece of parchment or wax paper between the layers so they don’t stick together in a giant cookie blob. They easily stay amazing for about four days this way. Seriously, the flavor even deepens a little because the brown butter notes just meld together more.
But what happens when you think they’ve gotten just a *little* too soft the next day? Reheating is the answer! You don’t want to microwave them for too long; that just makes them greasy and puffy. Instead, if you want to refresh that slightly crisp edge, spread them on a baking sheet and pop them in a 300-degree oven for just three or four minutes. That little blast of heat wakes up the chocolate and re-crisps the edges instantly. A quick reheat, and your **brown butter chocolate chip cookies** taste like they just came out of the oven moments ago!
Frequently Asked Questions About brown butter chocolate chip cookies
You know, whenever I share these with friends, they always come back with the same questions. It makes total sense; this recipe has a couple of unique steps! I tried to cover everything in the main instructions, but let’s tackle the most common ones right here so you feel totally confident hitting that 375-degree mark. Answering these little snags is part of building up your confidence in making these **brown butter chocolate chip cookies** at home!
Can I skip browning the butter and just use melted butter?
Oh, you *can*, but I wouldn’t recommend it if you’re looking for the “best” cookie! If you just use melted butter, the cookie will come out flatter, and honestly, it tastes totally one-dimensional. You lose that gorgeous, deep, nutty background note that makes people ask, “What did you put in these?” Skipping the browning means sacrificing all that developed, **caramelized flavor cookies** have. Stick with the browning step; it’s what makes this recipe special!
Why are my brown butter chocolate chip cookies spreading too much?
Spreading usually boils down to two culprits, and both relate back to temperature control! First, if your brown butter wasn’t cooled down enough before you started creaming it with the sugars, it got too soft, and the cookie essentially started baking on the counter. That results in flat discs. Second, not chilling the dough long enough! Chilled dough firms up the fat again, giving you that beautiful thickness, which leads to those **gooey chocolate chip cookies** instead of pancakes. Be patient with that chilling time!
Can I freeze the dough for these chewy brown butter cookies?
Absolutely, you can! I often make a giant batch of dough and freeze half of it because sometimes you just need a couple of incredible **chewy brown butter cookies** late at night. Once you scoop your dough balls onto a parchment-lined tray, flash freeze them until they are rock hard—maybe an hour or two. Then, transfer those frozen balls to a zip-top bag. When you get that craving, you don’t even need to thaw them! Just add about 2 or 3 extra minutes to the baking time listed in the instructions, and you’ll get just as nice a result when you follow the cooling rule.
If you’re looking for other ways to make your baking last longer, you might want to peek at my guide on preserving baked goods for the best storage tips!
Estimated Nutritional Data for brown butter chocolate chip cookies
Hey, I know most of us aren’t baking these beauties for a diet, but some of you lovely bakers ask about the numbers, so here’s a rough guide. Remember, since this recipe uses real butter and high-quality chocolate, the stats are a bit richer than your basic store-bought flat cookie. These are gourmet treats, after all!
The values below are estimates based on using standard semi-sweet chips and dividing the batch into 24 cookies. If you use fancier chocolate or add nuts, those numbers will shift a bit, so take this as a general idea of what you’re enjoying when you devour one of these **brown butter chocolate chip cookies**.
- Serving Size: 1 cookie
- Calories: 190
- Sugar: 15g
- Sodium: 110mg
- Fat: 11g
- Protein: 2g
As you can see, the fat content is where a lot of that amazing flavor is coming from, thanks to that beautiful browned butter! Enjoy every single bite guilt-free; you earned it with all that stirring!
Print
Ultimate Chewy Brown Butter Chocolate Chip Cookies
- Total Time: 2 hours 27 min
- Yield: About 24 cookies
- Diet: Vegetarian
Description
Make rich, nutty chocolate chip cookies with a chewy center and crispy edges by using browned butter for a deep, caramelized flavor.
Ingredients
- 1 cup (2 sticks) unsalted butter
- 1 cup packed light brown sugar
- 1/2 cup granulated sugar
- 2 large eggs, room temperature
- 1 tablespoon vanilla extract
- 2 1/4 cups all-purpose flour
- 1 teaspoon baking soda
- 1/2 teaspoon salt
- 1 1/2 cups semi-sweet chocolate chips
- Flaky sea salt, for topping (optional)
Instructions
- Melt the butter in a light-colored saucepan over medium heat. Continue cooking, stirring occasionally, until the butter foams, then subsides, and brown bits form at the bottom. The butter will smell nutty. This takes about 5 to 8 minutes.
- Immediately pour the browned butter into a heatproof bowl. Let it cool at room temperature for 30 minutes until it is slightly solidified but still soft, like peanut butter. Do not chill rapidly.
- In a large bowl, beat the cooled brown butter with the brown sugar and granulated sugar until light and fluffy, about 2 minutes.
- Beat in the eggs one at a time, mixing well after each addition. Stir in the vanilla extract.
- In a separate medium bowl, whisk together the flour, baking soda, and salt.
- Gradually add the dry ingredients to the wet ingredients, mixing on low speed until just combined. Do not overmix.
- Stir in the chocolate chips.
- Cover the dough and chill in the refrigerator for at least 2 hours, or up to 72 hours, for best flavor and texture.
- Preheat your oven to 375 degrees Fahrenheit. Line baking sheets with parchment paper.
- Scoop rounded tablespoons of dough onto the prepared sheets, spacing them about 2 inches apart. Sprinkle tops with flaky sea salt, if using.
- Bake for 10 to 12 minutes, or until the edges are golden brown and the centers look slightly underbaked.
- Let the cookies cool on the baking sheet for 5 minutes before transferring them to a wire rack to cool completely.
Notes
- Browning the butter is key; watch carefully to prevent burning the milk solids.
- Chilling the dough allows the flour to hydrate and deepens the nutty flavor from the butter.
- For thicker cookies, use a cookie scoop and press the dough balls slightly inward before baking.
- Prep Time: 15 min
- Cook Time: 12 min
- Category: Dessert
- Method: Baking
- Cuisine: American
Nutrition
- Serving Size: 1 cookie
- Calories: 190
- Sugar: 15
- Sodium: 110
- Fat: 11
- Saturated Fat: 7
- Unsaturated Fat: 4
- Trans Fat: 0
- Carbohydrates: 23
- Fiber: 1
- Protein: 2
- Cholesterol: 35


Comments are closed.